How to Tote a Fort — Easy Step-by-Step Guide
Transform any space into a magical fort with this easy-to-tote design. Perfect for spontaneous adventures indoors or out!

Quick answer
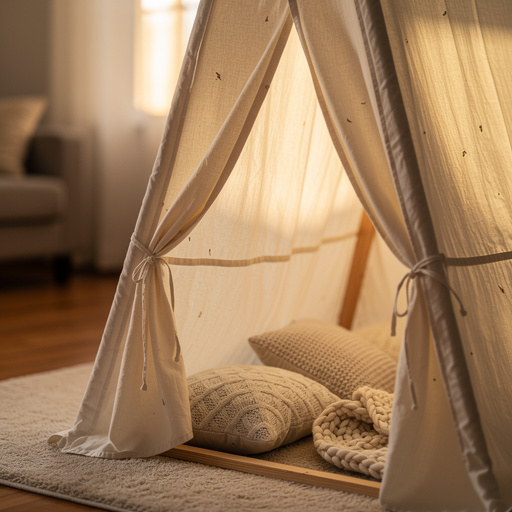
To tote a fort, you need large blankets, sturdy clips, and about 15 minutes. Start by draping blankets over furniture or trees. This beginner-friendly activity has 7 steps and is perfect for families with children aged 4+.
What you need
Shop on Amazon · As an Amazon Associate we earn from qualifying purchases. Links above are affiliate links — we may earn a commission at no extra cost to you.
Embark on a journey of imagination and cozy comfort with the 'Cozy Fort Canopy' project! This delightful DIY activity is more than just building a fort; it's about creating a portable sanctuary for adventure, storytelling, and pure childhood joy. Designed for simplicity and speed, it’s the perfect way to transform any ordinary space into an extraordinary hideaway in minutes. Whether you're looking for a rainy-day escape, a backyard camping experience, or a quiet reading nook, this tote-a-fort is your ticket to instant magic, making it an ideal project for families with young children eager for imaginative play.
On this page
Step-by-Step Instructions
- 1
Choose your fort location: a living room with furniture, a backyard with trees, or even a park. Consider the available anchor points and the amount of space you have. For indoor forts, look for sturdy furniture like sofas, chairs, or tables that can support the weight of the blankets. For outdoor adventures, identify strong tree branches, fences, or even sturdy picnic tables that can serve as your fort's framework. Ensure the chosen spot is safe and free from hazards, especially if children will be playing unsupervised.
- 2
Drape your largest blanket over the highest point available, such as the back of a sofa, a sturdy table, or between two trees. This will form the main roof or ceiling of your fort. Ensure the blanket is spread out as much as possible to create a generous interior space. If draping between trees, aim for a height that allows comfortable entry and exit, and consider the natural sag of the fabric. Avoid pulling the blanket too taut, as this can strain your anchor points.
- 3
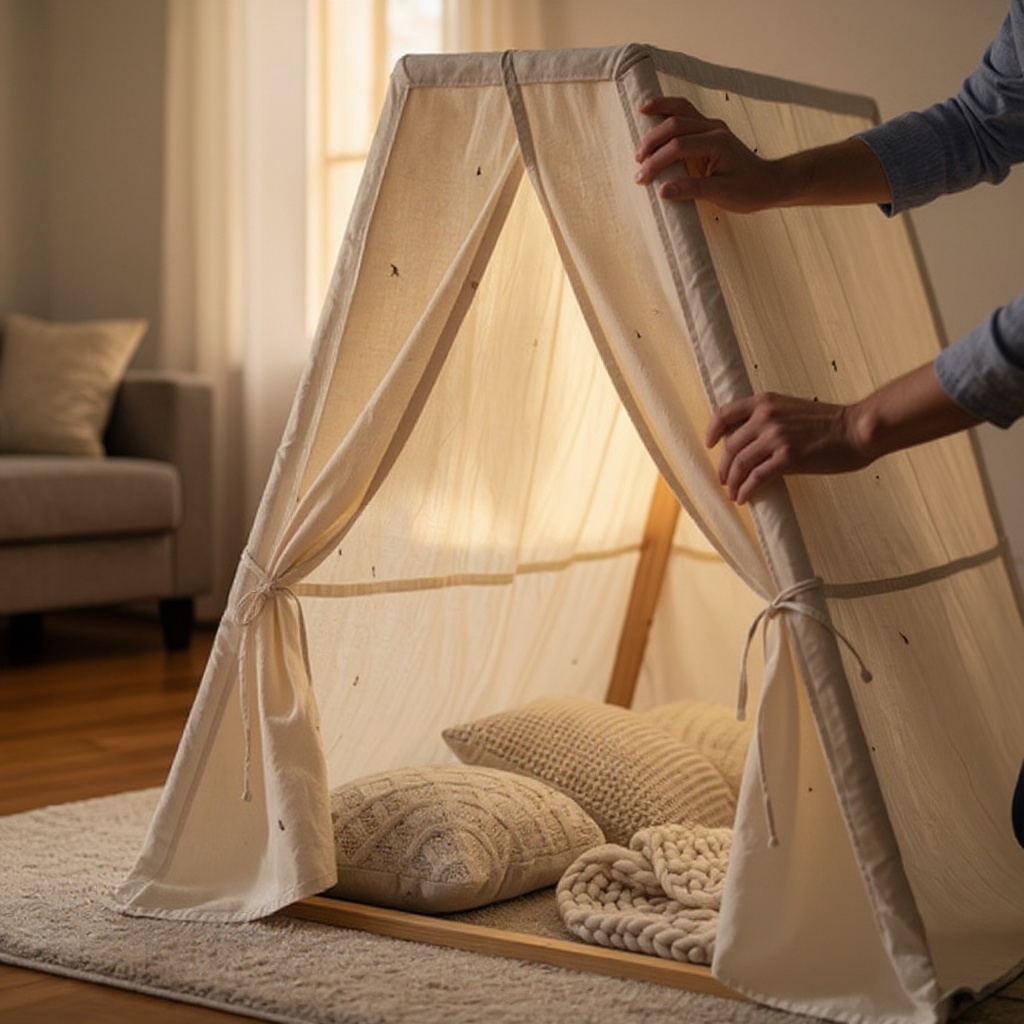
Use clothespins or binder clips to secure the edges of the blanket to furniture, branches, or other anchor points. Distribute the clips evenly along the edges, ensuring a firm hold. For furniture, clip directly onto the fabric or frame. For tree branches, wrap the blanket edge around the branch and secure it with clips. If using a table, clip the blanket to the edge of the tabletop. Check each clip to make sure it's securely fastened and won't easily slip off, especially if there's a breeze.
- 4
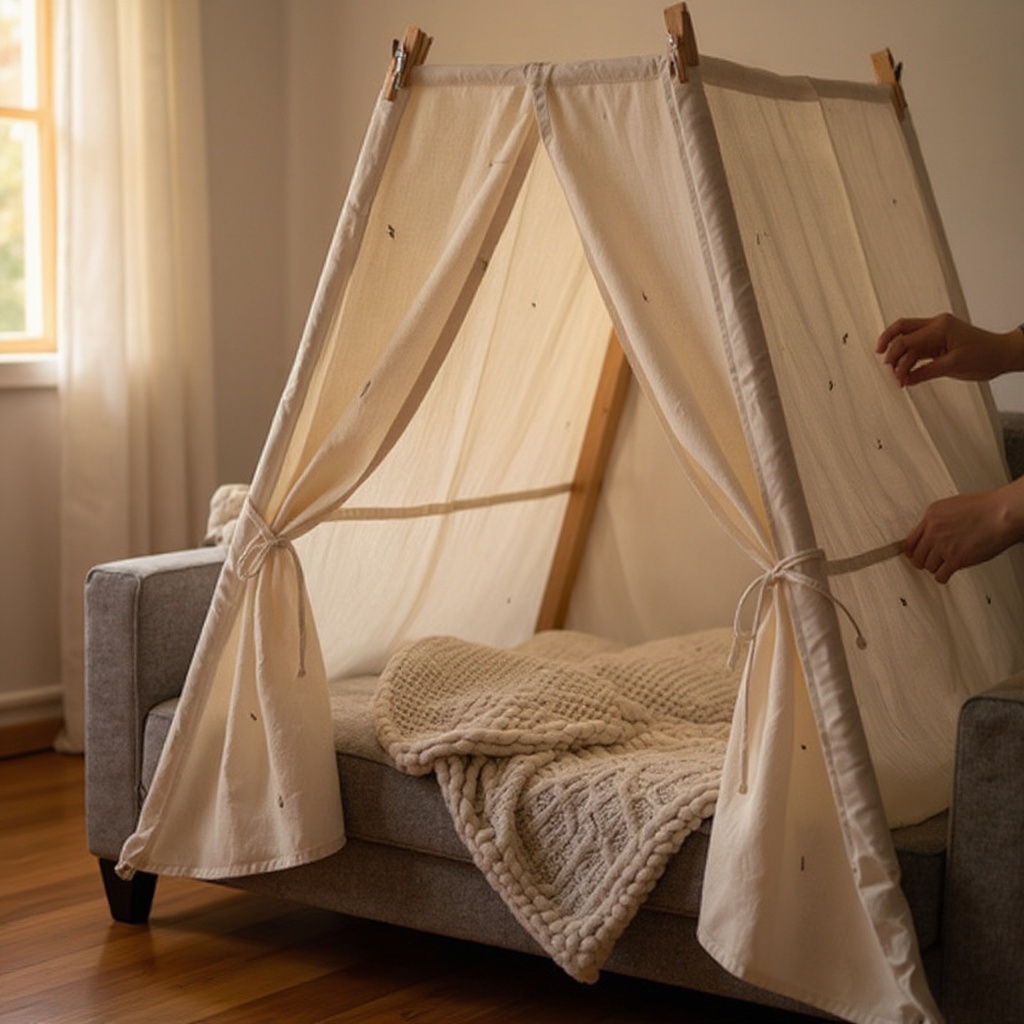
Drape a second blanket to create a wall or an additional room, overlapping with the first blanket. This second blanket can extend from the main roof to the ground, creating an entrance, or it can be used to partition off a section of the fort. Overlapping the blankets helps to minimize gaps and create a more enclosed and private space. Think about how you want the fort to be structured – will it have a single entrance, or multiple openings?
- 5
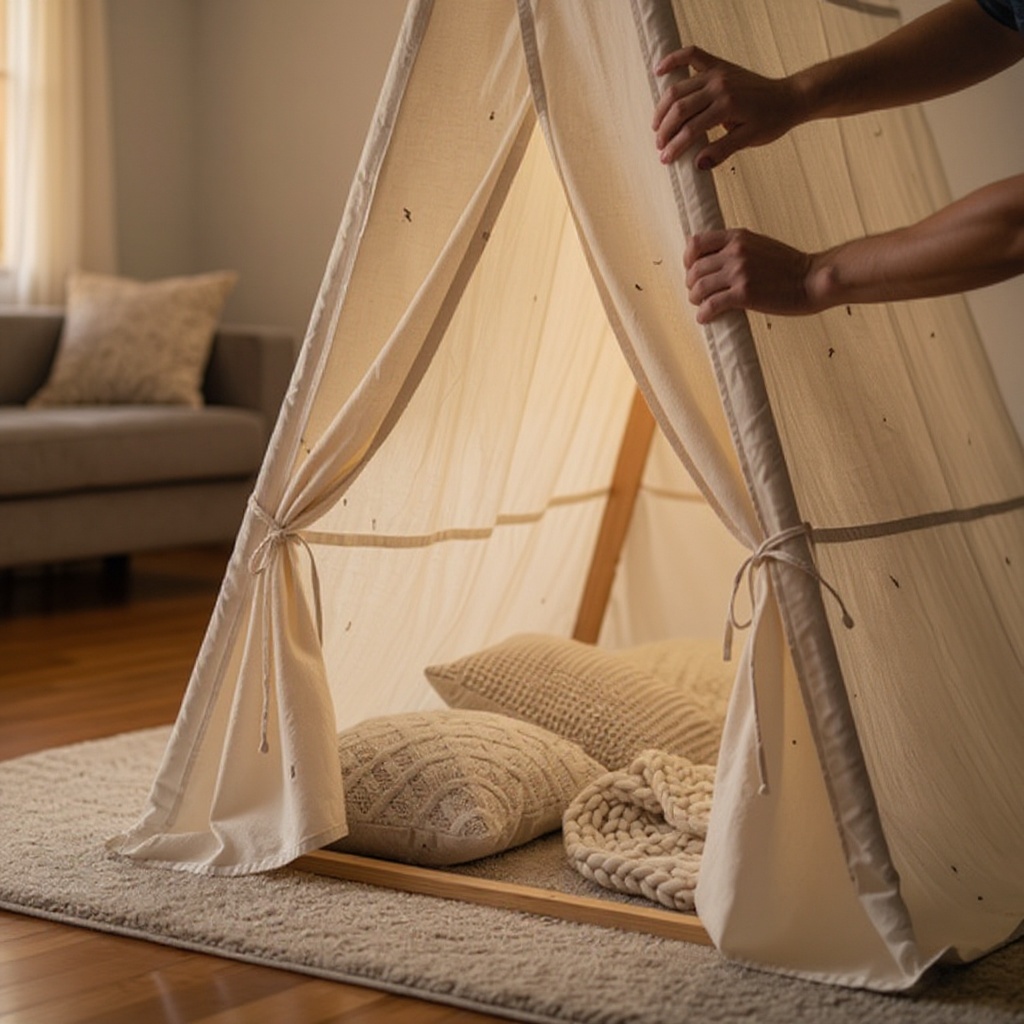
Secure the second blanket with clips, ensuring there are no large gaps. Just like the first blanket, use clips to attach the edges of the second blanket to furniture, the main roof blanket, or other anchor points. Pay close attention to the seams where blankets overlap; use extra clips here to prevent light from seeping through and to maintain the fort's structural integrity. Ensure the bottom edge of the wall blanket reaches the floor or ground to create a cozy enclosure.
- 6
If using outdoors and needing extra stability, use bungee cords or rope to tie down corners to ground stakes or heavy objects. This step is crucial for preventing your fort from collapsing in windy conditions. Anchor the corners of your fort securely to the ground using stakes, large rocks, or even sandbags. For trees, you can tie ropes around the trunk or sturdy lower branches to provide additional support. Ensure the ropes are taut but not so tight that they damage the trees or furniture.
- 7
Arrange pillows and cushions inside to create a cozy and inviting play space. This is where the magic truly happens! Fill the fort with soft pillows, cushions, and blankets to make it a comfortable haven for reading, playing, or simply relaxing. Consider layering different textures and sizes for maximum comfort. You can also add a soft rug or mat on the floor for extra coziness. This personal touch makes the fort feel truly special and inviting for its occupants.
- 8
Create an entrance: Decide where you want your fort's main entrance to be. You can leave a gap between two blankets, or create a flap by only securing one side of a blanket. For a more defined entrance, you can tie back the edges of a blanket with rope or ribbon. Ensure the entrance is large enough for easy access, especially for younger children, but also small enough to maintain the fort's cozy atmosphere. Consider how the entrance will be secured when not in use, perhaps with a simple tie-back.
- 9
Add a second layer for insulation or privacy: If your blankets are thin or you desire more privacy, consider adding a second layer of fabric. You can drape another sheet or thin blanket over the existing structure, securing it with clips. This not only enhances the fort's coziness but also helps to block out more light, creating a darker, more immersive play environment. This is particularly effective for creating a 'sleepover' feel.
- 10
Consider ventilation: While coziness is key, it's also important to ensure adequate airflow, especially in warmer weather or if multiple people are inside. Leave small gaps at the top or sides of the fort, or create a 'door' that can be propped open. This prevents the fort from becoming too stuffy and uncomfortable. You can achieve this by not fully securing all edges, or by strategically placing clips to allow for small openings.
- 11
Test the stability: Before letting children loose inside, give your fort a gentle shake and check all the anchor points. Ensure that no blankets are slipping and that the structure feels secure. This is especially important for outdoor forts where wind can be a factor. Gently pull on the edges and corners to gauge the strength of your clips and ropes. Make any necessary adjustments to ensure safety and longevity of your fort.
- 12
Personalize the interior: Once the basic structure is in place, encourage children to personalize the inside of their fort. This could involve bringing in their favorite stuffed animals, books, drawing supplies, or even a small battery-operated lantern. Allowing them to contribute to the decoration fosters a sense of ownership and makes the fort even more special to them. This is where their imagination truly takes flight within the fort's walls.
Tips & Troubleshooting
- 1If your blankets are slippery, try using textured sheets or adding a few extra clips for better grip. Natural fibers like cotton or linen tend to have more grip than synthetic materials like polyester. You can also use clips that have a rubberized coating for added friction. Experiment with different types of clips to see which ones work best with your specific fabrics.
- 2For a more enclosed fort, use smaller blankets to fill in any gaps between the larger ones. This is especially useful for creating a truly dark and private space, perfect for storytelling or quiet time. You can use scarves, towels, or even old t-shirts to fill these smaller openings. Overlapping these smaller pieces with the main blankets will create a seamless look.
- 3Decorate the outside of your fort with battery-operated fairy lights or drawings on paper taped to the blankets. Fairy lights add a magical ambiance, especially for evening play. You can also let children draw pictures on large sheets of paper and tape them to the outside of the fort, transforming it into a personalized masterpiece. This adds a visual element that sparks creativity and makes the fort unique.
- 4When using outdoors, ensure the fort is in a safe area away from hazards and that it's secured against wind. Check for low-hanging branches, uneven ground, or proximity to roads or water. Always err on the side of caution when choosing an outdoor location. Secure the fort thoroughly, as even a gentle breeze can turn a fun fort into a safety hazard if it's not properly anchored.
- 5Consider using a variety of blanket textures and weights to create different atmospheric effects. Heavier blankets can create a more grounded and secure feeling, while lighter, sheer fabrics can create a more ethereal and airy space. Mixing and matching can add visual interest and tactile exploration for children.
- 6If you're building a fort for multiple children, think about creating separate 'rooms' or zones within the fort using additional blankets or clever draping techniques. This can help to reduce squabbles over space and allow for different types of play to occur simultaneously within the same fort structure.
- 7For easier setup and takedown, especially with younger children who might be impatient, pre-fold your blankets and have your clips and ropes readily accessible. Organization is key to making this a quick and enjoyable activity for everyone involved. A designated 'fort kit' can be a great way to keep all your supplies together.
- 8Don't be afraid to get creative with your anchor points! Beyond furniture and trees, consider using sturdy chairs, clotheslines (if they are strong enough), or even large exercise balls to create unique shapes and structures for your fort. The possibilities are truly endless when you think outside the box.
Related Activities You Might Enjoy
Frequently Asked Questions
What is a 'tote a fort'?
A 'tote a fort' refers to a portable fort that can be easily set up and taken down, allowing you to create a cozy play space anywhere, from your living room to the backyard. The term 'tote' implies that the fort is designed for easy transport and assembly, making it ideal for spontaneous adventures or for families who enjoy changing their play environment. Unlike permanent structures, a tote a fort relies on readily available materials like blankets, sheets, and clips, emphasizing simplicity and flexibility. It's a concept that encourages creativity and adaptability, allowing children to have their own special hideaway wherever they go, fostering imagination and a sense of adventure without requiring extensive building skills or permanent installations.
How do you make a fort portable?
To make a fort portable, use lightweight materials like blankets and sheets that can be easily folded and transported. The design should rely on simple draping and clipping, avoiding permanent structures. This means using items that can be quickly assembled and disassembled without tools or complex instructions. Think about materials that are easy to pack into a bag or carry by hand. The key is to create a structure that is held together by tension, clips, and gravity, rather than by nails or screws. This approach ensures that the fort can be enjoyed in various locations, from a park picnic to a sleepover at a friend's house, without the need for a dedicated building space or specialized equipment.
What are the best materials for a tote a fort?
The best materials are large, lightweight blankets or sheets. Sturdy clips like clothespins or binder clips are essential for securing them. Optional items like bungee cords can add stability outdoors. For blankets, cotton or microfiber sheets are excellent choices as they are light, drape well, and are easy to fold. Avoid heavy quilts or thick comforters, as they can be cumbersome to manage and may strain your anchor points. For clips, metal binder clips offer superior grip compared to traditional wooden clothespins, especially on smoother fabrics. If you plan to use the fort outdoors, bungee cords or strong rope are invaluable for anchoring the structure against wind and ensuring its longevity throughout your play session.
Can I build a tote a fort outdoors?
Yes, you can absolutely build a tote a fort outdoors! Use trees, fences, or even portable stakes to anchor your blankets. Ensure it's secured against wind for safety and durability. Outdoor fort building opens up a world of possibilities, allowing you to incorporate natural elements into your design. You can drape blankets between tree branches, secure them to a sturdy fence, or use picnic tables as your base. When anchoring, consider using ground stakes, heavy rocks, or even sandbags to keep your fort in place. Always assess the weather conditions; a windy day will require extra attention to securing your fort to prevent it from collapsing and to ensure a safe play environment for everyone involved.
What age group is this project best suited for?
This Cozy Fort Canopy project is ideal for families with children aged 4 and up. At this age, children have developed the fine motor skills necessary to help with draping and clipping, and they possess the imaginative capacity to fully engage with the fort as a play space. Younger toddlers might need more direct adult supervision and assistance with the construction, but they can certainly enjoy the finished product. Older children can take on more responsibility in the building process, perhaps even designing the fort's layout or suggesting creative additions. The simplicity of the design makes it accessible for a wide range of ages, promoting collaborative play and shared enjoyment.
How long does it typically take to build a tote a fort?
With practice, you can typically build a basic tote a fort in about 15 minutes, making it a perfect activity for a quick burst of creative fun. This timeframe assumes you have all your materials readily accessible. The initial setup might take a little longer as you figure out the best anchor points and draping techniques for your chosen location. However, once you've built a few forts, you'll become quite efficient. The beauty of a tote a fort is its speed and ease of assembly, allowing for spontaneous play sessions without a significant time commitment. This makes it an excellent option for busy families looking for engaging activities that don't require extensive planning or preparation.
Can I make my tote a fort more permanent or elaborate?
While the essence of a 'tote a fort' is its portability and simplicity, you can certainly adapt the concept to create more elaborate or semi-permanent structures. For a more elaborate indoor fort, consider using PVC pipes or wooden dowels to create a frame that the blankets can be draped over, offering more structural integrity and allowing for more complex designs. For a more permanent outdoor fort, you might explore building a simple wooden frame or using a pre-made canopy structure as a base. However, remember that the 'tote' aspect is about ease of assembly and disassembly. If you're aiming for something more permanent, you might be venturing into a different category of DIY fort building, but the principles of draping and securing can still be a great starting point for inspiration.
What Next?
Congratulations on building your very own Cozy Fort Canopy! This portable fort is a testament to simple creativity, offering endless possibilities for imaginative play. Don't be afraid to experiment with different blanket combinations, add string lights for a magical glow, or even create themed forts for special occasions. When it's time to pack up, simply fold your blankets and store your clips, ready for your next adventure. Consider this your launching pad for even grander DIY projects, like building a more permanent backyard fort or crafting personalized fort accessories. Happy toting and happy fort-building!
Free: 10 Paper Crafts Anyone Can Make in 5 Minutes
Get our beginner guide + new craft ideas weekly.
No spam. Unsubscribe anytime.
Did you complete this activity?
Related
You might also like
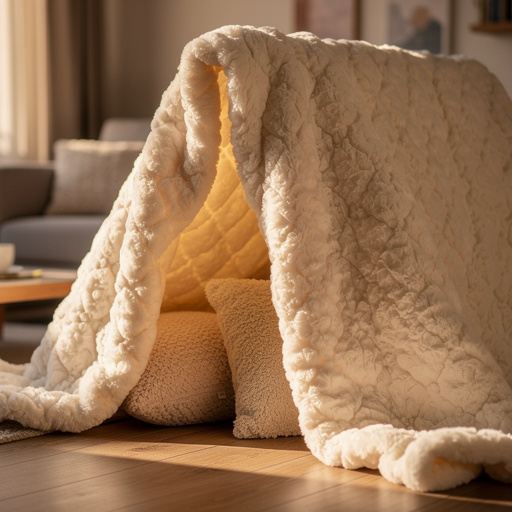
Cozy Cloud Blanket Fort

Cozy Blanket Hideaway

Cozy Blanket Hideaway
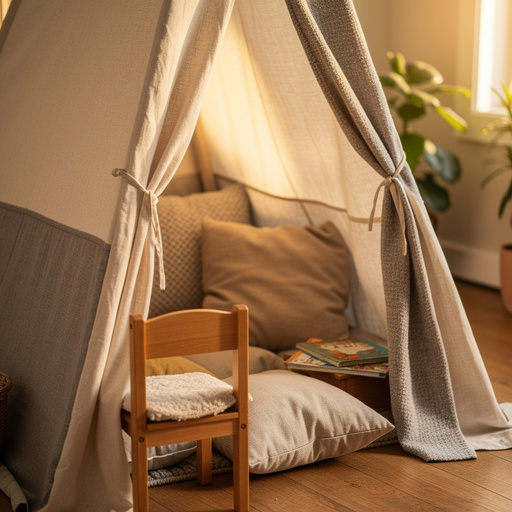
Cozy Corner Fort Kit
Cardboard Tube Gravity Chute