How to Create Puzzle Piece Picture Frames — Easy Step-by-Step Guide
Transform old, broken, or incomplete puzzles into charming, one-of-a-kind picture frames. A fantastic screen-free craft for families! This beginner-friendly activity has 10 steps and is perfect for families with kids aged 6 and up, taking about 45 minutes to complete.

Quick answer
To make puzzle piece picture frames, you need old puzzle pieces, cardboard, glue, and scissors, taking about 45 minutes. Start by cutting a cardboard frame base. This beginner-friendly activity has 10 steps and is perfect for families with kids aged 6 and up.
What you need
Shop on Amazon · As an Amazon Associate we earn from qualifying purchases. Links above are affiliate links — we may earn a commission at no extra cost to you.
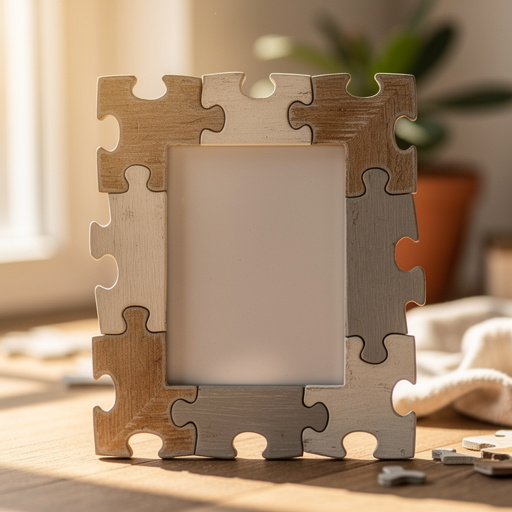
Looking for a creative way to upcycle those incomplete or damaged jigsaw puzzles? This project is the perfect solution! Transforming forgotten puzzle pieces into beautiful, personalized picture frames is a wonderfully rewarding and eco-friendly craft. It’s an ideal activity for a rainy afternoon, a family craft session, or even a fun way to teach children about recycling and resourcefulness. The unique texture and organic shapes of the puzzle pieces create frames with incredible character, making each one a truly special display for your cherished memories. Get ready to unleash your creativity and give those puzzle pieces a new lease on life!
On this page
Step-by-Step Instructions
- 1
Gather your old jigsaw puzzle pieces. Ensure they are clean and dry before you begin; any dust or debris can affect how well the glue adheres. If pieces are dirty, a gentle wipe with a damp cloth followed by thorough drying is recommended.
- 2
Cut a rectangular piece of cardboard for the base of your frame. A good starting size is 6x8 inches, which is a common photo size and provides ample space for puzzle piece embellishment. Ensure your cuts are as straight as possible for a neat foundation.
- 3
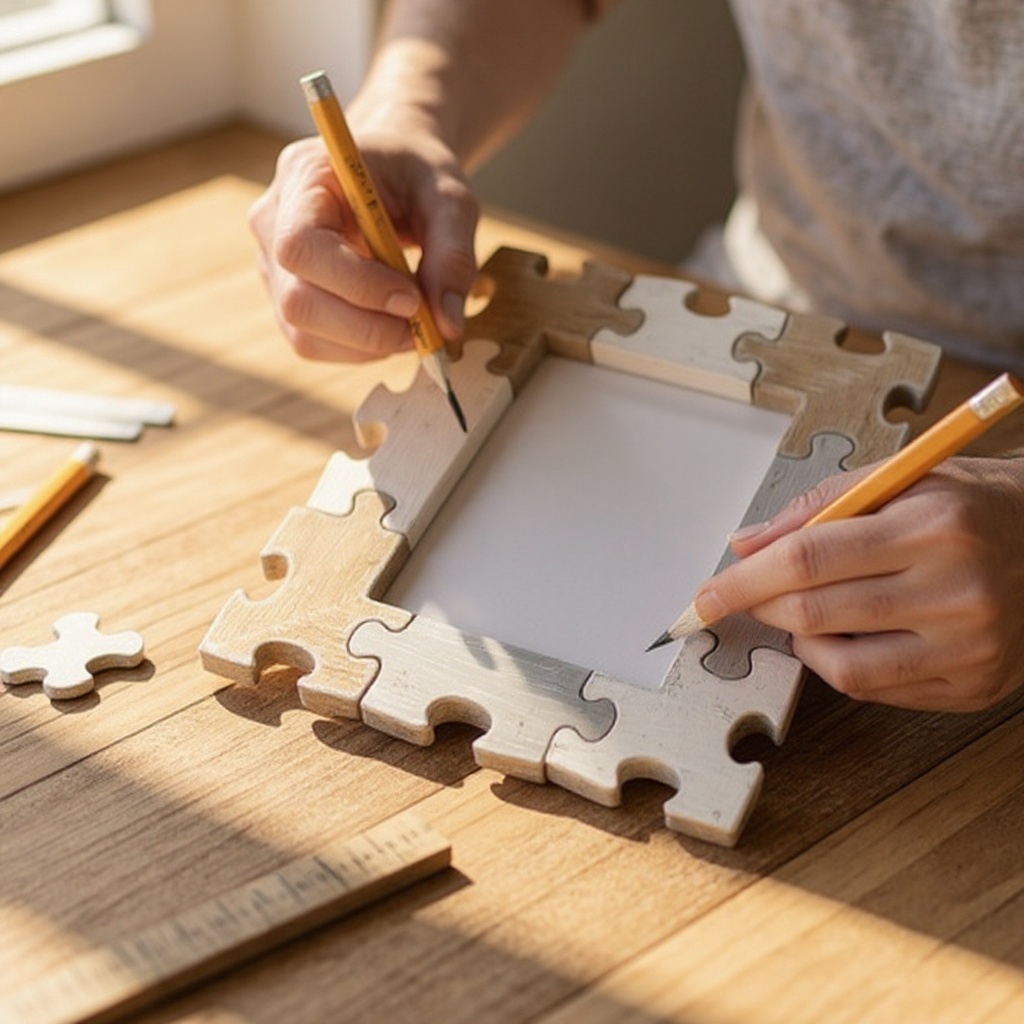
Measure and mark the inner opening for your photo. For a 6x8 inch frame, a 4x6 inch opening is standard, leaving a 1-inch border all around. Use your ruler and pencil to draw this rectangle precisely in the center of your cardboard base.
- 4
Carefully cut out the inner rectangle from the cardboard base to create the frame opening. You can use sharp scissors for this, or for a cleaner edge, a craft knife and cutting mat can be employed (with adult supervision). Take your time to ensure the edges are smooth.
- 5
Begin arranging your puzzle pieces around the edges of the cardboard frame opening. This is where you can get creative! Overlap them slightly to create a textured, dimensional border, or try to fit them snugly together for a more uniform look. Experiment with different orientations and shapes.
- 6
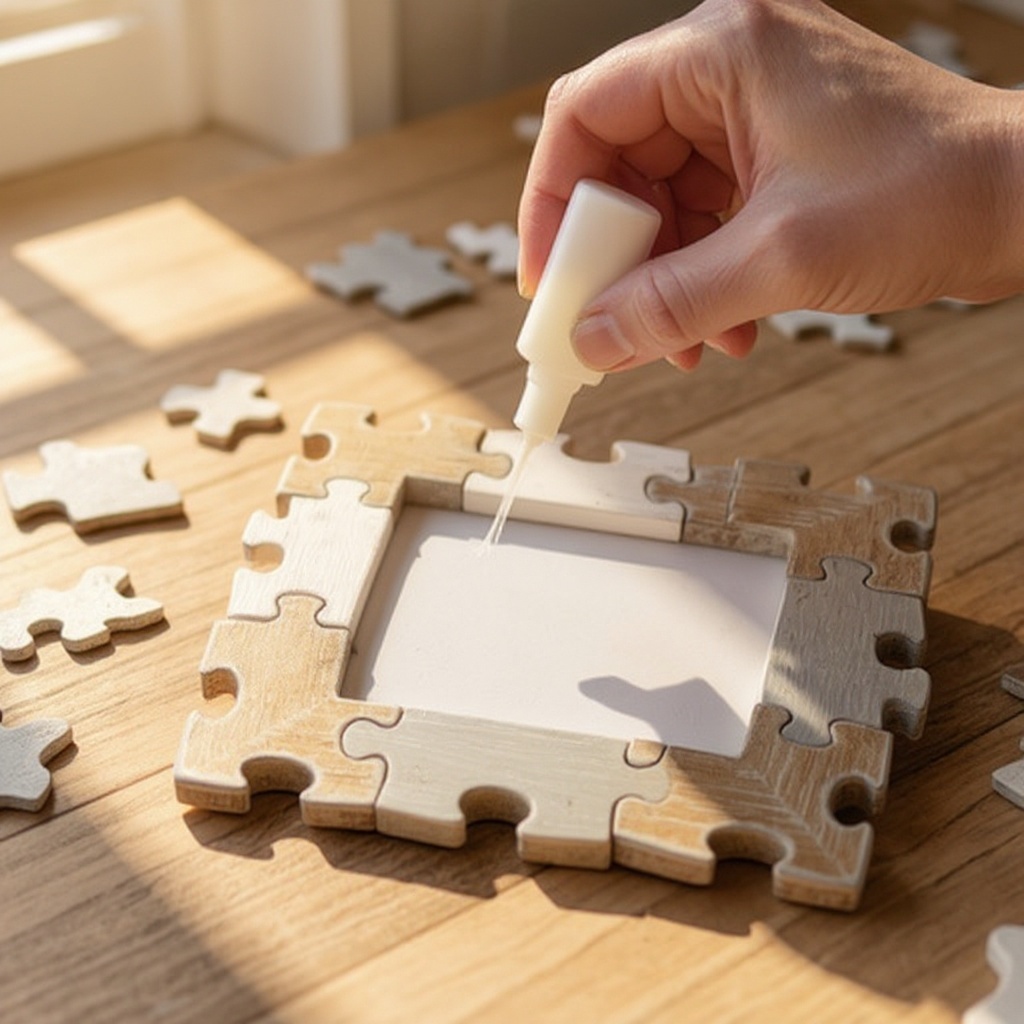
Once you are happy with the arrangement of your puzzle pieces on one side of the frame, begin gluing them onto the cardboard frame, working in small sections. This prevents the glue from drying out before you can attach the pieces.
- 7
Apply a generous amount of glue to the back of each puzzle piece and press it firmly onto the cardboard. Ensure the pieces are securely attached and that there are no large gaps between the cardboard and the puzzle piece, as this can weaken the bond.
- 8
Continue gluing puzzle pieces until the entire border of the frame is covered. You can build up layers for a more dramatic effect, or stick to a single layer. Make sure to cover the outer edges of the cardboard as well, so no cardboard is visible from the front.
- 9
Let the glue dry completely for at least 30 minutes, or longer if you used a lot of glue or built up thick layers. It's crucial that the puzzle pieces are firmly adhered before moving on to the next steps to prevent them from shifting or falling off.

- 10
Once the glue is completely dry, you can decorate your puzzle piece frame further. Paint it with acrylics or tempera paints, add a layer of glitter for sparkle, or draw intricate designs with markers. Let your imagination run wild!
- 11
If desired, spray the finished frame with a sealant to protect the paint and puzzle pieces. This will give it a nice sheen and make it more durable. Let it dry thoroughly before use, following the product's instructions.
- 12
To create a standing frame, cut a second, slightly larger piece of cardboard for the back. Score a line about 2 inches from the bottom edge of this back piece and fold it upwards to create a base. Glue this folded base to the back of your puzzle frame at an angle, ensuring it's secure and allows the frame to stand upright.
- 13
Consider adding a backing to your frame to hold the photo in place. Cut a piece of cardstock or thin cardboard slightly smaller than the frame opening and glue it to the back of the frame, leaving one edge unglued or using a small piece of tape as a hinge so you can easily insert and change photos.
- 14
If you're using very thin puzzle pieces, you might want to glue two pieces together back-to-back before attaching them to the frame. This will give them extra thickness and make them more robust, preventing them from bending or breaking.
- 15
For a more cohesive and polished look, try to select puzzle pieces that have similar color palettes or patterns. Alternatively, you can paint all the puzzle pieces a single color before gluing them on, creating a uniform and sophisticated aesthetic.
- 16
Don't stress about perfection! The irregular shapes and occasional gaps between puzzle pieces actually add to the unique charm and handmade quality of the frame. Embrace the imperfections as part of its character.
- 17
When painting or decorating, work in a well-ventilated area, especially if using spray sealant. Protect your work surface with newspaper or wax paper to catch any drips or excess materials.
- 18
Allow ample drying time between each decorating step. If you're layering paint colors or applying glitter, ensure each layer is dry to the touch before adding the next to avoid smudging or creating a messy finish.
Tips & Troubleshooting
- 1If your puzzle pieces are very thin, you can glue two layers together for added thickness and stability. This is especially helpful if you're using a puzzle with very delicate cardboard pieces, as it will make them more resilient to handling and gluing.
- 2For a more uniform look, try to use puzzle pieces of similar colors or patterns, or paint them all one color. This can create a more sophisticated and intentional design, especially if you're aiming for a specific aesthetic for your room or as a gift.
- 3Don't worry if some pieces don't fit perfectly; the irregular shapes add to the unique charm of the frame. The beauty of this craft lies in its handmade nature, so embrace the slight imperfections as they contribute to its one-of-a-kind appeal.
- 4To make it a standing frame, cut a second, slightly larger piece of cardboard and glue it to the back at an angle to create an easel. Ensure the angle is stable and that the easel is securely attached to support the weight of the frame and photo.
- 5Ensure the glue is completely dry before handling or decorating to prevent pieces from shifting. Rushing this step can lead to pieces coming loose later on, so patience is key for a durable and well-crafted frame.
- 6Consider using a hot glue gun for a faster assembly, but be cautious as hot glue can be messy and may not provide as strong a bond for cardboard as craft glue. If using hot glue, work in very small sections and ensure adult supervision.
- 7Experiment with different puzzle sizes and types. Smaller, more intricate puzzles can create a detailed mosaic-like border, while larger, chunkier pieces can offer a bolder, more rustic look. The variety of puzzle pieces is part of the fun!
- 8For a truly personalized touch, use puzzle pieces from a puzzle that has special meaning, like one from a family vacation or a favorite childhood game. This adds an extra layer of sentimentality to your finished frame.
Related Activities You Might Enjoy
Frequently Asked Questions
Can I use any type of puzzle for this craft?
Yes, you can use almost any jigsaw puzzle! Larger pieces might be easier for younger children to handle, while smaller pieces can create a more intricate design. Puzzles with unique shapes, varying colors, or even those with a matte finish can all contribute to a distinctive frame. Consider the size of the puzzle pieces in relation to the size of your frame; very tiny pieces might get lost on a large frame, while large pieces might overwhelm a small one. Ultimately, the type of puzzle you use will dictate the texture and overall aesthetic of your finished picture frame, so choose one that sparks your creativity!
How do I make sure the puzzle pieces stay on?
Use a strong craft glue or white school glue. Apply a generous amount to the back of each puzzle piece and press it firmly onto the cardboard. Letting it dry completely is key. For added security, especially with heavier or oddly shaped pieces, you can apply a thin layer of glue over the top of the puzzle pieces once they are all attached and dry. This acts as a sealant and reinforces the bond. Ensure there are no gaps between the puzzle piece and the cardboard base, as this is where the glue needs to make solid contact for the strongest hold.
What if I don't have old puzzles?
You can often find inexpensive used puzzles at thrift stores or garage sales. Alternatively, you can purchase craft puzzle blanks that are designed for decorating. These are often made of wood or thick cardboard and come in various shapes and sizes, offering a clean canvas for your puzzle piece art. Another option is to buy a new, inexpensive puzzle with the sole intention of using its pieces for this craft. Look for puzzles with interesting artwork or color schemes that you can either incorporate or paint over.
Can I make this into a standing frame?
Absolutely! Cut a second piece of cardboard slightly larger than your frame and glue it to the back at an angle to create a sturdy easel. Make sure it's well-secured. To do this, take a piece of cardboard that is roughly the same width as your frame and about 4-5 inches tall. Score a line about 1.5 to 2 inches from the bottom edge and fold it upwards to create a base. Glue this folded base to the back of your puzzle frame, ensuring it's positioned so the frame stands upright at a pleasing angle. Reinforce the glued area for extra stability.
How do I insert and change the photo?
To easily insert and change photos, create a simple backing. Cut a piece of cardstock or thin cardboard that is slightly smaller than the overall dimensions of your frame. Glue this backing to the back of your puzzle frame, leaving one edge (usually the top) unglued or secured with a small piece of tape. This creates a flap or pocket through which you can slide your photos in and out. Ensure the backing is securely glued everywhere else to keep the photo in place and prevent it from falling out.
What are the best types of glue to use?
For this project, a strong craft glue or white school glue like Elmer's Glue-All is highly recommended. These glues provide a strong bond for paper and cardboard and are non-toxic, making them ideal for family crafts. If you're working with heavier puzzle pieces or want extra durability, a wood glue or a strong adhesive like Tacky Glue can also be effective. For a faster assembly, a hot glue gun can be used, but be mindful of potential mess and ensure adult supervision. Avoid glues that are too watery, as they may warp the cardboard.
Can I make these frames in different shapes and sizes?
Certainly! While the instructions suggest a rectangular frame, you can adapt this craft to various shapes and sizes. You can cut your cardboard base into a square, a circle, or even a more whimsical shape like a heart or star. Just ensure you create a central opening for your photo that complements the outer shape. When working with non-rectangular shapes, you might need to trim puzzle pieces to fit the curves or angles more precisely. The key is to maintain a consistent border width around your photo opening, regardless of the overall frame shape.
What Next?
Once your puzzle piece picture frame is complete and fully dry, it’s ready to showcase your favorite photo! Consider adding a small stand to the back for tabletop display or attaching a ribbon for hanging on the wall. These frames also make thoughtful, handmade gifts for birthdays, holidays, or just because. For future projects, experiment with different puzzle sizes, colors, and even incorporate other small embellishments like buttons or beads. You can also explore creating larger puzzle piece collages or even decorative bowls. Store your finished frames carefully to protect their delicate surfaces, ensuring they remain a cherished part of your home decor for years to come.
Free: 10 Paper Crafts Anyone Can Make in 5 Minutes
Get our beginner guide + new craft ideas weekly.
No spam. Unsubscribe anytime.
Did you complete this activity?
Related
You might also like
Bunny Tail Cotton Ball Garland
DIY Jigsaw Puzzle from Cardboard
DIY Memory Match Game
Egg Carton Succulent Planters
Story Spinner Dice Game