How to Draw Anime Heads — Easy Step-by-Step Guide
Unlock your inner artist and learn to draw captivating anime-style heads with this simple, step-by-step guide. Perfect for screen-free family fun!

Quick answer
To draw anime heads, you need paper and a pencil. Start by sketching a basic circle and guidelines. This beginner-friendly activity has 10 steps and is perfect for families and kids aged 8+.
What you need
Shop on Amazon · As an Amazon Associate we earn from qualifying purchases. Links above are affiliate links — we may earn a commission at no extra cost to you.
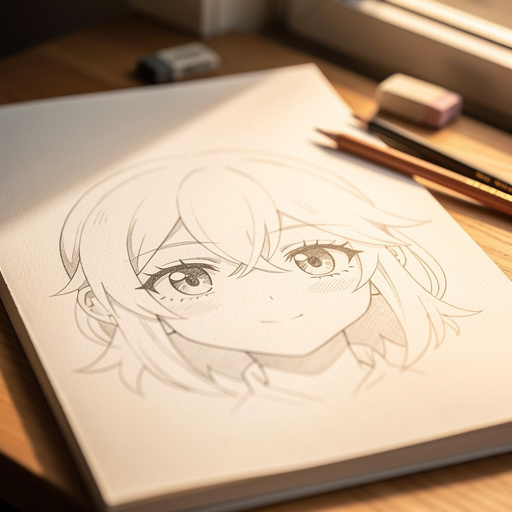
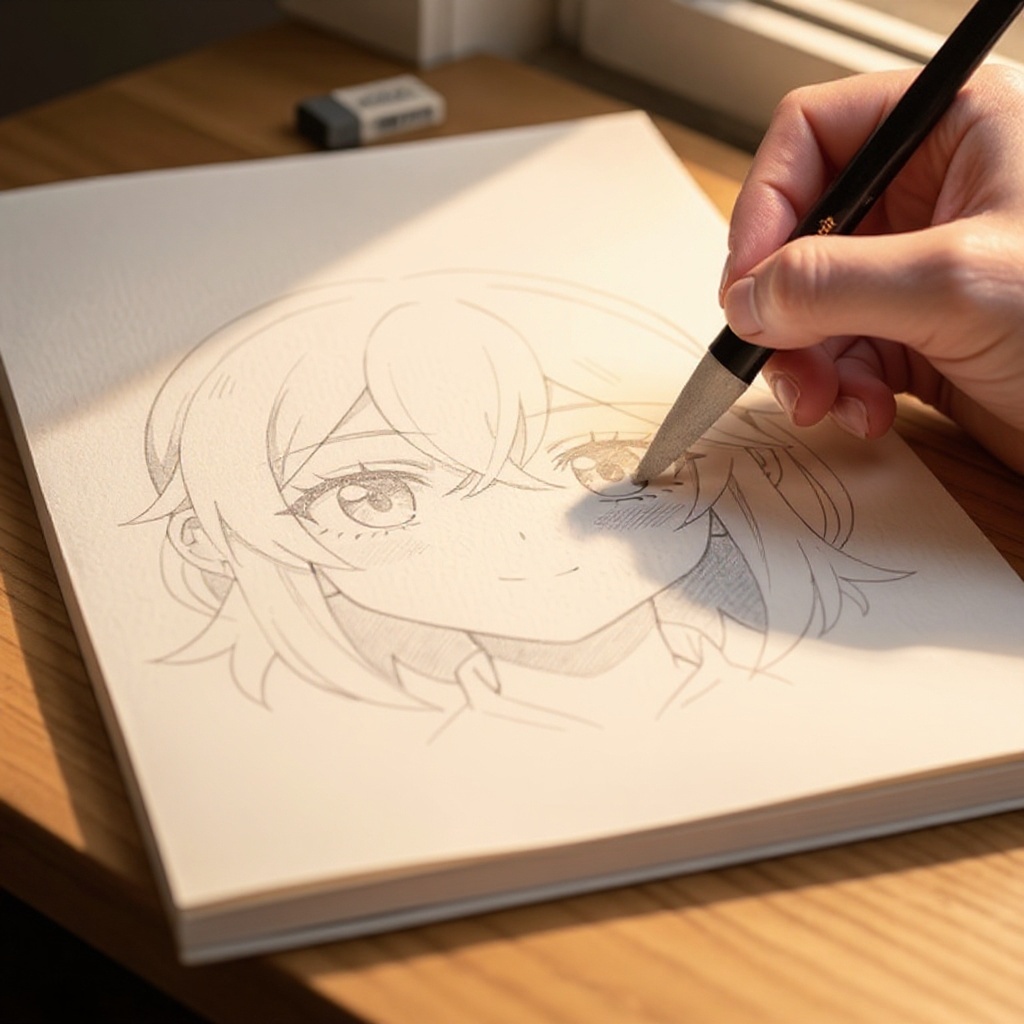
Embark on a creative journey into the vibrant world of anime art with this beginner-friendly guide to drawing heads! This project is a fantastic way to engage your imagination and develop fine motor skills, making it an ideal screen-free activity for families and aspiring young artists. You'll discover the fundamental shapes and proportions that define the iconic anime aesthetic, transforming a simple circle into a character full of personality. No prior drawing experience is needed – just a willingness to learn and have fun!
On this page
Step-by-Step Instructions
- 1
Lightly draw a circle on your paper. This will be the basic shape of the head, representing the cranium. Don't worry about making it perfectly round; a slightly imperfect circle often leads to more natural-looking characters.
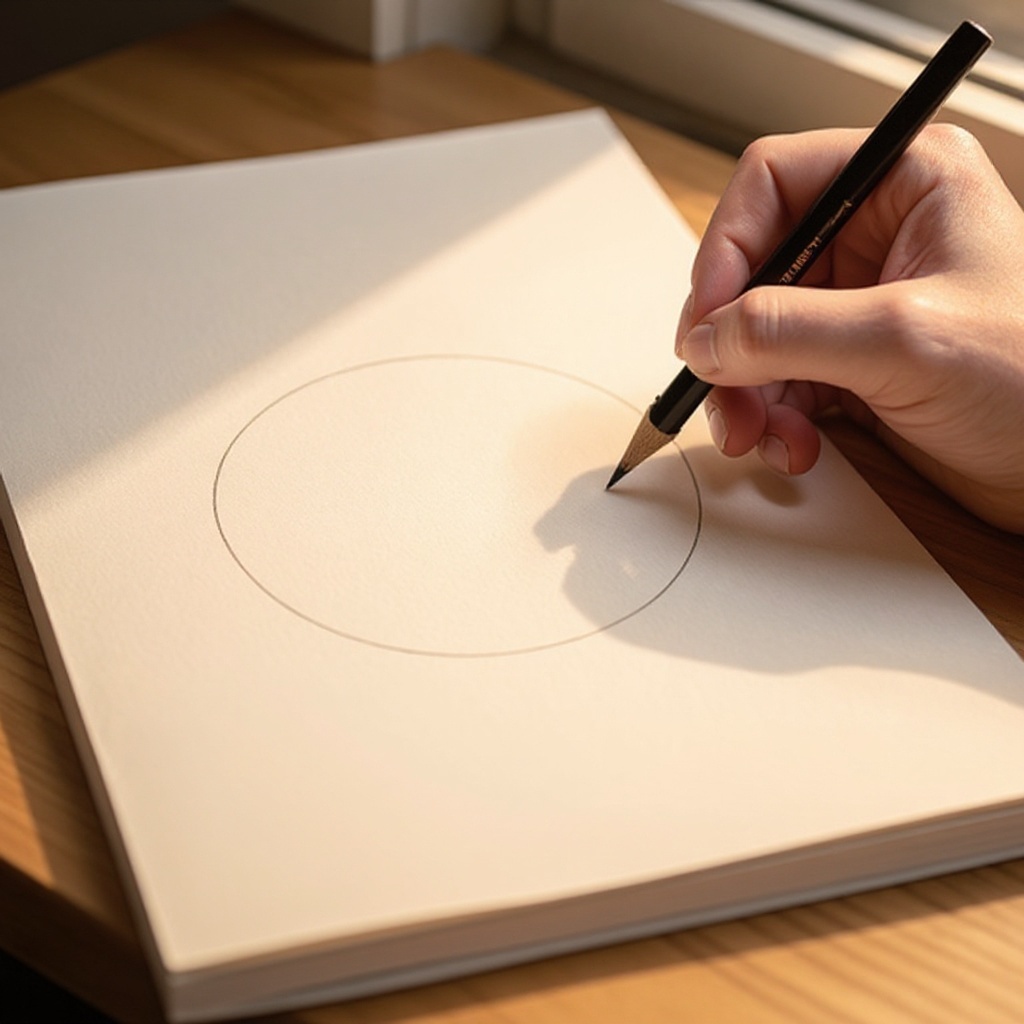
- 2
Draw a vertical line down the center of the circle, and a horizontal line across the middle. These are your crucial guide lines that will help you place facial features accurately. Ensure the vertical line extends slightly below the circle to accommodate the chin.
- 3
Draw a curved line from the bottom of the vertical line outwards to create the chin and jawline. Make it slightly pointed for a classic anime look, or rounder for a softer appearance. This line should connect smoothly to the sides of the original circle.
- 4
Add two small circles on the horizontal guide line for the placement of the eyes. Space them apart so there's roughly one eye's width between them, ensuring symmetry and proper proportion. These circles act as placeholders for the eye shapes.
- 5
Draw a small triangle for the nose, usually placed where the vertical and horizontal lines intersect. For a more subtle anime nose, you can also opt for a simple dot or a short, curved line.
- 6
Sketch a curved line for the mouth below the nose. You can make it a simple, straight line for a neutral expression, or a slight curve upwards for a smile, or downwards for a frown. The length of the line will also influence the expression.
- 7
Draw the ears on the sides of the head, aligning their tops with the horizontal eye guide line and their bottoms with the bottom of the nose. Anime ears are often simplified, so a basic C-shape or a slightly more detailed outline will suffice.
- 8
Outline the hair. Start with a few simple strands coming from the hairline, which is typically just above the original circle. Then, add more volume and shape, considering the character's personality and style. Think about how the hair would naturally fall or be styled.
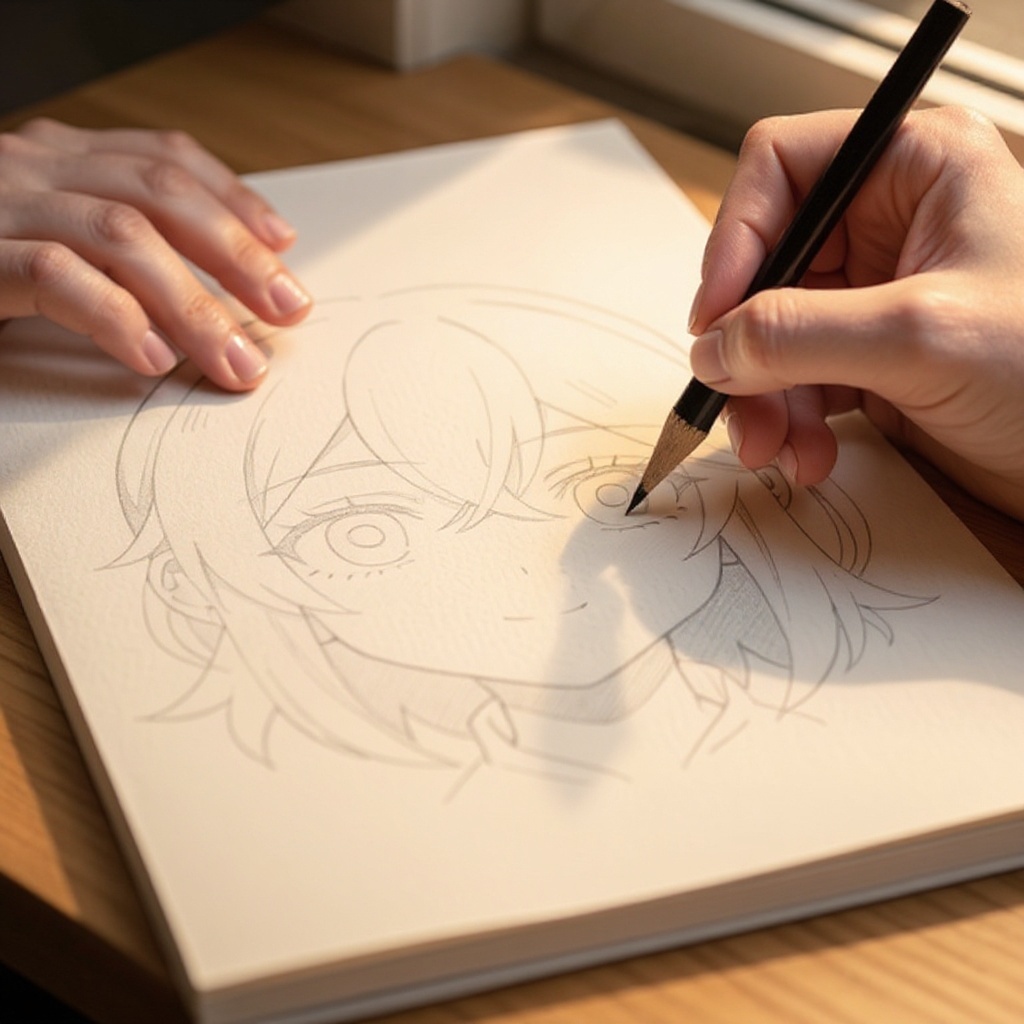
- 9
Erase any unnecessary guide lines that are no longer needed, such as the initial circle and the intersecting lines. Carefully refine the outlines of the face, eyes, nose, and mouth, making them bolder and cleaner.
- 10
Add details like pupils in the eyes, eyebrows above them, and subtle shading to give your character depth and dimension. You can also add neck lines extending from the base of the chin and jawline, connecting to the body.
- 11
Refine the eye shape by drawing an almond or oval shape around the initial circles. Add a larger circle or oval for the iris and a smaller one for the pupil, leaving a small white space for a highlight to make the eyes sparkle and appear lively.
- 12
Sketch the eyebrows, positioning them above the eyes. The shape and angle of the eyebrows can significantly convey emotion; sharp, angled brows can suggest anger or determination, while softer, curved brows might indicate happiness or surprise.
- 13
Consider the shape of the head. While we started with a circle, you can adjust the jawline and cheekbones to create different face shapes, such as round, oval, square, or heart-shaped, adding more variety to your characters.
- 14
Add details to the hair, such as individual strands, highlights, or shadows, to give it texture and movement. Think about the direction of the light source when adding shading to create a more realistic effect.
- 15
If you're aiming for a specific anime style, research common features of that style. For example, some styles have very large eyes, while others have more understated features. Adapt your drawing accordingly.
- 16
Practice drawing the head from different angles. This involves understanding how the circle and guide lines change when viewed from the side, three-quarter view, or even from above or below.
- 17
Experiment with different mouth shapes and sizes to convey a wide range of emotions, from a wide grin to a subtle smirk or a surprised gasp.
- 18
Add subtle shading to the face to create form. Lightly shade under the cheekbones, along the jawline, and on the sides of the nose to give the face a more three-dimensional appearance.
Tips & Troubleshooting
- 1Don't press too hard with your pencil initially, as you'll be erasing guide lines. Light sketching makes corrections easier and prevents your paper from becoming smudged. Use a light touch until you're happy with the overall structure.
- 2Experiment with different chin shapes and mouth expressions to create unique characters. A sharp, angular chin might suit a more serious character, while a rounded chin could be perfect for a friendly one. Similarly, a wide smile or a small pout can drastically change a character's perceived personality.
- 3Anime hair can be very stylized! Try adding sharp angles, flowing curves, or even gravity-defying styles to make your characters stand out. Think about how the hair would move if the character were running or turning their head.
- 4If your eyes look uneven, try drawing them simultaneously or using the horizontal guide line as a reference for their placement. You can also lightly sketch a central vertical line between the eyes to ensure they are equidistant from the center.
- 5Pay attention to the proportions of the face. While anime often exaggerates features, understanding the basic relationships between the eyes, nose, and mouth will help create a believable character, even within a stylized context.
- 6Don't be afraid to make mistakes! Drawing is a process of learning and refinement. Every line you draw, even if it's not perfect, is a step towards improvement. Embrace the imperfections as part of your unique artistic journey.
- 7Consider the character's age and gender when drawing the head. Younger characters often have rounder faces and larger eyes, while older characters might have more defined features. Similarly, subtle differences in jawline and brow shape can suggest gender.
- 8Use reference images if you're struggling with a particular feature or style. Looking at how professional anime artists draw heads can provide valuable insights and inspiration for your own work.
Related Activities You Might Enjoy
Frequently Asked Questions
What are the basic shapes used to draw an anime head?
The fundamental building blocks for an anime head are a circle, which forms the cranium or the upper part of the skull, and a curved line that shapes the jaw and chin. Crucially, guide lines – a vertical line down the center and a horizontal line across the middle – are essential for accurately placing facial features like eyes, nose, and mouth. These simple geometric shapes, when combined with careful placement, create the recognizable structure of an anime head, allowing for endless variations in character design.
How do I make my anime drawings look more dynamic?
To imbue your anime drawings with dynamism, focus on conveying movement and emotion. Try tilting the head at various angles, which immediately adds a sense of action or personality. Exaggerate the eyes and mouths to create more expressive faces; a wide, sparkling eye or a dramatic gasp can tell a story. Give the hair more volume and a sense of flow, as if it's being moved by wind or the character's actions. Consider the character's overall pose and the emotion you want to convey, ensuring that the head's position and expression align with this intent.
What's the easiest way to draw anime eyes?
The simplest approach to drawing anime eyes begins with a basic almond or oval shape. Inside this, draw a large circle or oval to represent the iris, which is typically quite prominent in anime. Then, add a smaller circle or oval within the iris for the pupil. To bring the eyes to life, always include at least one small, white highlight – a tiny circle or dot – on the iris or pupil. This highlight is key to making anime eyes sparkle and appear vibrant and engaging.
Can I draw anime heads without special drawing tools?
Absolutely! You can draw fantastic anime heads with just a regular pencil and a sheet of paper. The core of anime drawing lies in understanding the basic shapes, proportions, and the stylized way features are depicted, all of which can be learned and practiced with the most basic art supplies. While specialized tools can offer certain advantages, they are by no means a prerequisite for creating compelling anime characters. Your creativity and understanding of the techniques are far more important than the tools you use.
How do I make my anime characters' hair look unique?
Uniqueness in anime hair comes from embracing its stylized nature. Instead of drawing realistic strands, think in terms of larger shapes and volumes. Experiment with sharp, angular cuts, flowing, wavy locks, or even gravity-defying spikes and buns. Consider how the hair would frame the face or express the character's personality – is it neat and tidy, wild and messy, or elegantly styled? Adding highlights and shadows can also give hair texture and depth, making it more visually interesting and distinct.
What are common mistakes beginners make when drawing anime heads, and how can I avoid them?
A common beginner mistake is drawing features too small or too close together, leading to a cramped face. To avoid this, always use your guide lines diligently and ensure there's adequate spacing between features, especially the eyes. Another pitfall is making the head too perfectly round; remember to add a distinct jawline and chin. Over-reliance on erasing can also lead to smudged paper, so try to sketch lightly at first. Finally, forgetting to add pupils and highlights can make eyes look flat; always include these for life and expression.
What Next?
Congratulations on drawing your first anime head! This foundational skill opens the door to a universe of creative possibilities. Don't stop here; experiment with different hairstyles, accessories, and expressions to truly make your characters your own. Consider practicing different head angles or even moving on to drawing full bodies. Your completed sketches can be proudly displayed on your wall, shared with friends, or kept in a dedicated sketchbook to track your artistic growth. Keep drawing, and let your imagination soar!
Free: 10 Paper Crafts Anyone Can Make in 5 Minutes
Get our beginner guide + new craft ideas weekly.
No spam. Unsubscribe anytime.
Did you complete this activity?