How to Make 3-Ingredient Peanut Butter Pretzel Bites — Easy Step-by-Step Guide
Whip up these incredibly easy and satisfying peanut butter pretzel bites with just three ingredients. They're the perfect quick treat for busy families looking for screen-free fun. This beginner-friendly recipe is ideal for kids aged 6 and up with adult supervision, offering a delightful way to spend time together in the kitchen. Get ready for a simple yet delicious snack that everyone will love!
Quick answer
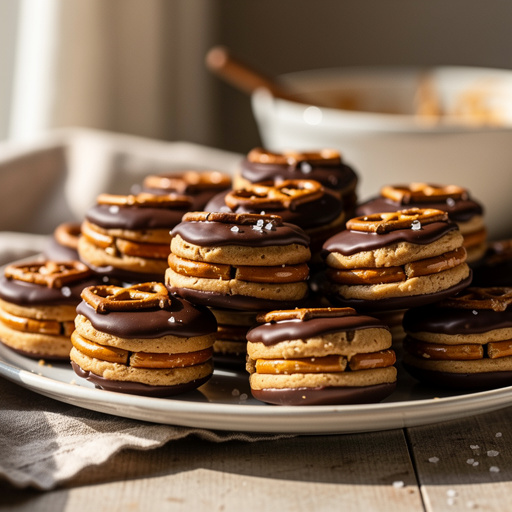
To make 3-ingredient peanut butter pretzel bites, you need pretzel rods, creamy peanut butter, and semi-sweet chocolate chips, taking about 15 minutes. Start by breaking pretzel rods into bite-sized pieces, about 1-2 inches long. Then, melt the peanut butter and dip the pretzel pieces, followed by melting chocolate chips and drizzling them over the peanut butter. Chill until set. This beginner-friendly activity has 12 steps and is perfect for families and kids aged 6+.
What you need
Shop on Amazon · As an Amazon Associate we earn from qualifying purchases. Links above are affiliate links — we may earn a commission at no extra cost to you.
In the whirlwind of modern life, finding simple, engaging activities that bring families together can feel like a treasure hunt. Enter the 3-Ingredient Peanut Butter Pretzel Bites – a culinary adventure that requires minimal ingredients, maximum fun, and delivers an irresistible snack. This recipe is a testament to the magic of simplicity, transforming humble pretzel rods, creamy peanut butter, and decadent chocolate chips into bite-sized delights. It’s the perfect antidote to screen time, offering a hands-on, screen-free experience that fosters creativity and builds confidence, especially for younger chefs aged six and up. Prepare for delighted smiles and empty plates!
On this page
Step-by-Step Instructions
- 1
Gather all your ingredients and lay out a clean, flat surface for preparing your pretzel pieces. Ensure you have your baking sheet lined with parchment paper ready to go, as this will prevent sticking and make cleanup a breeze.
- 2
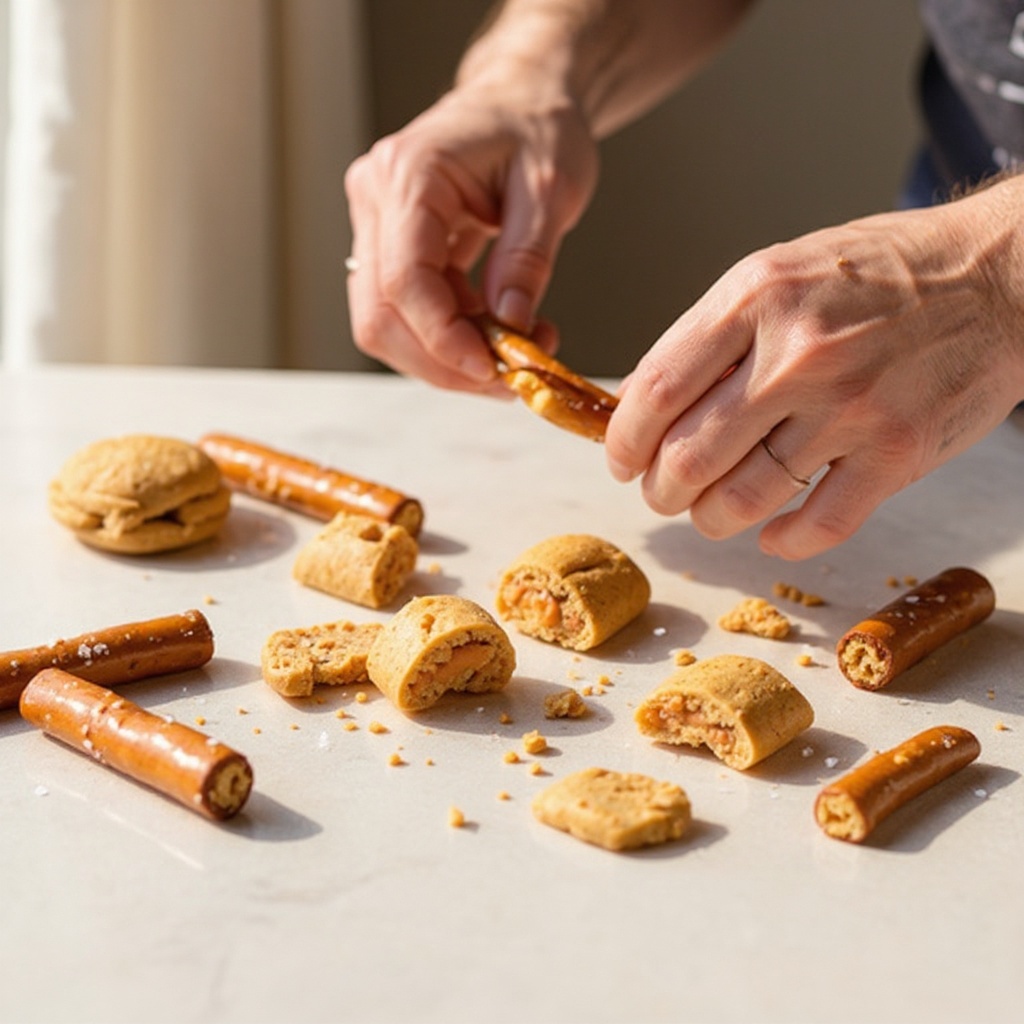
Carefully place the pretzel rods on your prepared surface. The goal here is to break them into manageable, bite-sized segments, aiming for pieces that are roughly 1 to 2 inches in length. You can do this by gently snapping them with your hands or, for more control, by using the edge of a sturdy cutting board to apply pressure.
- 3
Take one of your small microwave-safe bowls and spoon the creamy peanut butter into it. Make sure the bowl is clean and dry to prevent any unwanted texture changes in your peanut butter.
- 4
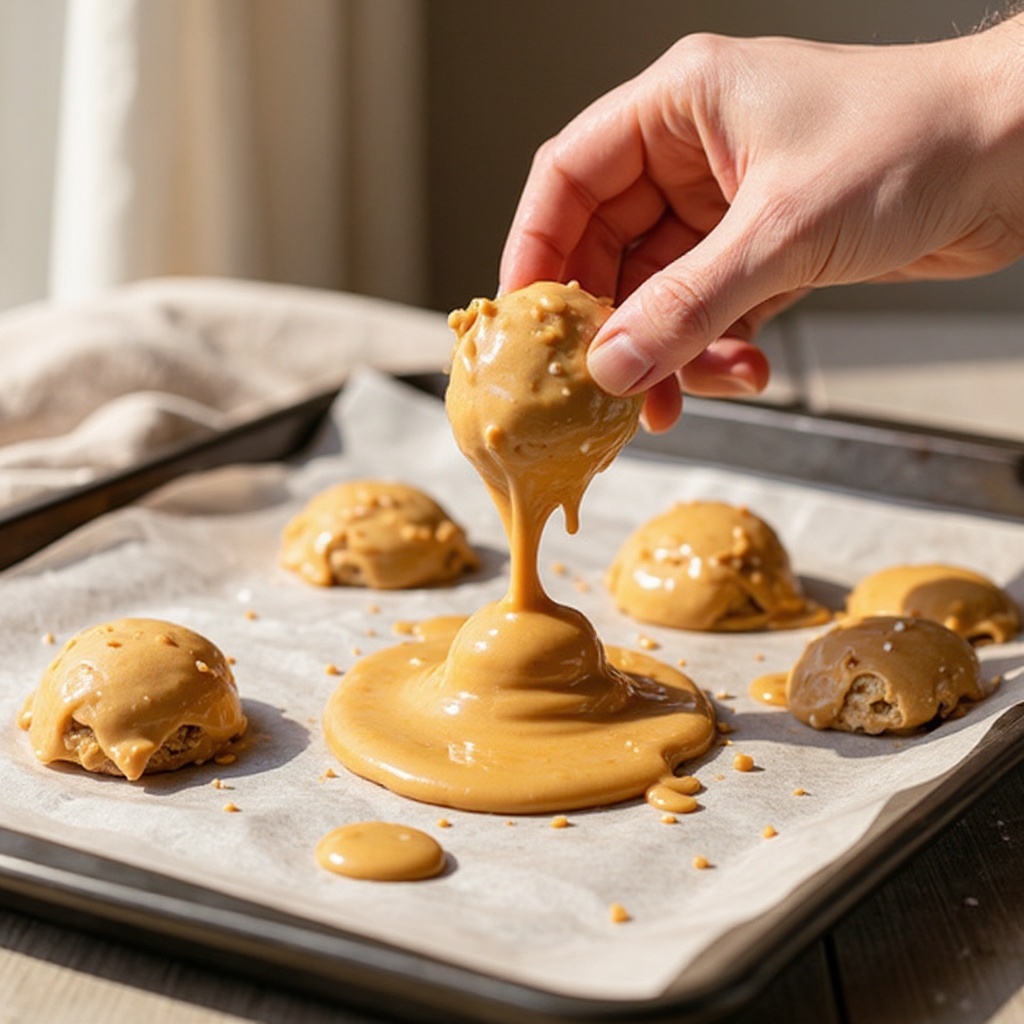
Microwave the peanut butter in 30-second intervals, stirring thoroughly with a spoon after each interval. Continue this process until the peanut butter is smooth, pourable, and has a consistency similar to melted caramel, which should take approximately 1 to 1.5 minutes in total. Be careful not to overheat it, as this can cause it to become oily or scorch.
- 5
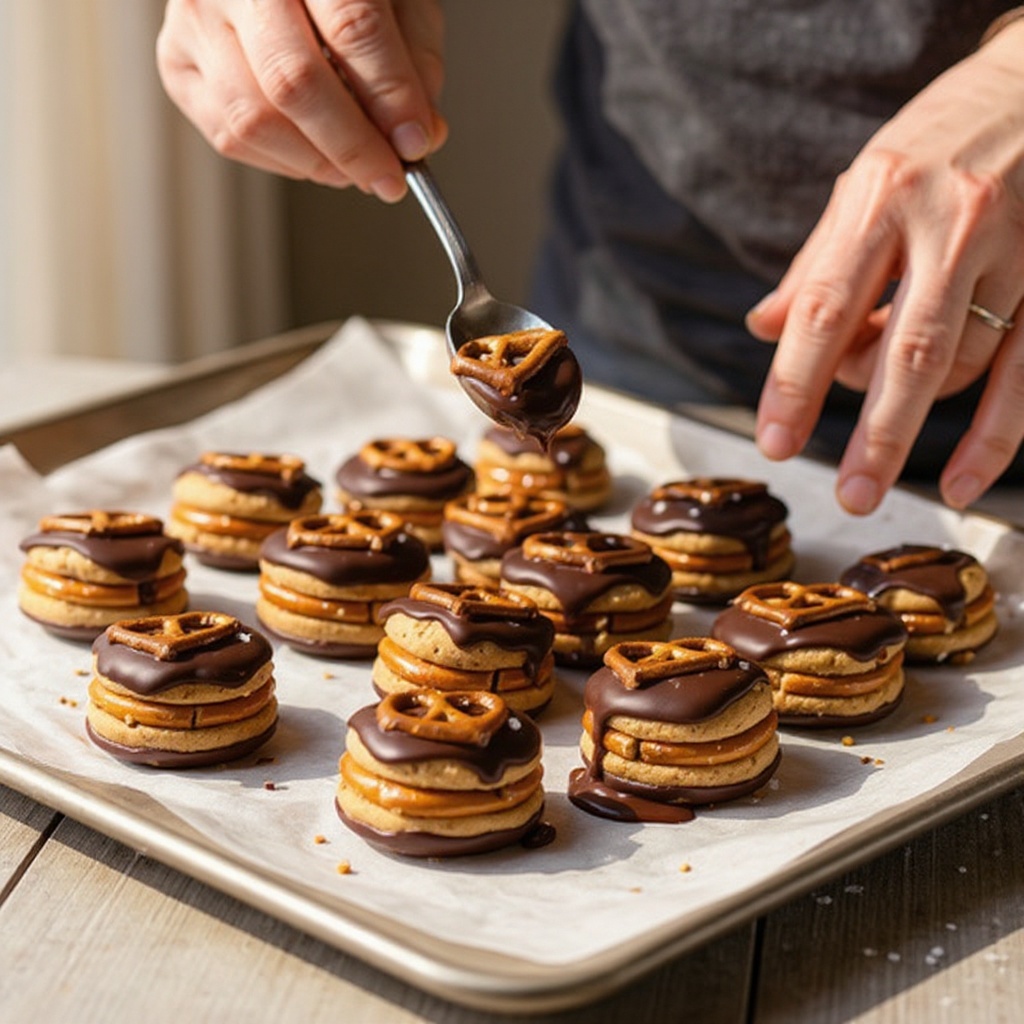
Using a spoon, carefully dip each broken pretzel piece halfway into the warm, melted peanut butter. Allow any excess peanut butter to drip back into the bowl for a cleaner finish. This ensures a good coating without being overly messy.
- 6
Gently place the peanut butter-coated pretzel bites onto the parchment-lined baking sheet, ensuring they have a little space between them so they don't stick together as they set.
- 7
Once all pretzel pieces are coated in peanut butter, take your second small microwave-safe bowl and add the semi-sweet chocolate chips. Just like with the peanut butter, ensure this bowl is clean and dry.
- 8
Microwave the chocolate chips in 30-second intervals, stirring well after each burst of heat. Continue until the chocolate is completely melted, smooth, and has a glossy, pourable consistency, similar to the peanut butter. Again, avoid overheating the chocolate, as it can seize up and become unusable.
- 9
Now, using a spoon or a fork, drizzle the melted chocolate artfully over the peanut butter-coated pretzel bites. You can create zig-zag patterns, stripes, or simply cover the top half of the peanut butter coating. A fork is excellent for creating delicate lines.
- 10
For an optional decorative touch, if you have any extra toppings like sprinkles or flaky sea salt, now is the time to sprinkle them over the melted chocolate before it begins to harden. This adds both visual appeal and an extra layer of flavor.
- 11
Once all your pretzel bites are drizzled and decorated, carefully place the entire baking sheet into the refrigerator. Allow them to chill for at least 5 minutes, or until both the peanut butter and chocolate coatings are completely set and firm to the touch.
- 12
Once the pretzel bites have set, they are ready to be served and enjoyed! Carefully remove them from the parchment paper. These are best enjoyed fresh, but can be stored for later.
- 13
If you notice your peanut butter is particularly thick and not melting smoothly, don't worry! You can add a teaspoon of neutral vegetable oil, like canola or sunflower oil, to the bowl before microwaving. Stir it in well; this will help to thin out the peanut butter and achieve a more pourable consistency without significantly altering the taste.
- 14
To elevate your pretzel bites, consider experimenting with different types of chocolate chips. Milk chocolate will offer a sweeter, creamier profile, while dark chocolate provides a richer, more intense flavor. White chocolate also makes a delightful contrast. For a sophisticated touch, a sprinkle of flaky sea salt on top of the chocolate drizzle before it sets can enhance the sweet and salty combination beautifully.
- 15
When storing any leftover peanut butter pretzel bites, it's crucial to keep them in an airtight container. This will help to maintain their crispness and prevent them from becoming stale or absorbing any unwanted odors from other foods. They can be stored at room temperature for up to 3 days, making them a fantastic make-ahead treat for snacks or lunchboxes.
- 16
Safety first, especially when working with young children! Always ensure adult supervision when using the microwave, as it can get hot and the melted ingredients can cause burns. Teach children to be cautious and to always ask an adult for help when operating the microwave or handling hot bowls.
Tips & Troubleshooting
- 1If your peanut butter is proving stubborn and doesn't seem to be melting smoothly, a small addition of a teaspoon of neutral vegetable oil can work wonders. Stir it in thoroughly before microwaving; this helps to achieve a more fluid consistency without significantly impacting the classic peanut butter flavor, ensuring a better dipping and coating experience.
- 2Don't be afraid to get creative with your chocolate choices! While semi-sweet is a classic, try using milk chocolate for a sweeter bite, dark chocolate for a richer taste, or even white chocolate for a visually striking contrast. You can even mix different types of chocolate chips together for a unique blend.
- 3For an extra burst of flavor and texture, consider adding a sprinkle of flaky sea salt over the melted chocolate drizzle before it sets. The contrast between the sweet chocolate, salty pretzel, and creamy peanut butter is truly irresistible and adds a gourmet touch to these simple bites.
- 4When dipping the pretzels, aim for a consistent coating. Holding the pretzel with one hand and dipping with the other allows for better control. Gently tap the pretzel against the side of the bowl to let excess peanut butter drip off, preventing overly thick layers that might not set as firmly.
- 5Ensure your baking sheet is completely covered with parchment paper or wax paper. This is essential for easy removal of the finished pretzel bites and significantly simplifies the cleanup process, allowing you to spend more time enjoying your creations and less time scrubbing.
- 6When melting your chocolate, be patient. Overheating chocolate can cause it to seize and become grainy, making it difficult to work with. It's better to melt it in shorter intervals and stir frequently to ensure an even, smooth consistency. If it seems too thick after melting, a tiny bit more oil or a teaspoon of shortening can help.
- 7For a fun, kid-friendly variation, consider using cookie cutters to create fun shapes from flattened pretzel dough before baking (if you're starting from scratch with dough), or simply use mini pretzels as a base for even smaller, bite-sized treats. You can also add edible glitter or colored sprinkles for a festive touch.
- 8Proper storage is key to maintaining the delightful crunch of your pretzel bites. Always store them in an airtight container at room temperature. Avoid refrigerating them for extended periods, as this can sometimes lead to a softer pretzel texture. They are best enjoyed within a few days of making.
Related Activities You Might Enjoy
Frequently Asked Questions
What are the easiest 3-ingredient snacks to make at home?
Peanut butter pretzel bites are incredibly easy! With just pretzel rods, peanut butter, and chocolate chips, you can create a delicious snack in under 15 minutes with minimal mess. Other simple 3-ingredient snacks include banana 'nice' cream (frozen bananas blended), yogurt parfaits layered with fruit and granola, or simple fruit skewers. The key to an easy snack is minimal prep, few ingredients, and quick assembly, making these peanut butter pretzel bites a standout option for busy households seeking a fun and satisfying treat without the fuss.
Can kids make these 3-ingredient snacks themselves?
Yes, with adult supervision for microwaving and breaking pretzels, kids aged 6 and up can easily participate in making these peanut butter pretzel bites. It's a fantastic way to encourage independence and fine motor skills. Younger children can help with tasks like dipping the pretzels, drizzling the chocolate (with guidance), and placing them on the baking sheet. This activity provides a wonderful opportunity for quality family time, teaching basic kitchen skills in a fun, low-pressure environment. The simple steps and rewarding outcome make it a perfect project for budding young chefs.
What other ingredients can I use for 3-ingredient snacks?
For variations on this snack, you could swap peanut butter for almond butter or sunflower seed butter for those with allergies or preferences. The chocolate chips can be substituted with milk chocolate, dark chocolate, or even white chocolate for a different flavor profile. Beyond these core ingredients, consider adding a drizzle of caramel sauce for an extra layer of sweetness, or a sprinkle of flaky sea salt on top of the chocolate before it sets to enhance the sweet and salty combination. Even different types of pretzels, like mini pretzels or pretzel twists, can be used for a varied texture and appearance.
How long do 3-ingredient snacks like these last?
These peanut butter pretzel bites can be stored in an airtight container at room temperature for up to 3 days. This makes them a great make-ahead treat for snacks, lunchboxes, or impromptu cravings. It's important to ensure the container is truly airtight to maintain the crispness of the pretzels and prevent the peanut butter and chocolate from becoming stale or absorbing any unwanted moisture or odors. Avoid refrigerating them for extended periods, as this can sometimes result in a softer pretzel texture, which might not be as desirable.
What is the best way to melt peanut butter and chocolate for dipping?
The best method for melting peanut butter and chocolate for dipping is using a microwave in short, controlled bursts. Place your peanut butter or chocolate chips in a separate, clean, and dry microwave-safe bowl. Microwave on 30-second intervals, stirring thoroughly with a spoon after each interval. Continue this process until the ingredients are smooth and pourable. It's crucial to avoid overheating, as this can cause peanut butter to become oily or separate, and chocolate to seize and become grainy. Patience and frequent stirring are key to achieving a perfect dipping consistency.
Can I make these peanut butter pretzel bites ahead of time?
Absolutely! These peanut butter pretzel bites are an excellent make-ahead treat. Once they are fully set in the refrigerator, you can transfer them to an airtight container and store them at room temperature. They will maintain their delicious flavor and satisfying crunch for up to 3 days. This makes them perfect for preparing in advance for parties, school lunches, or just to have a convenient snack on hand throughout the week. Just ensure they are completely cooled and set before packing them away.
What are some fun variations or decorations for these pretzel bites?
The possibilities for fun variations and decorations are endless! Beyond using different types of chocolate, you can add a sprinkle of flaky sea salt for a gourmet touch, or colorful nonpareils and edible glitter for a festive look. For a more elaborate design, consider using a toothpick to create swirls or patterns in the melted chocolate. You could also try drizzling a contrasting color of melted chocolate over the first layer once it has partially set. For a different flavor profile, try adding a tiny pinch of cinnamon to the peanut butter before melting, or a drop of peppermint extract to the chocolate.
What Next?
And there you have it – your very own batch of delightful 3-Ingredient Peanut Butter Pretzel Bites! These little gems are not only delicious but also incredibly versatile. Feel free to experiment with different nut butters like almond or sunflower seed butter, or explore various chocolate options such as milk, dark, or even white chocolate for a different flavor profile. For an extra touch of gourmet flair, consider a sprinkle of flaky sea salt or some colorful nonpareils before the chocolate sets. Store any leftovers in an airtight container at room temperature for up to three days, though they rarely last that long! As a next project, why not try a similar concept with graham crackers or even mini cookies? Happy crafting and happy snacking!
Free: 10 Paper Crafts Anyone Can Make in 5 Minutes
Get our beginner guide + new craft ideas weekly.
No spam. Unsubscribe anytime.
Did you complete this activity?
Related
You might also like
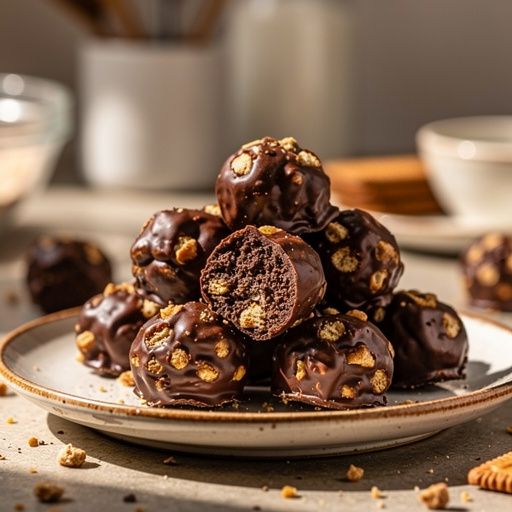
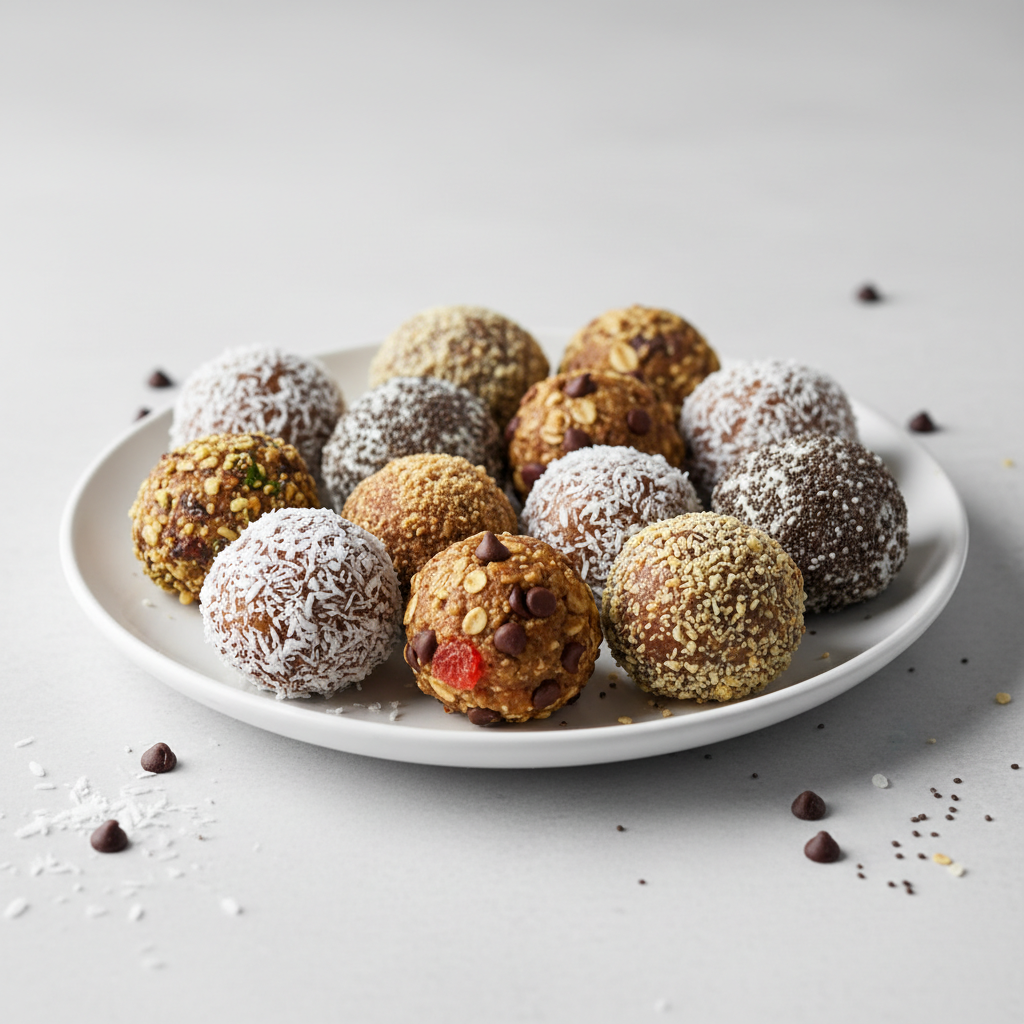
No-Bake Chocolate Biscuit Bites

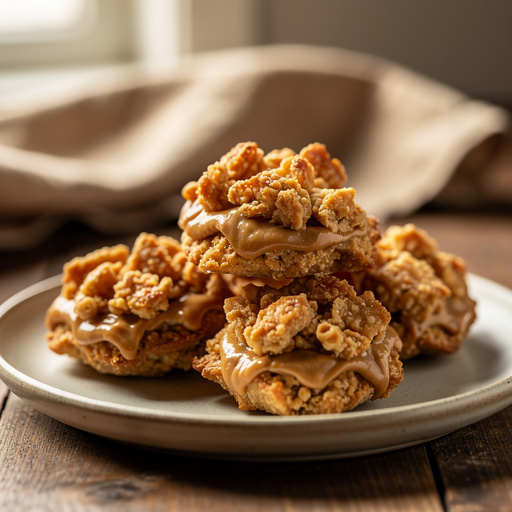
Speedy 3-Ingredient Cookies
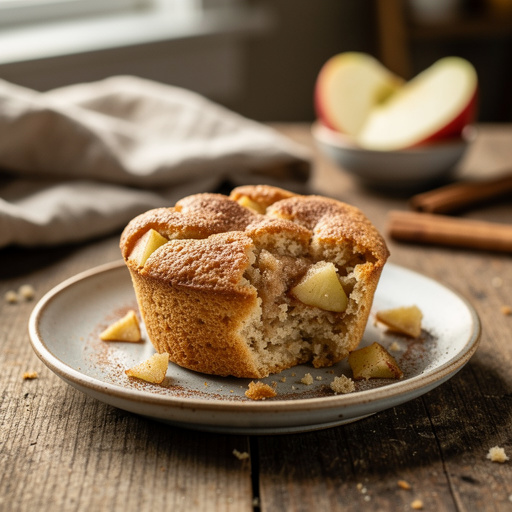
Quick Apple Cinnamon Bites
3-Ingredient Peanut Butter Puffs
3-Ingredient Peanut Butter Delights