How to Make No-Bake Chocolate Biscuit Bites — Easy Step-by-Step Guide
Whip up delicious, no-bake chocolate biscuit bites in minutes! These easy treats are perfect for a quick dessert or fun family activity. This beginner-friendly recipe is ideal for families with kids aged 6+ and requires no oven time.


Quick answer
To make no-bake chocolate biscuit bites, you need crushed biscuits, butter, cocoa powder, sugar, and condensed milk, taking about 20 minutes. Start by mixing the dry ingredients. This beginner-friendly activity has 8 steps and is perfect for families with kids aged 6+.
What you need
Shop on Amazon · affiliate links
Looking for a delightful treat that's both incredibly easy and satisfying to make? These No-Bake Chocolate Biscuit Bites are your answer! Perfect for those moments when a sweet craving strikes or when you need a fun, engaging activity for the whole family, these bites require no oven and minimal fuss. They're a fantastic way to introduce young children to the kitchen, fostering creativity and a sense of accomplishment. Get ready to create delicious, chocolatey goodness that everyone will adore!
On this page
Step-by-Step Instructions
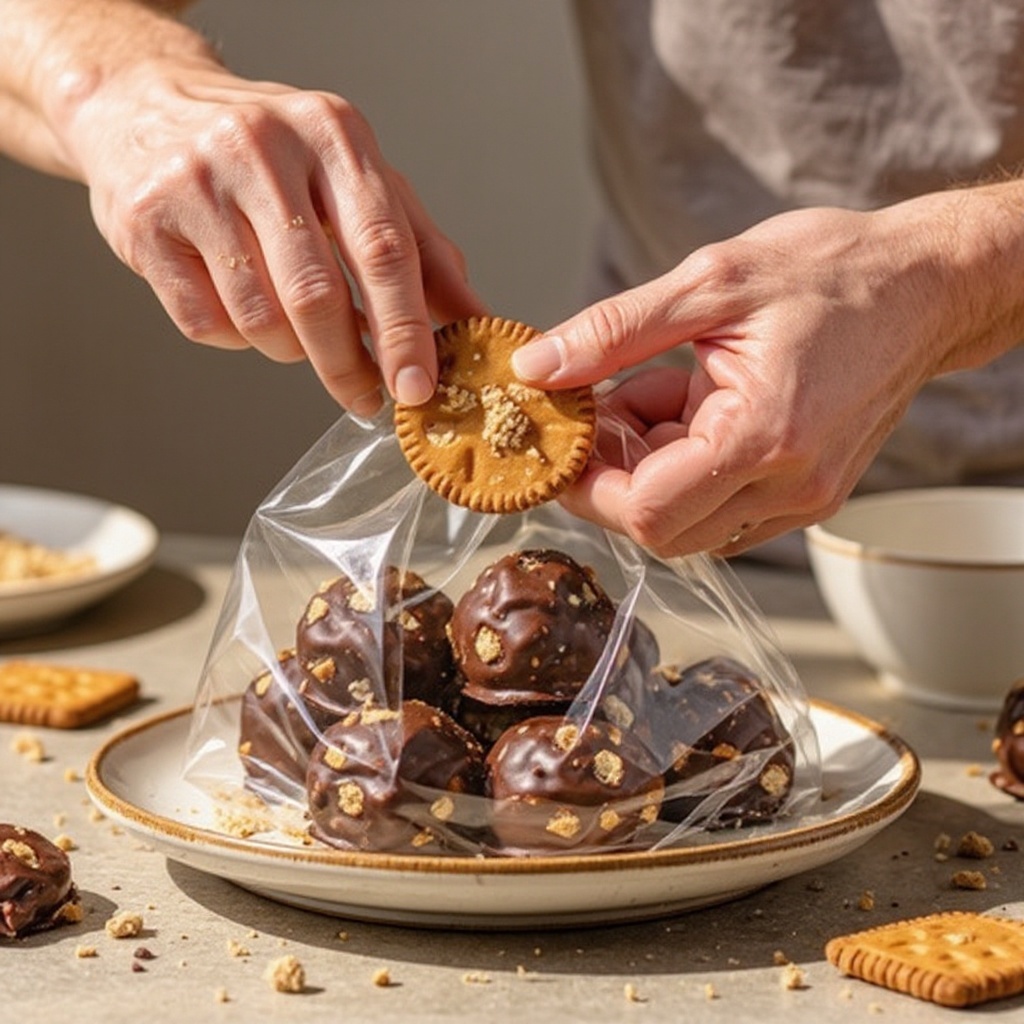
- 1
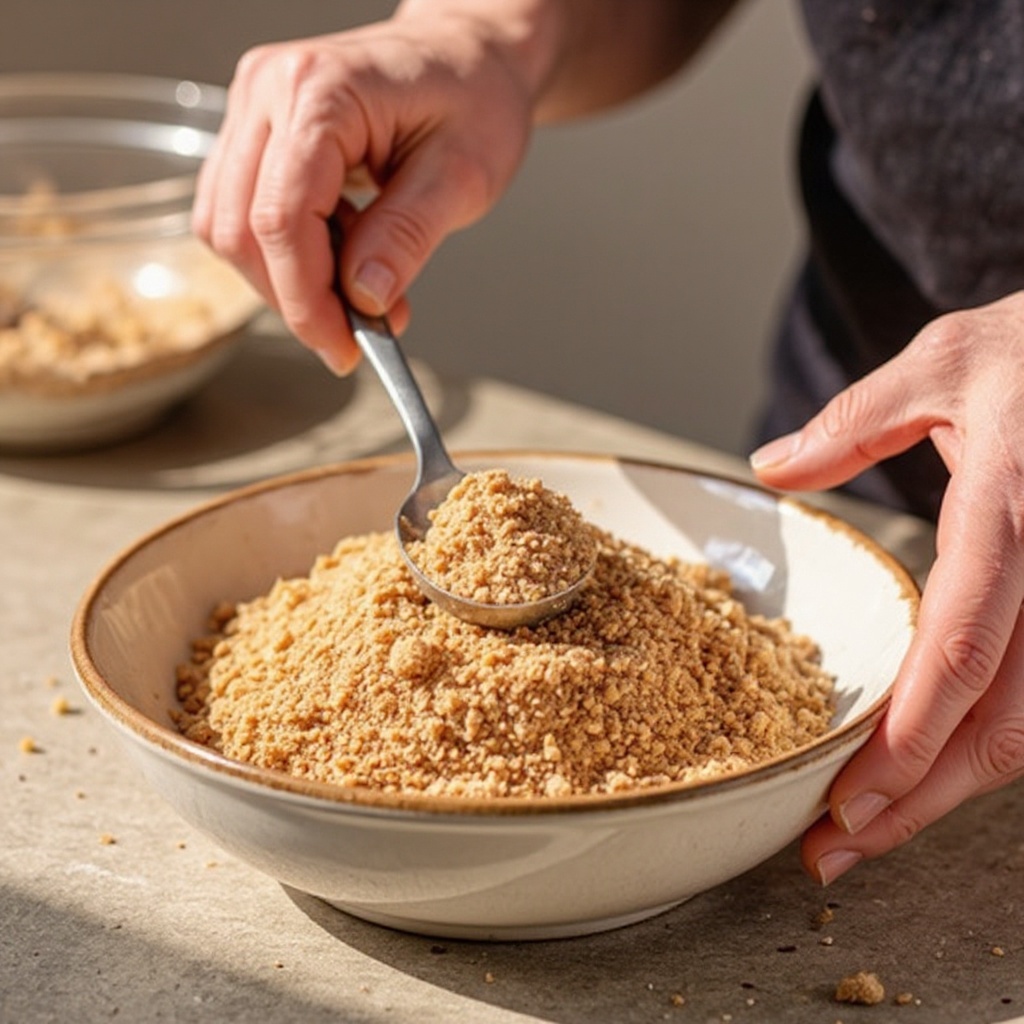
Place the digestive biscuits into a sturdy plastic bag. Seal the bag, ensuring most of the air is removed to prevent crumbs from escaping during the crushing process. This step is crucial for achieving the right texture for your bites.

- 2
Using a rolling pin or the base of a heavy pan, firmly and evenly crush the digestive biscuits inside the bag. Aim for fine crumbs with only a few small, pea-sized pieces remaining; avoid turning them into complete dust, as some texture is desirable. Be thorough to ensure consistent texture throughout the mixture.
- 3
Carefully transfer the crushed biscuit crumbs from the plastic bag into a large mixing bowl. It's helpful to use a spatula or your hands to scrape out every last crumb, ensuring you utilize all the biscuit goodness.
- 4
Add the unsweetened cocoa powder and caster sugar to the bowl containing the biscuit crumbs. These dry ingredients form the base of the chocolate flavor and sweetness, so ensure they are measured accurately.

- 5
Stir the dry ingredients together thoroughly using a spoon or spatula until they are well combined and the cocoa powder is evenly distributed throughout the biscuit crumbs. This prevents pockets of unsweetened or overly sweet mixture.
- 6
Pour the melted unsalted butter into the bowl with the dry ingredients. The butter acts as a binder, helping to bring the dry ingredients together and adding richness to the bites.
- 7
Add the condensed milk to the mixture. This is the key ingredient that will transform the dry crumbs and butter into a cohesive, sticky dough, providing sweetness and moisture.

- 8
Mix everything together thoroughly with a spoon or spatula until a thick, sticky dough forms.
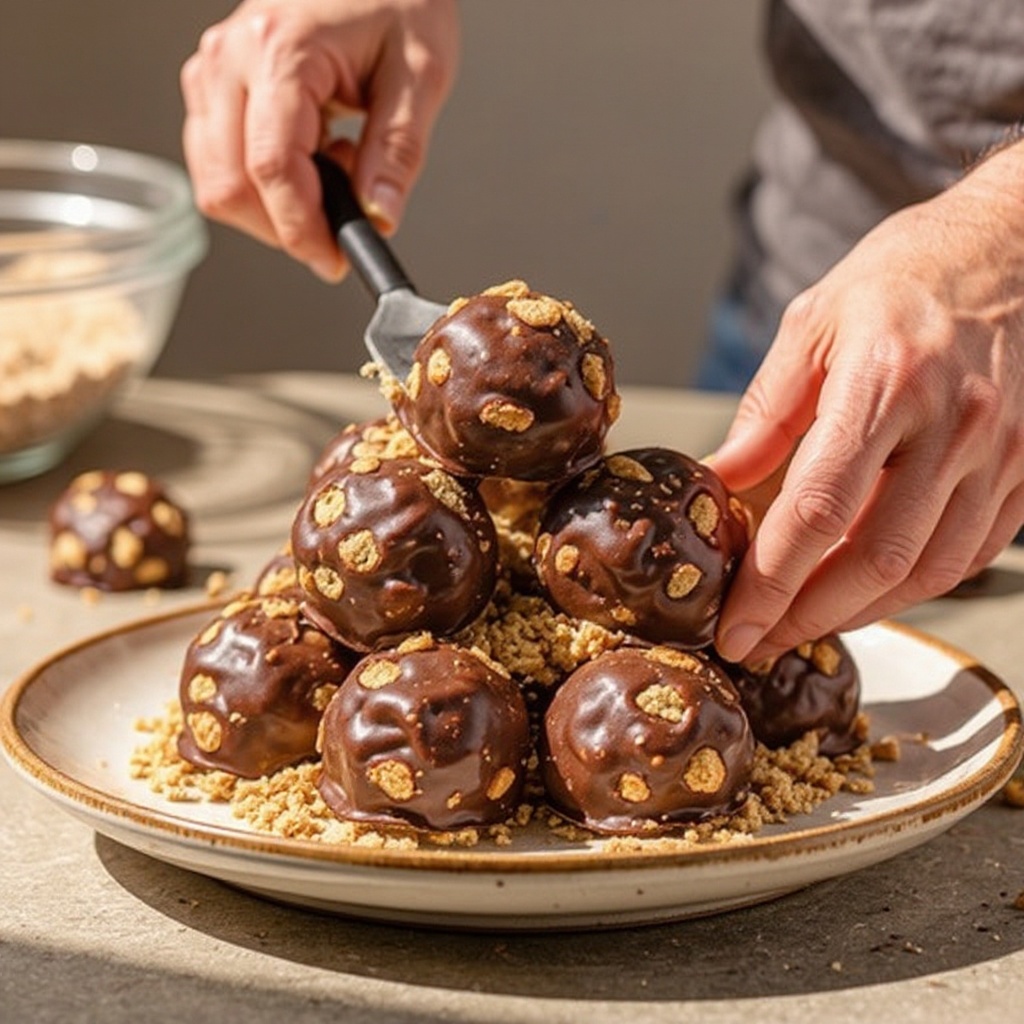
 Continue mixing until there are no dry patches of biscuit crumbs or cocoa powder visible, and the entire mixture clumps together easily when pressed.
- 9
Once the dough has formed, begin to roll the mixture into small bite-sized balls. Aim for a diameter of about 2-3 cm, similar to the size of a large marble or a small truffle. You should aim to get around 12-15 bites from this batch.
- 10
As you roll each bite, gently press the mixture together to ensure it holds its shape. If the mixture is sticking to your hands, you can lightly dust your palms with a little extra cocoa powder or crushed biscuit crumbs to make rolling easier.
- 11
Place the rolled chocolate biscuit bites onto a small plate or tray as you make them. Ensure they have a little space between them so they don't stick together while you finish rolling the rest of the batch.
- 12
Once all the mixture has been rolled into balls, you can optionally roll them in a decorative coating. This could be extra cocoa powder for an intense chocolate finish, desiccated coconut for a tropical flair, or colorful sprinkles for a festive look.
- 13
Allow the finished bites to set slightly at room temperature for about 10-15 minutes before transferring them to the refrigerator. This initial setting period helps them firm up before chilling.
- 14
Chill the chocolate biscuit bites in the refrigerator for at least 30 minutes. This allows them to firm up completely, making them easier to handle and enjoy. They can be stored in the refrigerator until ready to serve.
Tips & Troubleshooting
- 1If the mixture seems too dry and crumbly, and struggles to hold its shape when rolled, add a little more condensed milk, a tablespoon at a time, until it binds together. Be cautious not to add too much, as this can make the mixture too wet and difficult to handle.
- 2Conversely, if the mixture is too wet and sticky, making it difficult to roll into balls, add a few more crushed biscuit crumbs, a tablespoon at a time, until it reaches a workable consistency. This will help absorb excess moisture and firm up the dough.
- 3For an enhanced flavor profile, consider adding a teaspoon of vanilla extract to the wet ingredients or a pinch of ground cinnamon or nutmeg to the dry ingredients. These additions can introduce subtle yet delightful aromatic notes to your chocolate biscuit bites.
- 4To give your chocolate biscuit bites a professional and appealing finish, roll the finished balls in extra cocoa powder for a rich, dark chocolate coating. Alternatively, you can use desiccated coconut for a chewy texture and tropical flavor, or colorful sprinkles for a fun, festive appearance.
- 5Store the finished chocolate biscuit bites in an airtight container in the refrigerator. This will help them maintain their shape and freshness, and they will typically stay delicious for up to 5 days. Ensure the container is well-sealed to prevent them from drying out or absorbing other odors.
- 6Experiment with different types of biscuits! While digestive biscuits are a classic choice, feel free to use rich tea biscuits for a lighter flavor, graham crackers for a hint of honey, or even shortbread for a buttery richness. Just ensure they are crushed into fine crumbs.
- 7For an extra burst of chocolatey goodness, fold in a handful of mini chocolate chips or chopped chocolate chunks into the mixture before rolling. This adds delightful pockets of melted chocolate within each bite.
- 8If you're making these for a special occasion or as a gift, consider using decorative cupcake liners or small candy molds to shape and present your bites. This adds an extra touch of elegance and makes them easier to serve.
Related Activities You Might Enjoy
Frequently Asked Questions
Can I use different types of biscuits for no-bake chocolate bites?
Absolutely! While digestive biscuits are a popular and readily available choice, they are by no means the only option. You can achieve wonderfully different flavor profiles and textures by substituting them with other types of plain biscuits. Rich tea biscuits will yield a lighter, more delicate bite, while graham crackers will introduce a subtle honeyed sweetness. For a richer, more buttery experience, consider using shortbread. The key is to ensure that whatever biscuit you choose is crushed into fine crumbs, similar to the consistency of coarse sand, to allow it to bind effectively with the other ingredients and create a cohesive mixture.
How long do no-bake chocolate biscuit bites last?
These delightful no-bake treats are best stored in an airtight container and kept in the refrigerator. This chilling process helps them maintain their firm texture and prevents them from becoming too soft or sticky. When stored correctly, no-bake chocolate biscuit bites will typically stay fresh and delicious for up to 5 days. However, due to their irresistible nature, it's quite common for them to be devoured much sooner than that! Always check for any signs of spoilage before consuming, though this is rare with proper refrigeration.
What can I do if my no-bake chocolate biscuit mixture is too sticky?
A sticky mixture can be a common hurdle, but it's easily remedied. If your no-bake chocolate biscuit mixture is too sticky to roll comfortably, the best course of action is to chill it in the refrigerator for about 15-20 minutes. This will help to firm up the butter and condensed milk, making the dough less pliable and easier to handle. Alternatively, you can lightly dust your hands with cocoa powder or a little extra crushed biscuit crumbs before you start rolling. This creates a barrier that prevents the sticky dough from adhering to your skin.
Are there any nut-free alternatives for this recipe?
This recipe is naturally nut-free, provided you are mindful of the ingredients you select. Digestive biscuits, cocoa powder, sugar, butter, and condensed milk are typically nut-free. However, it is crucial to always check the ingredient labels of all your components to ensure they are free from nuts and have not been processed in facilities with a risk of cross-contamination. Many brands offer certified nut-free options for biscuits and cocoa powder, which is especially important if you are preparing these treats for individuals with nut allergies.
Can I make these chocolate biscuit bites ahead of time?
Yes, you can absolutely make these no-bake chocolate biscuit bites ahead of time! In fact, it's often recommended to make them at least a few hours in advance, or even the day before you plan to serve them. This allows them ample time to chill and firm up properly in the refrigerator, which enhances their texture and makes them easier to handle. Storing them in an airtight container in the fridge will keep them fresh and delicious for up to 5 days, making them a perfect make-ahead dessert for parties or busy weeknights.
What is the best way to store these chocolate biscuit bites?
The best way to store your delicious no-bake chocolate biscuit bites is in an airtight container. This is essential to prevent them from drying out or absorbing any unwanted odors from other foods in your refrigerator. Once they are completely cooled and have firmed up, place them in the container and seal it tightly. For optimal freshness and texture, keep the container in the refrigerator. This method will ensure they remain enjoyable for up to 5 days, though their tempting nature might mean they disappear even faster!
What Next?
These No-Bake Chocolate Biscuit Bites are incredibly versatile and can be customized to your heart's content. Consider adding a handful of mini chocolate chips, chopped nuts (if allergies aren't a concern), or even a splash of orange zest for a citrusy twist. Once made, store them in an airtight container in the refrigerator for up to 5 days, though they rarely last that long! For your next culinary adventure, why not try a no-bake cheesecake or some simple chocolate fudge? These bites also make charming edible gifts, presented in a pretty tin or cellophane bag tied with a ribbon.
Free: 10 Paper Crafts Anyone Can Make in 5 Minutes
Get our beginner guide + new craft ideas weekly.
No spam. Unsubscribe anytime.
Did you complete this activity?
Related


