How to Make 3 Ingredient Peanut Butter Cookies No Egg — Easy Step-by-Step Guide
Discover how to make incredibly easy 3 ingredient peanut butter cookies with no eggs needed! These delightful, melt-in-your-mouth treats are perfect for a quick family baking session. This recipe is so simple, even the youngest bakers can get involved, making it a fantastic way to create sweet memories in the kitchen. With just a few pantry staples, you'll have a batch of irresistible cookies ready in no time.
Quick answer
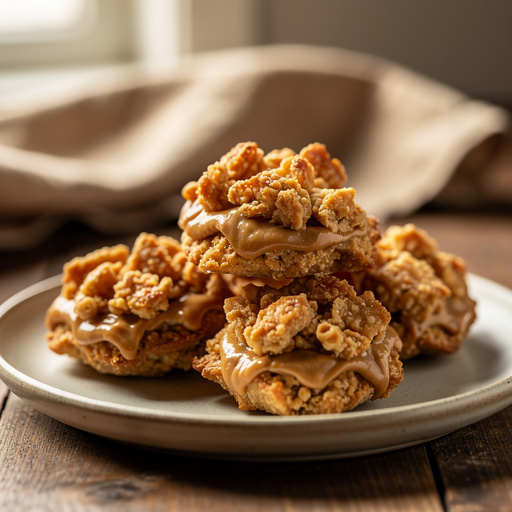
To make 3 ingredient peanut butter cookies no egg, you need 1 cup creamy peanut butter, 1/2 cup granulated sugar, and 2 tablespoons milk, and about 20 minutes. Start by mixing the peanut butter and sugar until combined, then add milk to form a thick dough. Roll into balls, flatten with a fork, and bake at 350°F (175°C) for 10-12 minutes. This beginner-friendly activity has 7 core steps and is perfect for families with young children.
What you need
Shop on Amazon · As an Amazon Associate we earn from qualifying purchases. Links above are affiliate links — we may earn a commission at no extra cost to you.
Embark on a delightful baking adventure with this incredibly simple 3-ingredient peanut butter cookie recipe. Perfect for busy weeknights, spontaneous cravings, or a fun activity with little ones, these cookies are a testament to the magic of minimal ingredients. What makes them truly special is their egg-free nature, making them accessible for those with egg allergies or simply looking for a quicker, more straightforward bake. Get ready to fill your kitchen with the irresistible aroma of freshly baked peanut butter goodness!
On this page
Step-by-Step Instructions
- 1
Preheat your oven to 350°F (175°C) and prepare your baking sheet. Line a baking sheet with parchment paper or a silicone baking mat to prevent sticking and ensure easy cleanup. This step is crucial for even baking and preventing the cookies from adhering to the pan.
- 2
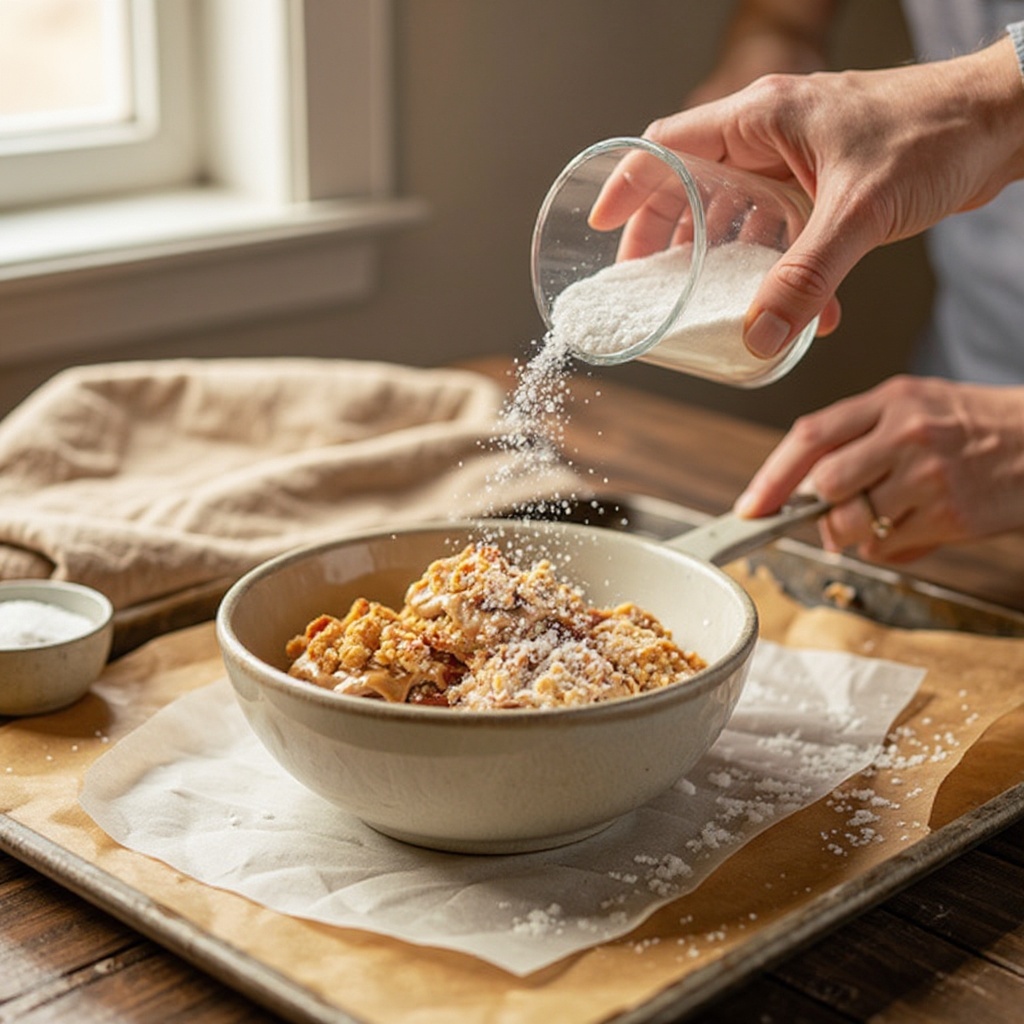
In a medium mixing bowl, combine the creamy peanut butter and granulated sugar. Measure these ingredients accurately for the best texture and consistency in your final cookies. Ensure your peanut butter is at room temperature for easier mixing.
- 3
Stir the peanut butter and sugar together thoroughly until they are well combined. Use a spatula or wooden spoon to mix, ensuring there are no pockets of dry sugar remaining. The mixture should start to look cohesive and slightly crumbly.
- 4
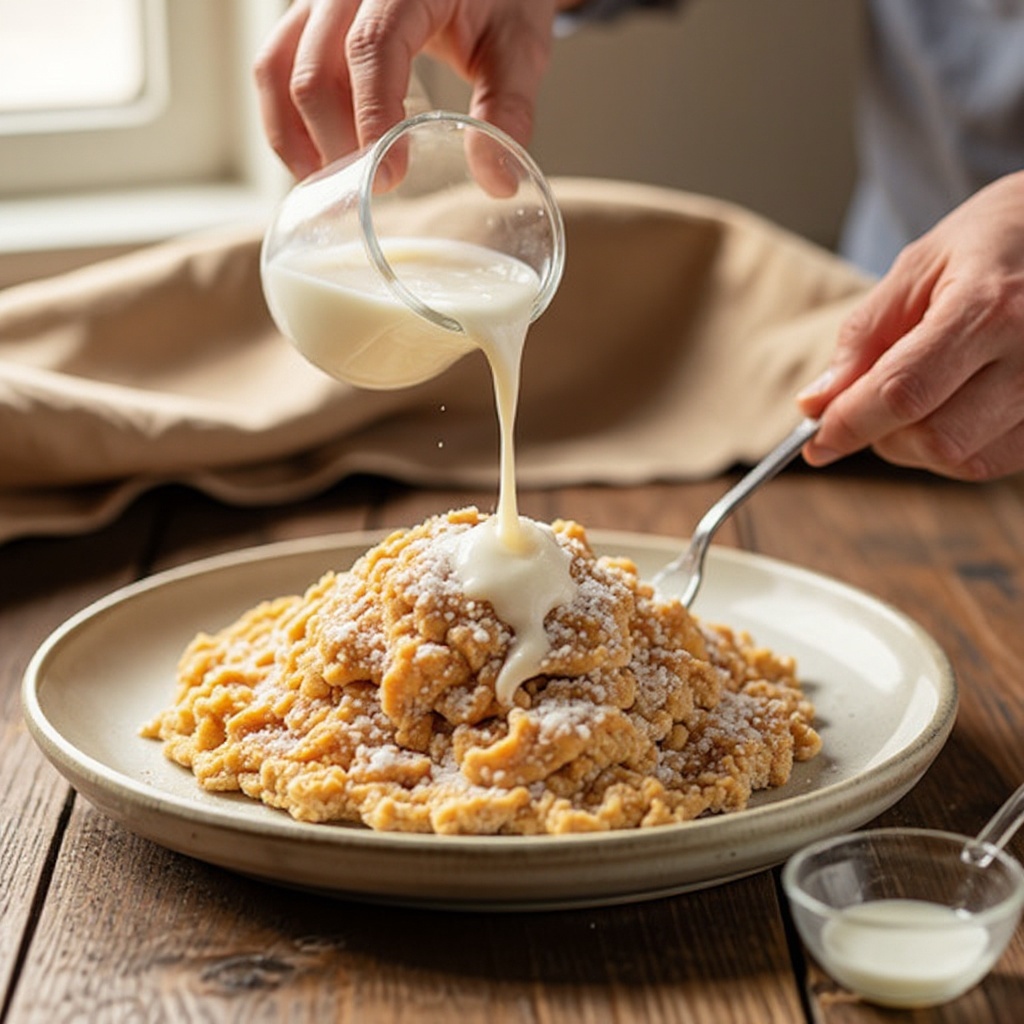
Add the milk to the peanut butter and sugar mixture. Start with the measured amount, and be prepared to adjust slightly based on the consistency of your peanut butter. This liquid ingredient will help bind the dry ingredients together.
- 5
Stir the milk into the mixture until a thick, cohesive dough forms. Continue mixing until all ingredients are fully incorporated and the dough holds together when pressed. If the dough feels too dry and crumbly, you can add an extra teaspoon of milk; if it feels too sticky, add a tablespoon more sugar.
- 6
Once your dough has reached the desired consistency, it's time to shape the cookies. Roll the dough into small balls, approximately 1 inch in diameter. Aim for uniform size so that the cookies bake evenly.
- 7
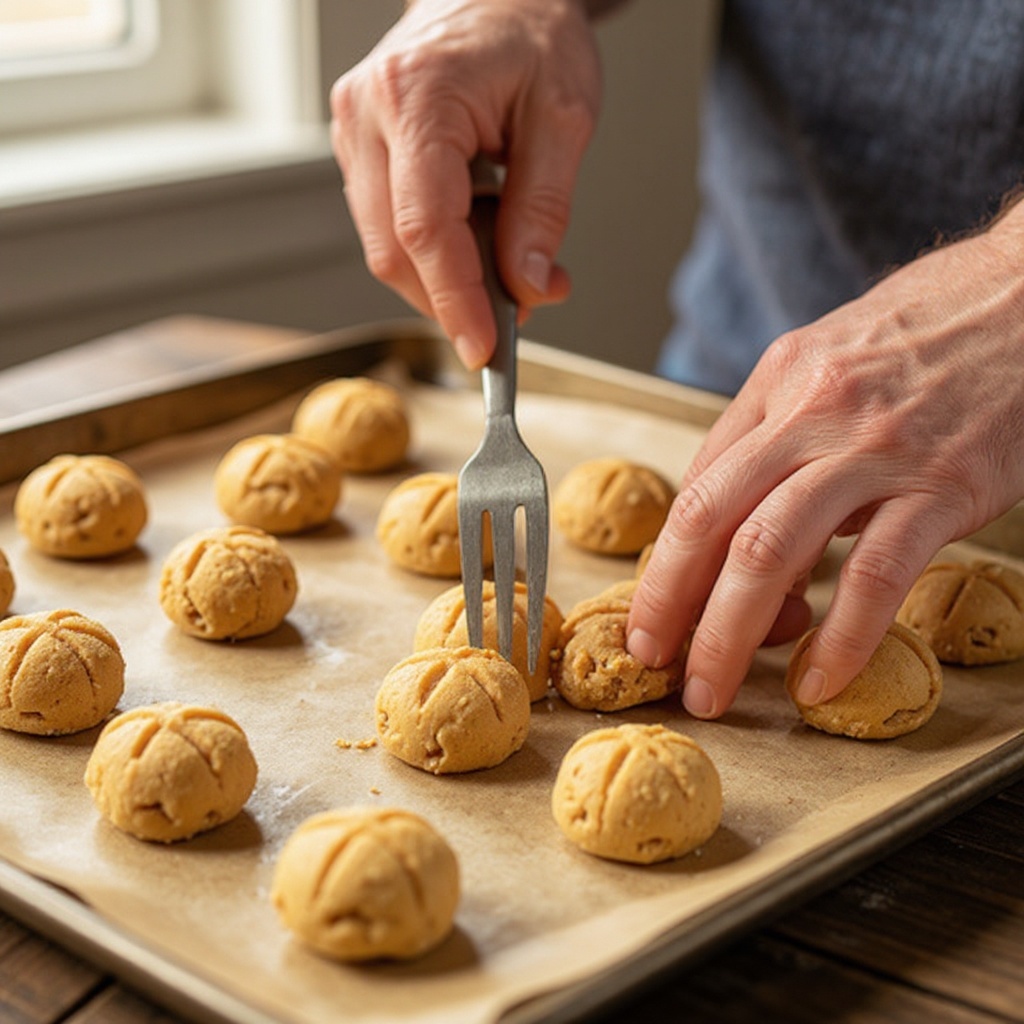
Place the rolled dough balls onto the prepared baking sheet, leaving a little space between each one to allow for slight spreading during baking. Ensure they are evenly distributed across the sheet for optimal air circulation.
- 8
Gently press down on the top of each cookie ball with the tines of a fork. This classic criss-cross pattern not only adds a decorative touch but also helps to flatten the cookies slightly, promoting more even baking and a pleasant texture.
- 9
Bake the cookies in the preheated oven for 10 to 12 minutes. Keep a close eye on them during the last few minutes of baking, as they can go from perfectly baked to overdone quite quickly. You're looking for the edges to be lightly golden brown.
- 10
Once baked, remove the baking sheet from the oven. Allow the cookies to cool on the baking sheet for a few minutes. This resting period is important as the cookies will be very soft and fragile immediately after baking and need a moment to firm up.
- 11
After the initial cooling on the baking sheet, carefully transfer the cookies to a wire rack. This allows air to circulate around them, ensuring they cool completely and develop their final texture without becoming soggy.
- 12
Allow the cookies to cool completely on the wire rack before storing them. This prevents condensation from forming in your storage container, which can make the cookies soft or even spoil them prematurely. Enjoy your delicious homemade treats!
Tips & Troubleshooting
- 1If your dough seems too dry and crumbly, it likely needs a little more moisture to bind properly. Add milk one teaspoon at a time, mixing well after each addition, until the dough comes together into a pliable ball. Be careful not to add too much milk, as this can make the cookies spread too much.
- 2For a richer, more authentic peanut butter flavor, opt for natural peanut butter. Ensure it's well-stirred before measuring to achieve the correct consistency, as natural peanut butter can separate. Creamy natural peanut butter will yield the smoothest cookie texture.
- 3If your peanut butter is unsalted, consider adding a pinch of salt to the dough. Salt enhances the overall flavor profile of the cookies, balancing the sweetness and bringing out the nutty notes of the peanut butter. This small addition can make a significant difference.
- 4These cookies are best enjoyed fresh, but they can be stored in an airtight container at room temperature for up to 3 days. They may become a bit softer over time, which some people prefer. For longer storage, consider freezing them.
- 5Experiment with different types of sugar! While granulated sugar is standard, you could try brown sugar for a slightly chewier cookie with a hint of molasses flavor, or even powdered sugar for a more delicate, melt-in-your-mouth texture. Adjust the milk slightly if using a different sugar.
- 6Don't overmix the dough once the milk is added. Overmixing can develop the gluten in the peanut butter and sugar, potentially leading to tougher cookies. Mix just until the ingredients are combined and a cohesive dough forms.
- 7If you find your dough is too sticky to roll into balls, chill it in the refrigerator for about 15-20 minutes. This will firm up the peanut butter and make it much easier to handle and shape without sticking to your hands.
- 8Ensure your oven temperature is accurate. An oven thermometer can be a valuable tool to confirm your oven is heating to the correct temperature. Incorrect oven temperatures can lead to cookies that are underbaked, overbaked, or spread too much.
Related Activities You Might Enjoy
Frequently Asked Questions
Can I use crunchy peanut butter for these cookies?
Absolutely! Using crunchy peanut butter is a fantastic way to add an extra layer of texture and a delightful nutty crunch to your cookies. Just ensure that the peanut butter is well-stirred before measuring to get the right consistency. The crunchy bits will remain throughout the cookie, providing a pleasant contrast to the softer dough. If you prefer a smoother cookie, stick with creamy, but don't hesitate to experiment with crunchy for a different sensory experience. The baking time might remain the same, but the texture will be noticeably different.
What if my dough is too crumbly?
If your dough is too crumbly and doesn't hold together when you try to roll it into balls, it likely needs a little more moisture to bind properly. The best way to fix this is to add milk, one teaspoon at a time, mixing thoroughly after each addition. Continue adding milk until the dough becomes pliable and holds together easily. Be cautious not to add too much, as excessive milk can make the cookies spread too much during baking and become greasy. Aim for a consistency that is firm but not sticky.
How long do these 3 ingredient peanut butter cookies no egg last?
These cookies are best enjoyed fresh, ideally within a day or two of baking. However, they can be stored in an airtight container at room temperature for up to 3 days. Over time, they may become a bit softer, which can be a desirable texture for some. If you prefer them firmer, you can briefly reheat them in a low oven or toaster oven. For longer storage, you can freeze the baked and cooled cookies in a freezer-safe container or bag for up to 2-3 months.
Can I make these cookies vegan?
Yes, these cookies are naturally vegan if you use a vegan-friendly sugar and non-dairy milk. Most granulated sugars are vegan, but it's always a good idea to check the packaging if you're unsure, as some sugars are processed with bone char. For the milk, you can use any non-dairy alternative such as almond milk, soy milk, oat milk, or cashew milk. The peanut butter itself is typically vegan, but always double-check the ingredients list to ensure no animal products are added. This makes them a wonderfully inclusive treat!
Can I add other ingredients to these cookies?
While the beauty of this recipe lies in its simplicity, you can certainly get creative and add other ingredients to enhance the flavor and texture. Consider adding a teaspoon of vanilla extract for a classic cookie flavor, or a pinch of cinnamon for warmth. Chocolate chips are a popular addition, as are chopped nuts like peanuts or pecans for extra crunch. You could also sprinkle a little sea salt on top before baking for a sweet and salty contrast. Just be mindful that adding too many wet ingredients might require a slight adjustment in the amount of milk or sugar.
Why are my cookies spreading too much?
If your 3-ingredient peanut butter cookies are spreading too much, there are a few common culprits. Firstly, ensure your oven temperature is accurate; an oven that's too hot can cause them to spread rapidly. Secondly, the ratio of ingredients is crucial. If you've added too much milk, the dough will be too wet and spread excessively. Conversely, if your peanut butter is very oily, it can also contribute to spreading. Chilling the dough for about 15-20 minutes before baking can help firm it up and reduce spreading. Also, make sure you're not flattening them too much with the fork.
What is the best type of peanut butter to use?
For these 3-ingredient peanut butter cookies, creamy peanut butter is generally recommended for a smooth, classic cookie texture. However, as mentioned, crunchy peanut butter works wonderfully for added texture. The key is to use a peanut butter that is at room temperature and well-stirred, especially if you're using natural varieties where the oil can separate. Avoid 'reduced fat' or 'whipped' peanut butters, as they often contain stabilizers and emulsifiers that can alter the cookie's texture and spread. Standard creamy or crunchy peanut butter will yield the best results.
What Next?
Congratulations on creating your batch of delightful 3-ingredient peanut butter cookies! These are wonderful enjoyed warm or cooled, but for a delightful twist, consider drizzling them with melted chocolate or adding a sprinkle of sea salt on top before baking. For your next baking project, why not try a variation with almond butter or add a teaspoon of vanilla extract for an extra layer of flavor? Store these delicious treats in an airtight container at room temperature for up to three days, or freeze them for longer enjoyment. They make a charming homemade gift or a perfect accompaniment to a glass of milk.
Free: 10 Paper Crafts Anyone Can Make in 5 Minutes
Get our beginner guide + new craft ideas weekly.
No spam. Unsubscribe anytime.
Did you complete this activity?
Related
You might also like
Speedy 3-Ingredient Cookies
5-Ingredient Peanut Butter Drops
3-Ingredient Peanut Butter Delights
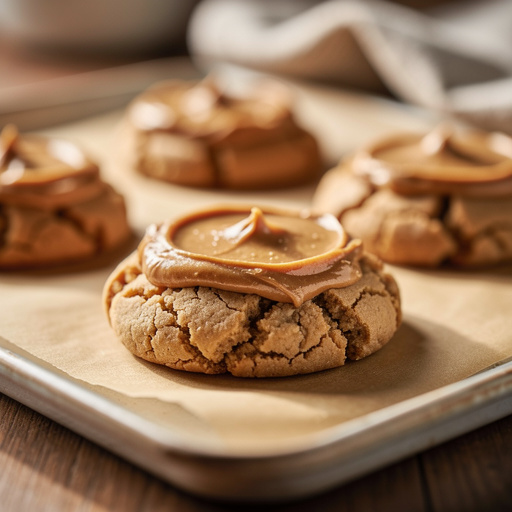
3-Ingredient Peanut Butter Drops
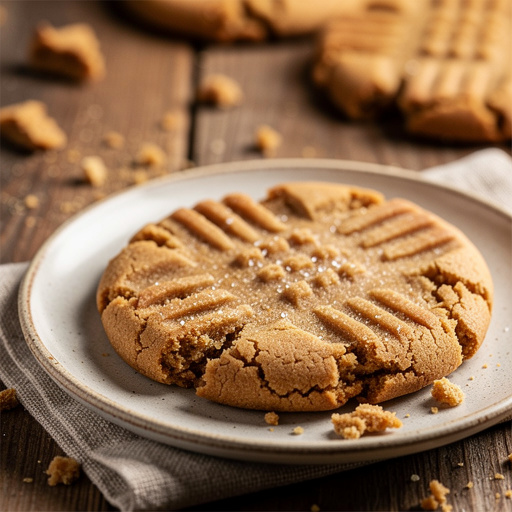
Classic Peanut Butter Cookies