15 Steps to Create Unique Charm Assemblage Art and Jewelry with Wholesale Finds
Discover how to turn inexpensive wholesale charms into eye-catching assemblage art or one-of-a-kind jewelry. This comprehensive guide covers charm selection, creative design, secure attachment techniques, and essential troubleshooting for both wall art and wearable pieces.
Quick answer
To create charm assemblage art, gather approximately 55 assorted wholesale charms (15 small, 20 medium, 20 large), an 8x10 inch sturdy base, strong craft adhesive, jewelry pliers, and jump rings. Budget around 90 minutes for this engaging, screen-free activity. For jewelry, select lighter charms and appropriate bases like chains or earring hooks.
What you need
Shop on Amazon · As an Amazon Associate we earn from qualifying purchases. Links above are affiliate links — we may earn a commission at no extra cost to you.
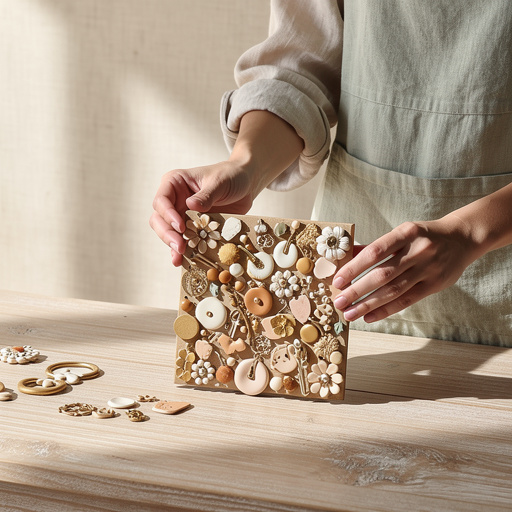
Get ready to unleash your creativity with this exciting project: Wholesale Charm Assemblage Art and Jewelry! You can transform a collection of affordable wholesale charms into a unique piece of wall art, a decorative accent, or even personalized jewelry. It's a fantastic screen-free activity for families, suitable for beginners, and typically takes about 90 minutes to complete, depending on your design's complexity. The finished piece will be a vibrant testament to your imagination, showcasing a delightful mix of textures, shapes, and colors.
On this page
Step-by-Step Instructions
- 1
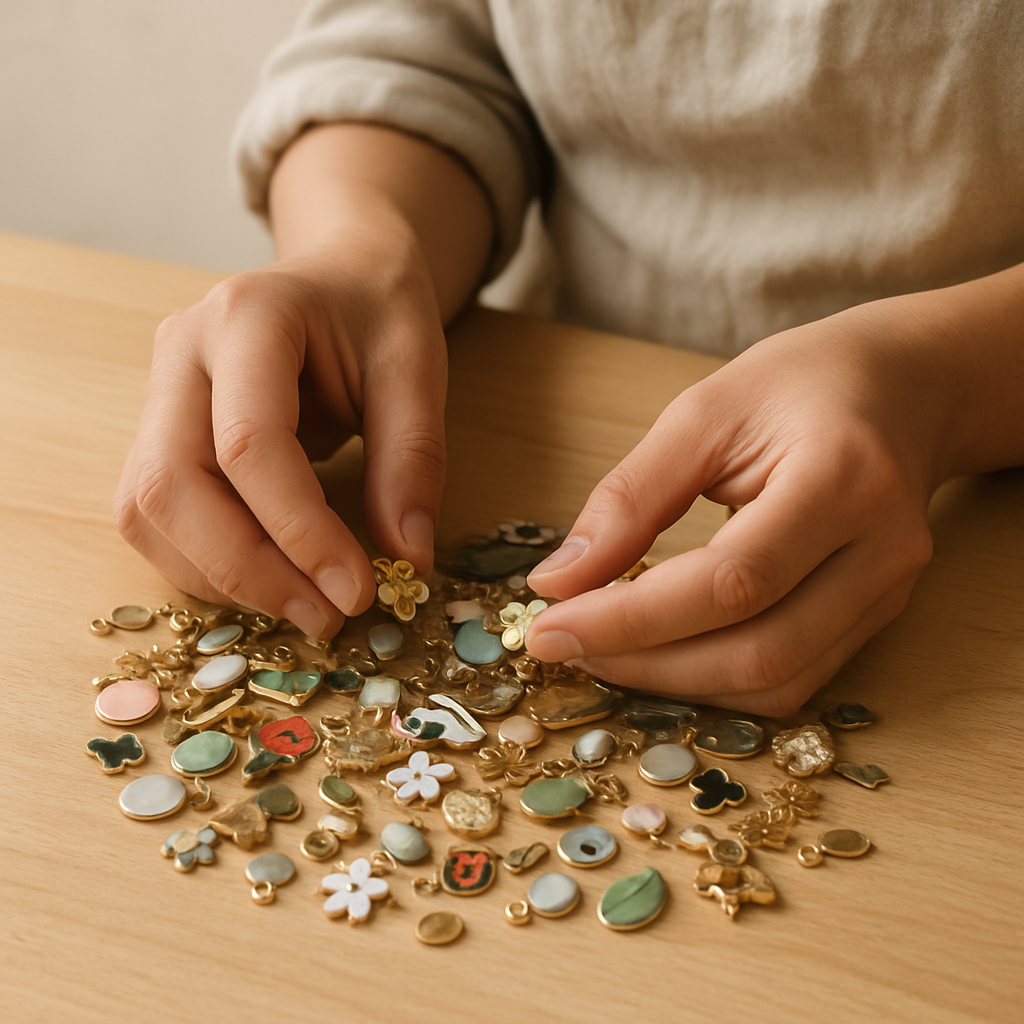
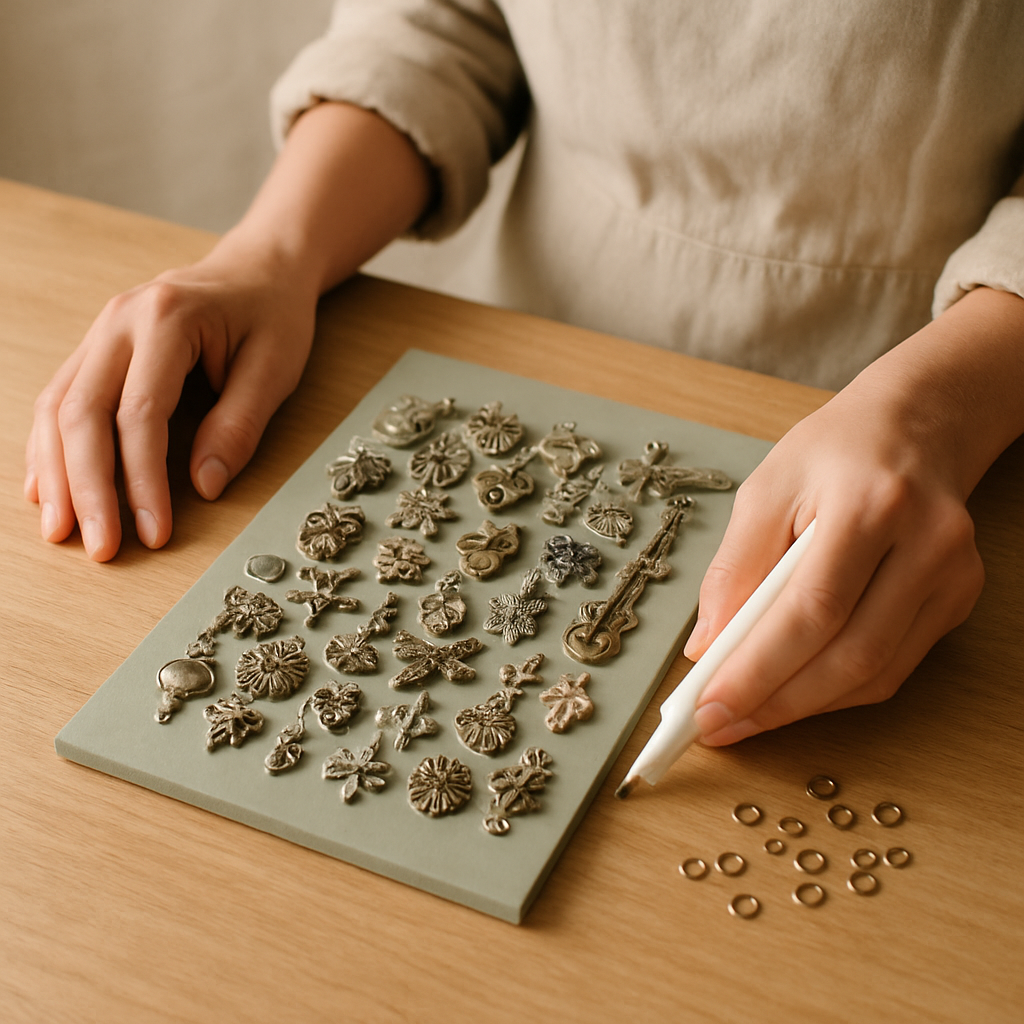
Step 1: Select your wholesale charms. Aim for a diverse mix of sizes, shapes, and materials like enamel, metal, and plastic for visual interest. In my experience, aiming for a breakdown of approximately 15 small, 20 medium, and 20 large charms has yielded the best results for coverage and variety on an 8x10 inch board.
- 2
Step 2: Prepare your backing board. If you're decorating an 8x10 inch MDF board for wall art, now is the time to paint it with acrylics. Allow at least 30-60 minutes for the paint to dry completely, depending on the thickness of application. Ensure it is fully dry to the touch before proceeding, as residual moisture can affect glue adhesion.

- 3
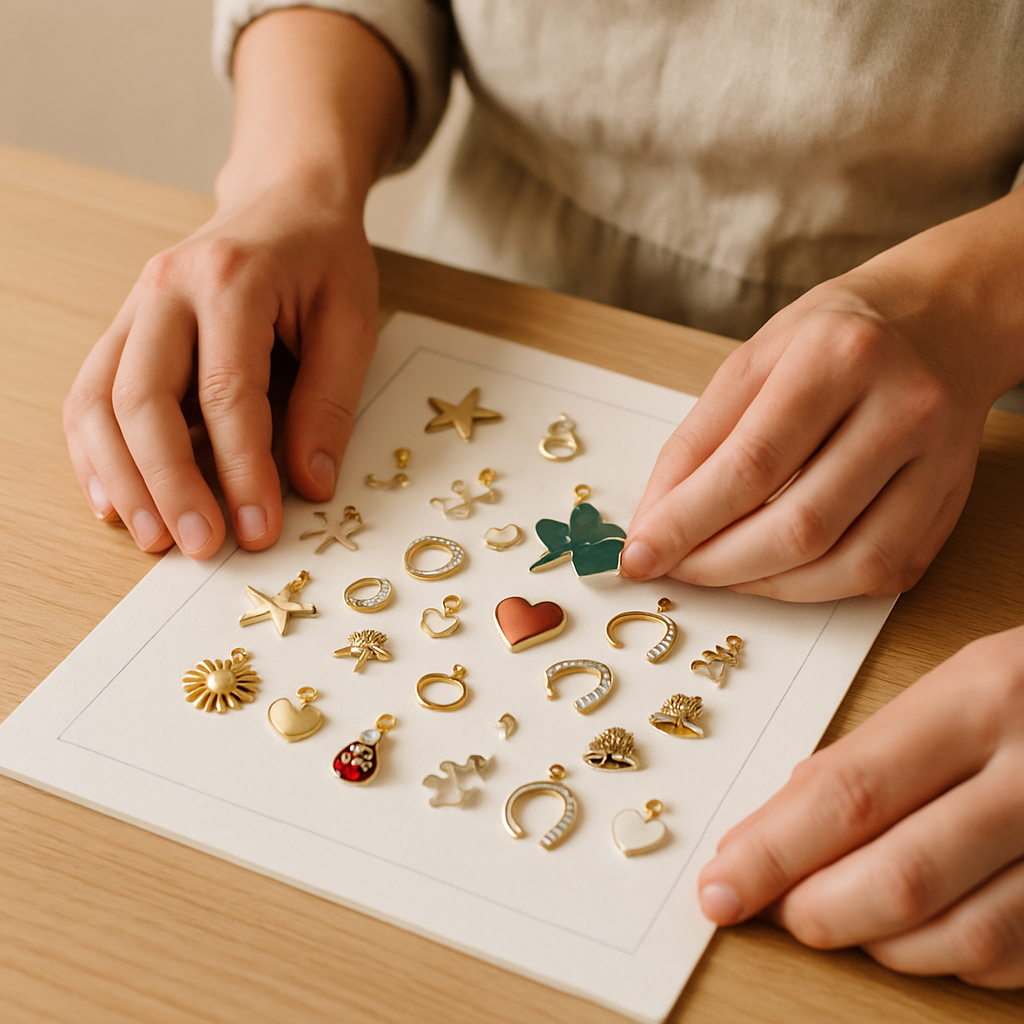
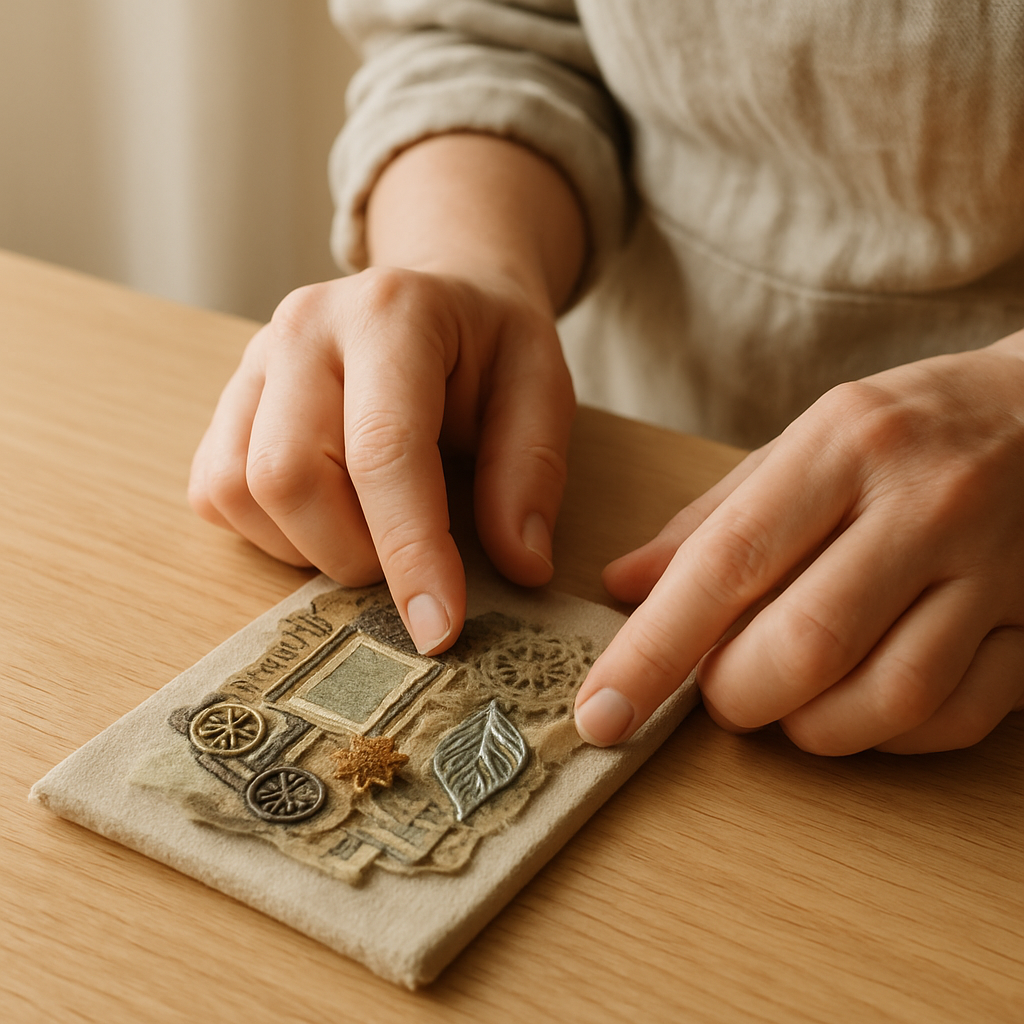
Step 3: Plan your charm layout. Arrange the charms on the dry backing board without glue, experimenting with different compositions to create a focal point or a flowing pattern. Use a ruler to mark a 1cm border around the edge of the board as a guide, or simply eyeball it, ensuring no charms are placed directly on the outer edge so it doesn't look too cramped.
- 4
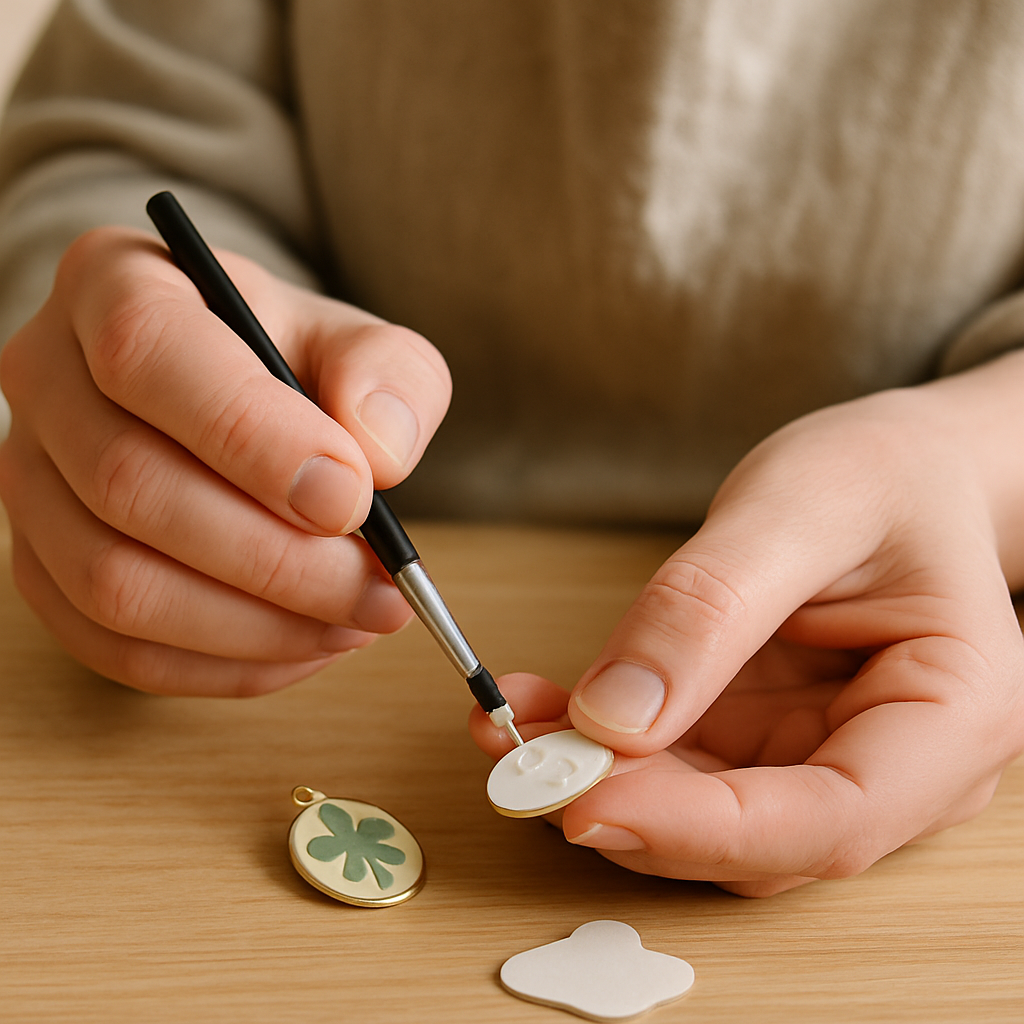
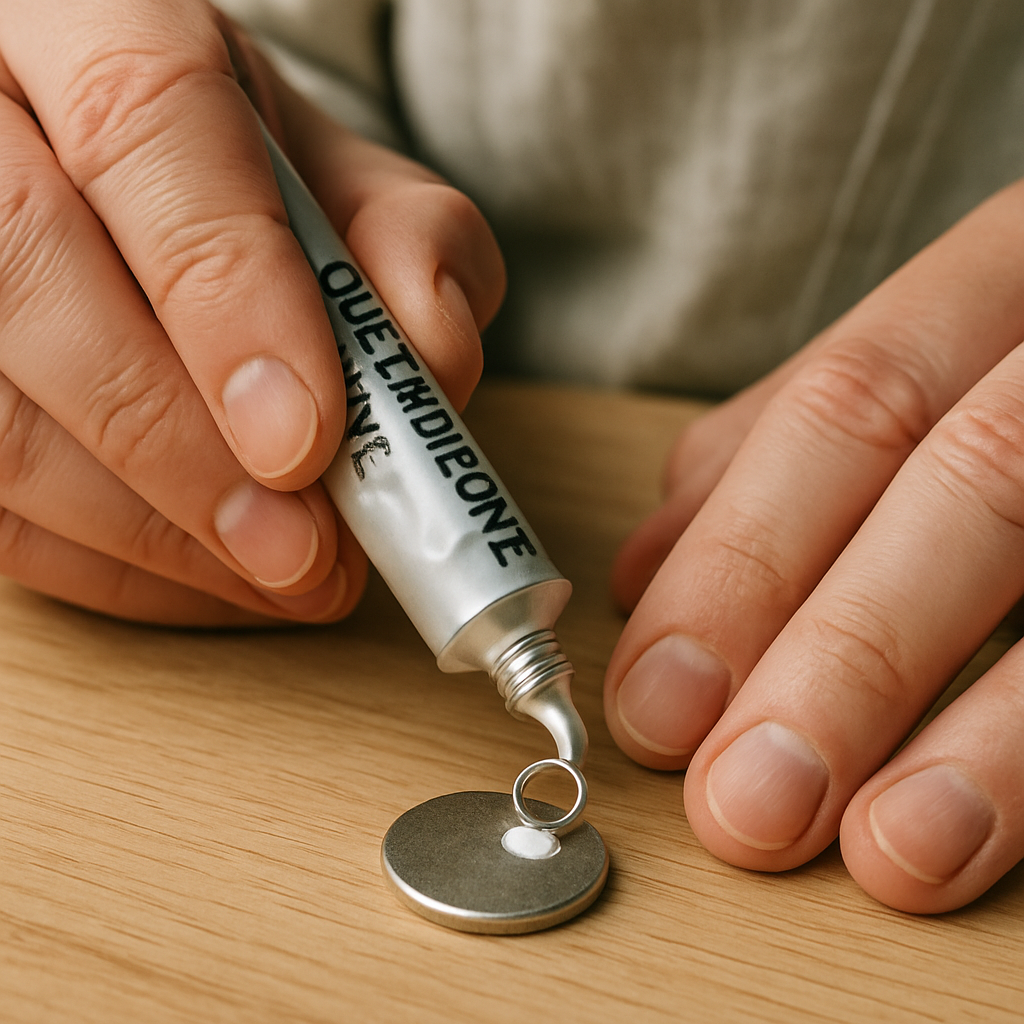
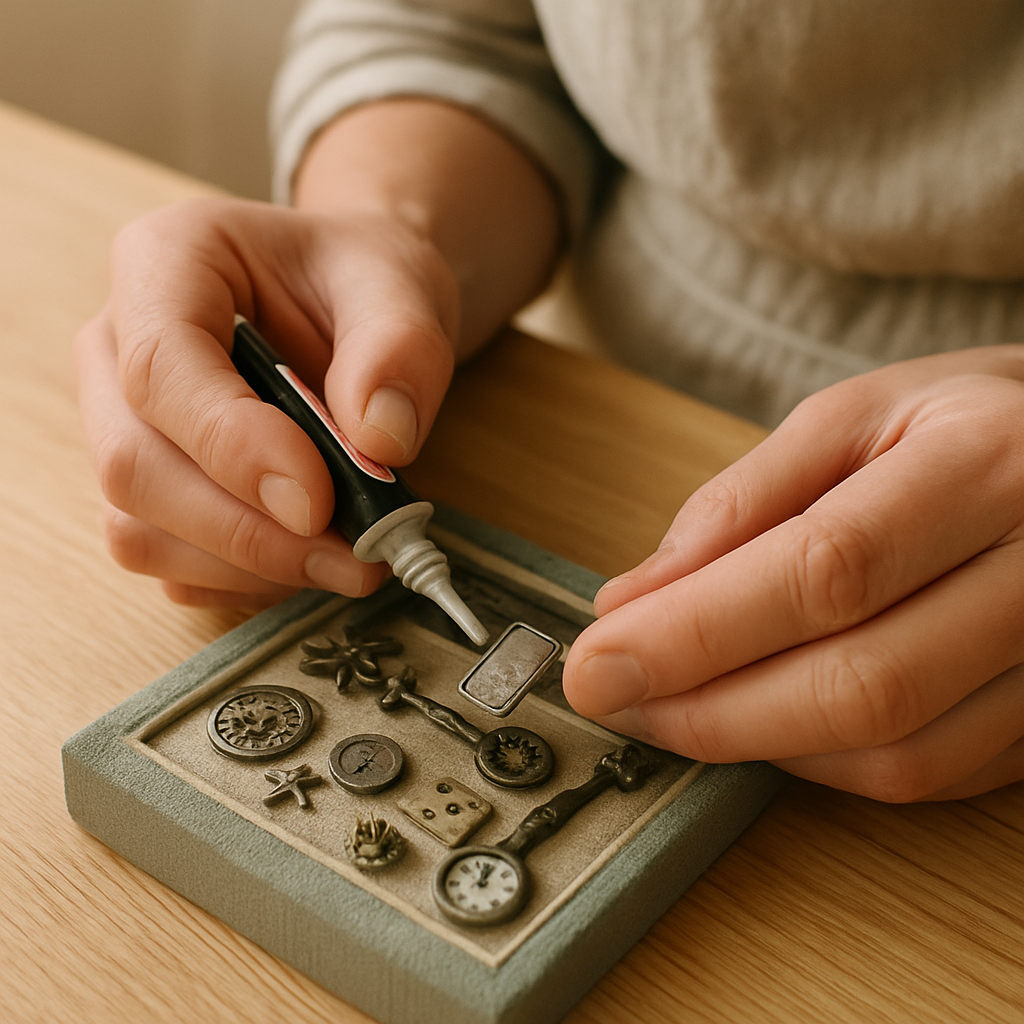
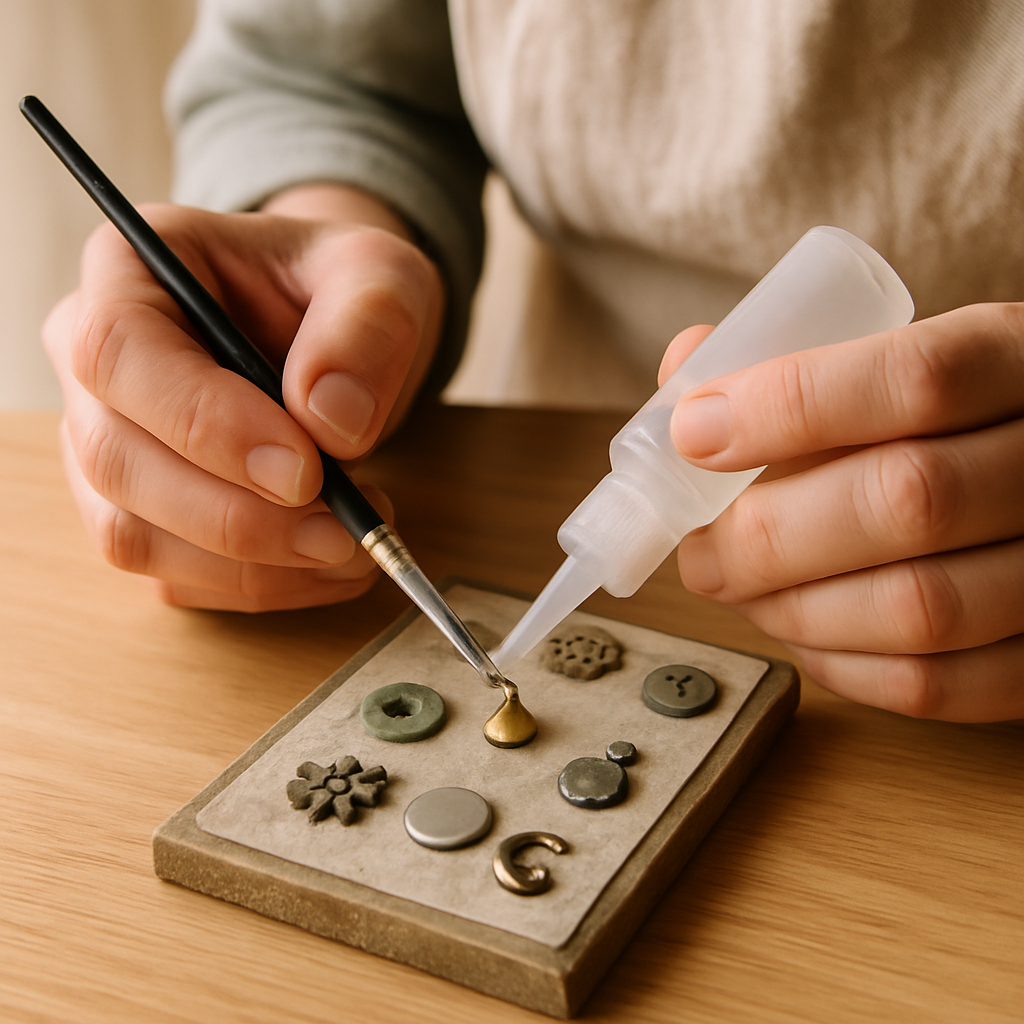
Step 4: Begin attaching charms. Apply a small dab of strong craft adhesive to the back of your first charm, about 5mm in diameter for small charms. Avoid using too much, as it can ooze out and create a messy appearance; if it does, carefully wipe away excess with a paper towel before it dries.
- 5
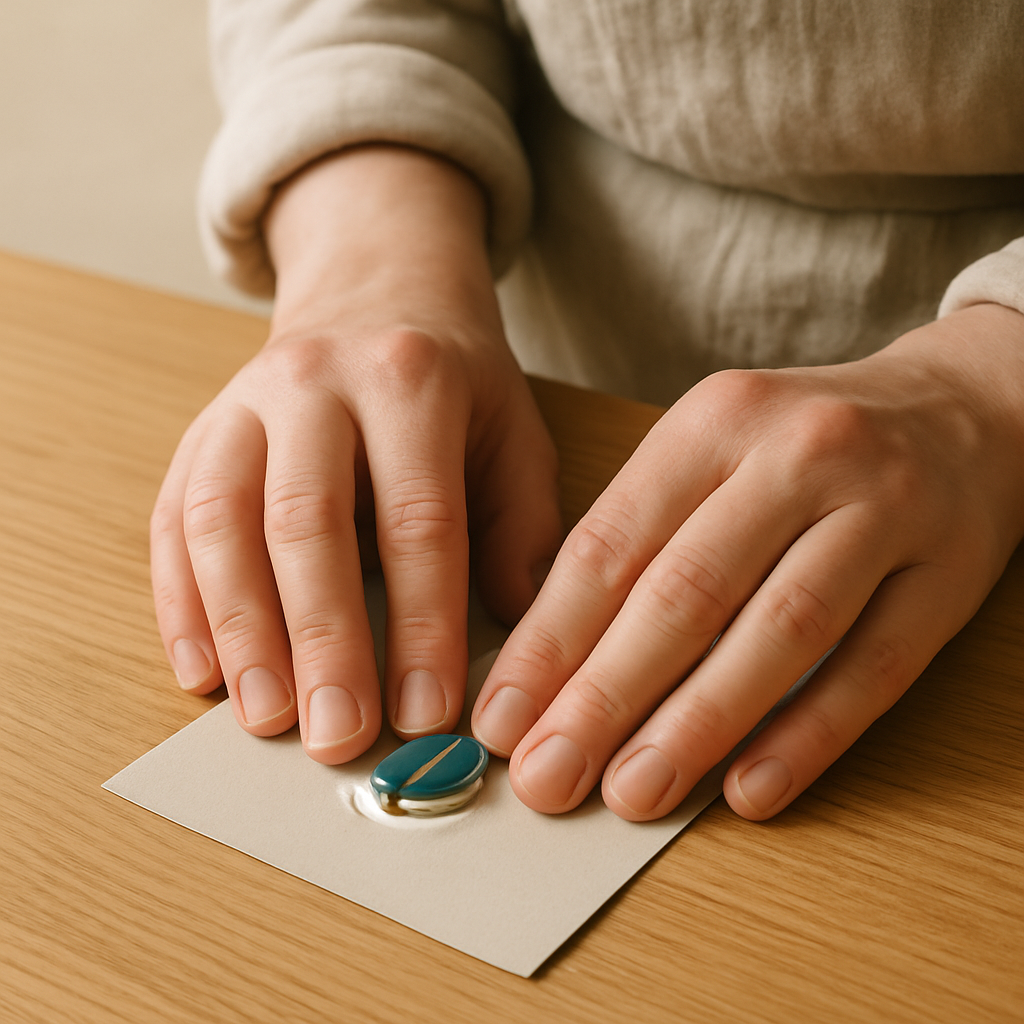
Step 5: Press the charm firmly onto the backing board in its planned position and hold for about 15-30 seconds to ensure good adhesion. If excess glue oozes out beyond the charm's edges by more than 1mm, carefully wipe it away with a paper towel before it dries to prevent a sticky mess.
- 6
Step 6: Attach subsequent charms, working outwards from your focal point or in sections. Ensure each charm has enough adhesive applied to its surface that will contact the board; if a charm feels too light, it might need a slightly larger dab of glue to ensure a strong bond.

- 7
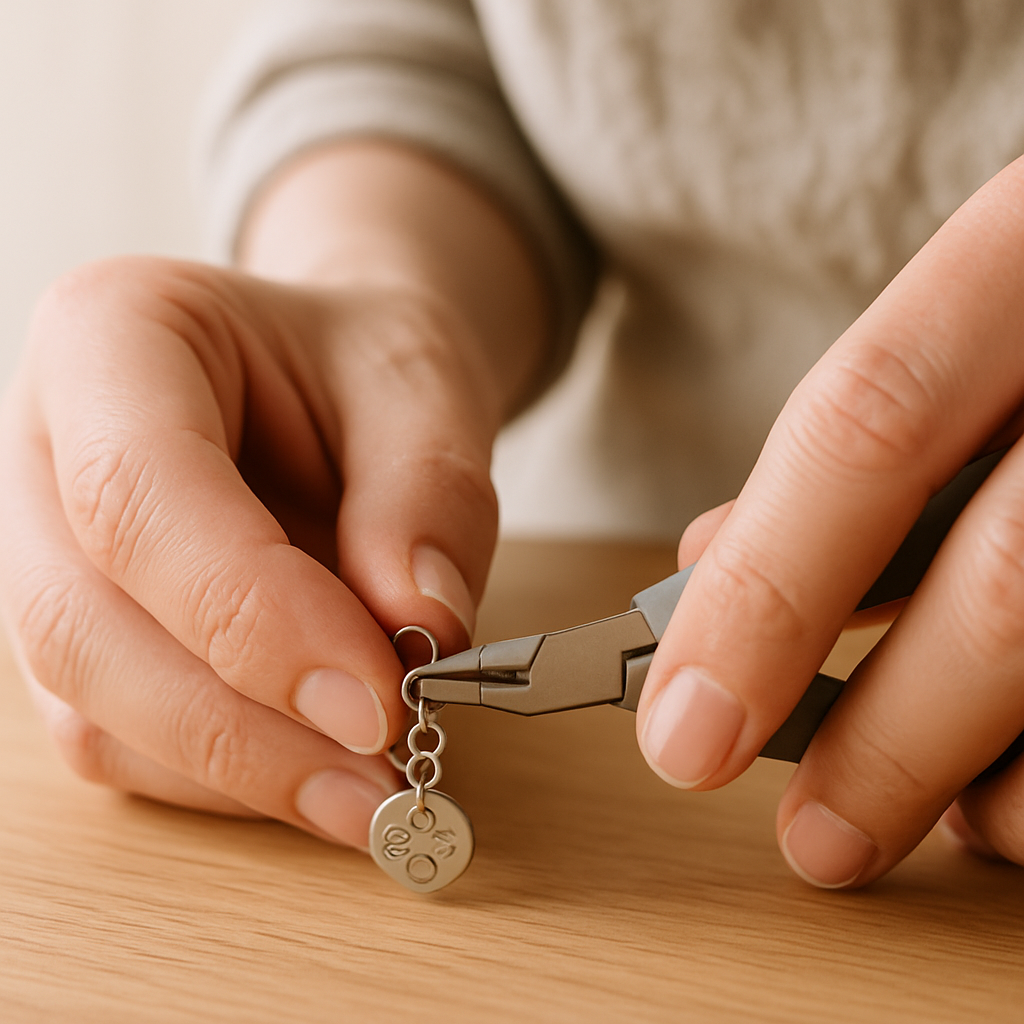
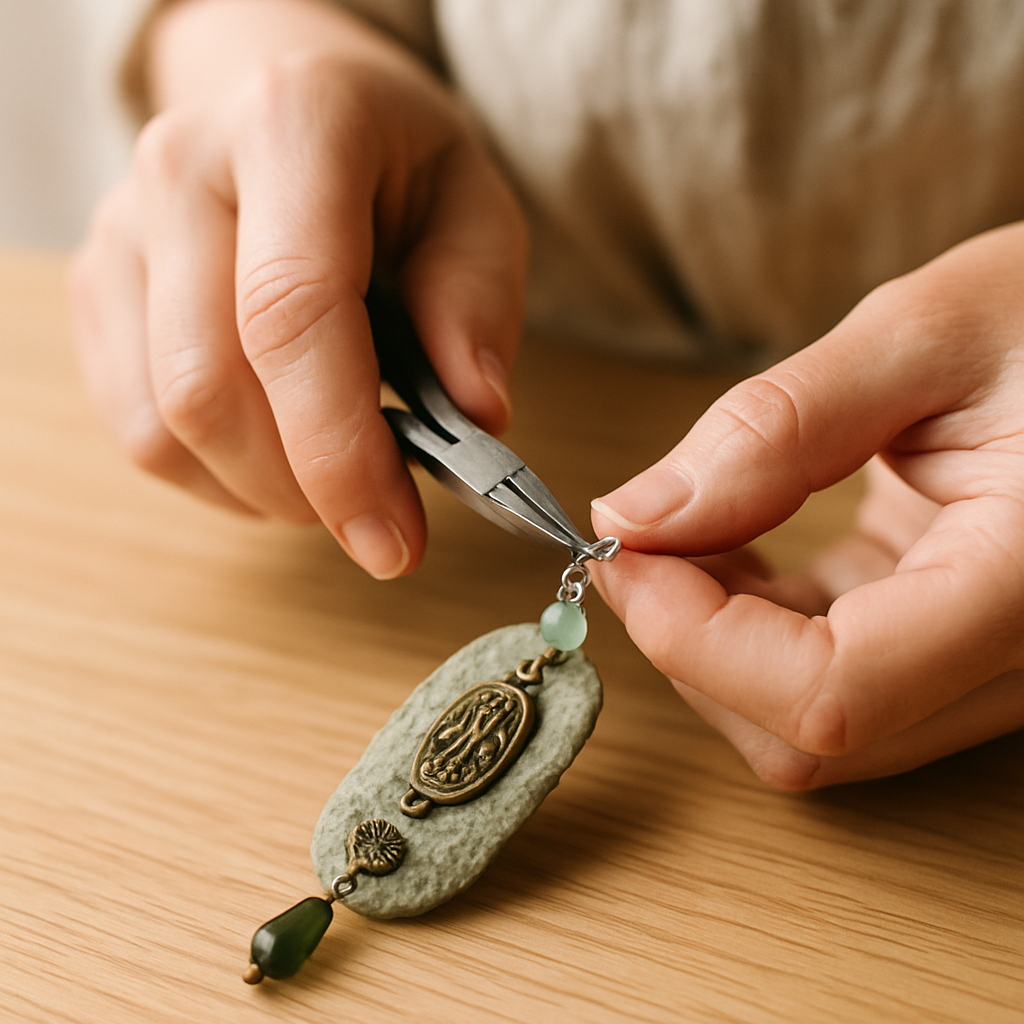
Step 7: Consider adding jump rings for dangling elements. If a charm has a loop and you want it to hang slightly off the board, open a 4mm jump ring using pliers (twist, don't pull apart) and attach it to the charm's loop. You will later attach this jump ring to the backing board.
- 8
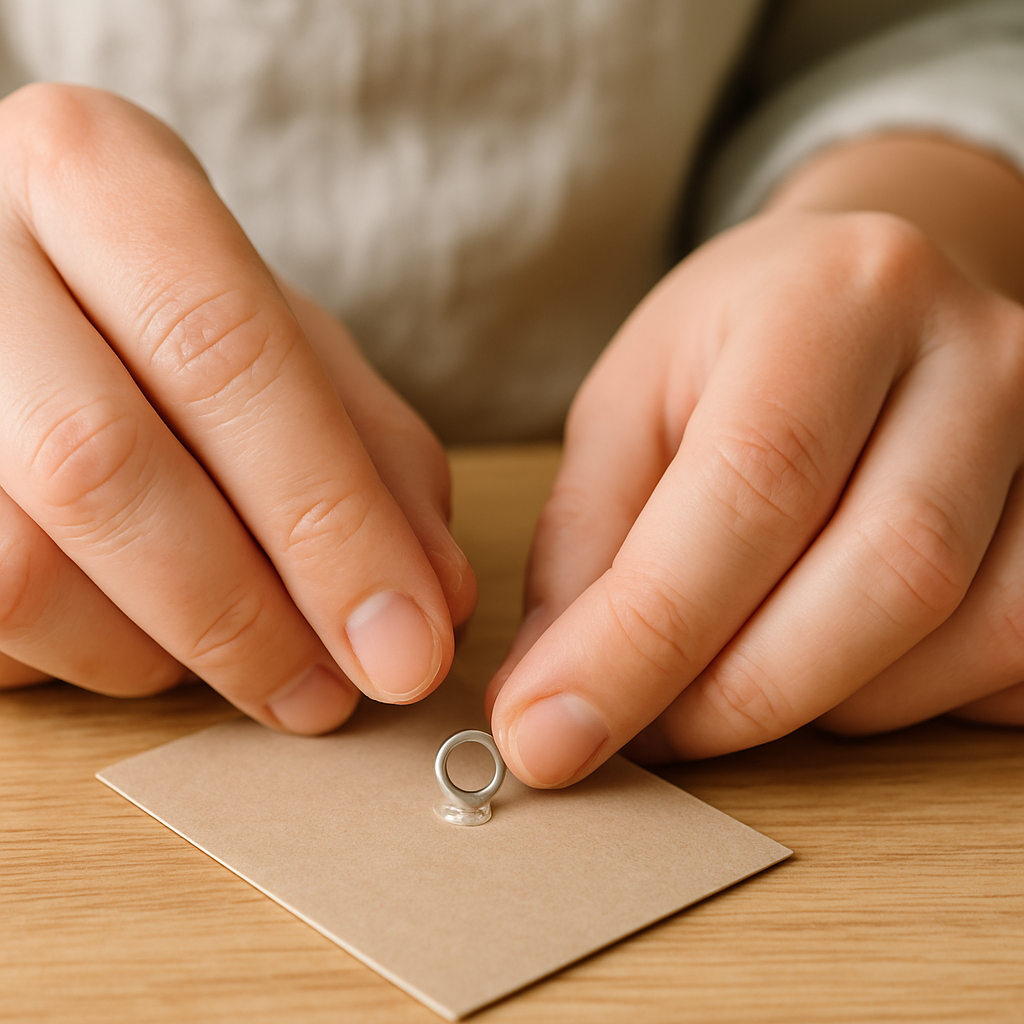
Step 8: Secure the jump ring to the backing board. Apply a small dab of glue, approximately 3mm in diameter, to the board where you want the jump ring to attach, then press the closed jump ring into the glue, ensuring the loop of the jump ring is facing upwards or in the desired direction for potential future attachments.
- 9
Step 9: For charms with no loop, you can create one. If the charm has a flat back, carefully apply a line of glue, approximately 10mm long, to the flat back of the charm and press a 6mm jump ring into it, allowing it to partially embed. If the jump ring slides off, allow the glue on the charm's back to set for about 30-60 seconds before pressing it in, allowing it to partially embed.
- 10
Step 10: Let the glue cure. Once all charms are attached, allow the entire piece to dry undisturbed in a stable, well-ventilated area for at least 24 hours. This is crucial for the adhesive to reach its full strength; don't be tempted to move it too soon!
- 11
Step 11: Troubleshoot loose charms. If a charm comes loose during drying, gently remove any old glue, reapply a fresh dab of adhesive (ensure it covers at least 80% of the charm's back), and reattach it, holding for 30 seconds. If the charm keeps detaching, the surface might be too smooth; try lightly scoring the back of the charm with fine-grit sandpaper (e.g., 120-grit) to create a rougher surface for better adhesion.
- 12
Step 12: Add smaller details and jewelry attachments. Once the main charms are secure, use pliers to attach smaller charms or beads using jump rings, connecting them to existing charm loops or jump rings for added depth. If a jump ring is difficult to open or close, ensure your jewelry pliers have a good grip and flat edges for precise manipulation.
- 13
Step 13: Reinforce delicate attachments. For very small or lightweight charms attached with just a dot of glue, consider adding a tiny bead of the same strong craft adhesive around the base of the charm once dry for extra security. This is especially helpful if the piece might get bumped or if it's intended for jewelry.
- 14
Step 14: Inspect for sharp edges. Carefully run your fingers (or a soft cloth) over the assembled charms to check for any sharp points or rough edges, especially on metal charms. If found, try to smooth them with a metal file or cover with a small dab of glue. This is important for safety, especially if children will be around the finished piece.
- 15
Step 15: Apply sealant (optional). Once completely dry and secure, you can spray the entire piece with a clear acrylic sealant for added protection and a uniform finish. Apply in a well-ventilated area, holding the can about 25cm away. If the sealant causes any charms to shift, you may need to re-glue them once dry.
Tips & Troubleshooting
- 1Charm quality matters! When buying wholesale charms, look for descriptions like 'sterling silver plated,' 'enamel,' or 'high-quality alloy.' Avoid charms described as 'lead-free alloy' without further detail, as these can sometimes be brittle or prone to tarnishing quickly. For jewelry, I prefer charms that feel substantial, not flimsy, to ensure durability.
- 2Age adaptation: For younger children (ages 5-7), pre-cut the backing board and have a selection of larger, easy-to-handle charms. Focus on simple gluing and placement. You can also use a stronger glue stick for lighter charms if liquid adhesive is too difficult for them to manage, but be aware it might not hold as well long-term.
- 3Troubleshooting jump ring size: Choosing the right jump ring is key for jewelry! If your jump rings are too small to fit through a charm's loop and attach to another element (like an earring hook or chain link), try using a slightly larger jump ring (e.g., switch from 4mm to 6mm). If they are too large and look disproportionate, use smaller ones. Always twist jump rings open and closed, never pull them apart, to maintain their shape and ensure a secure closure.
- 4Securing charms with no loop: For charms with a completely flat back, you can create a 'frame' with glue. Apply a bead of glue around the perimeter of the charm's back, then press it onto the board. This helps prevent it from peeling off, especially for heavier charms. If the charm feels very heavy, consider using a stronger adhesive like E6000 and reinforcing with a small bead of glue around the sides as well.
- 5Beyond bracelets: Instead of just attaching charms to a board, consider gluing them onto a plain wooden picture frame, a decorative tin, or even a small mirror for a unique, personalized decorative item. You could also create a charm-embellished bookmark by gluing charms onto a sturdy cardstock base, or attach them to keychain rings for personalized keychains.
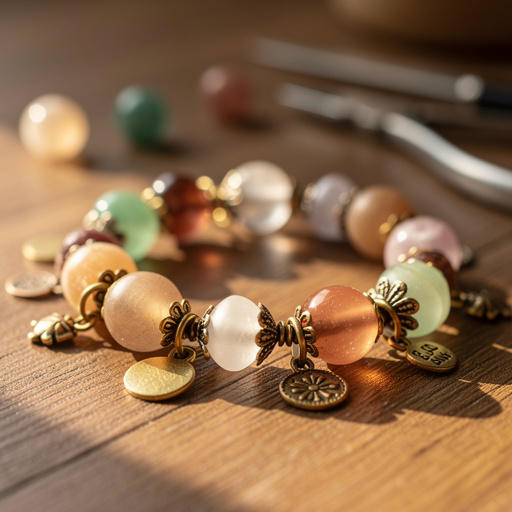
- 6Ensuring durability for jewelry: For pieces that will be handled frequently (like earrings or keychains), use a stronger adhesive like E6000 and consider reinforcing the attachment points with a small bead of glue on the sides of the charm as well as the back. For jewelry, ensure jump rings are securely closed, or even add a tiny drop of glue to the closure if they feel loose, especially for items that will experience movement.
Related Activities You Might Enjoy
Frequently Asked Questions
What are the best types of wholesale charms for assemblage art and jewelry?
For assemblage art, a diverse mix is best! Look for wholesale charms made from materials like enamel, which offers vibrant colors, and metal alloys that provide weight and detail. Sterling silver or gold-plated charms add a touch of luxury, though they can be pricier. Plastic charms are lightweight and come in endless shapes, perfect for filling gaps or adding whimsical elements. For jewelry, prioritize lighter charms to avoid pulling on earring hooks or chains, and ensure they have secure loops for attachment.
How do I ensure my charms stay attached securely to the backing board or jewelry base?
The key to secure attachment is using a strong craft adhesive suitable for metal, plastic, and your backing material. E6000 is a popular choice for its durability and versatility. Apply the adhesive generously but neatly to the back of each charm, ensuring good contact with the board. For heavier charms or jewelry pieces that will experience movement, consider applying glue not only to the back but also around the edges that will touch the base. Allow the adhesive to cure completely for at least 24 hours in a stable, dry environment before moving or displaying your artwork.
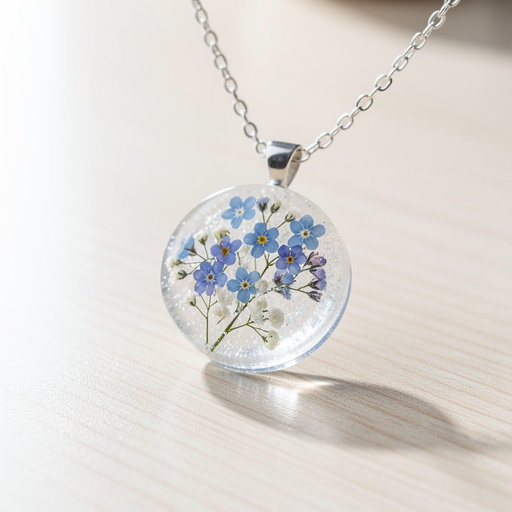
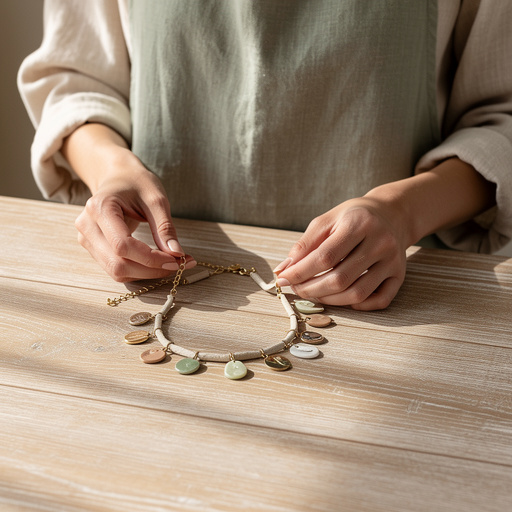
Can I use wholesale charms to make jewelry other than bracelets?
Absolutely! Wholesale charms are incredibly versatile. You can easily create unique necklaces by attaching them to chains with jump rings. For earrings, use smaller, lighter charms and attach them to earring hooks via jump rings. You can also embellish keychains by looping charms onto keyrings, or even decorate hair clips and brooches. The technique involves using jewelry pliers to open and close jump rings, connecting the charm to your chosen jewelry base.
What Next?
Customizing your charm creations is where the true magic happens! For assemblage art, consider adding small painted wooden beads (around 8mm diameter) between charms for pops of color and varied texture. If you're leaning towards jewelry, remember that charm weight is key; opt for lighter charms for earrings and necklaces. You can also paint your base a solid color before attaching charms, or even use metallic spray paint for a cohesive, high-end look. Learning how to attach different charm types and choosing the right jump ring sizes will open doors to creating more intricate jewelry and decorative items, expanding your crafting repertoire.
Free: 10 Paper Crafts Anyone Can Make in 5 Minutes
Get our beginner guide + new craft ideas weekly.
No spam. Unsubscribe anytime.
Did you complete this activity?
Related
You might also like
Wholesale Charm Bar Business Setup
Wholesale Charm Bracelet Creation

Paper Mache Animal Masks
Cardboard Tube Critter Castles
Cardboard Box Accordion