How to Make Classic Peanut Butter Cookies — Easy Step-by-Step Guide
Whip up a batch of irresistible, classic peanut butter cookies with this simple recipe. Perfect for a screen-free afternoon activity the whole family will love.
Quick answer
To make classic peanut butter cookies, you need basic pantry staples and about 30 minutes. Start by creaming butter and sugar. This beginner-friendly activity has 10 steps and is perfect for families with kids aged 6+.
What you need
Shop on Amazon · As an Amazon Associate we earn from qualifying purchases. Links above are affiliate links — we may earn a commission at no extra cost to you.
There's something undeniably comforting about a classic peanut butter cookie. This recipe is designed to be incredibly straightforward, making it the perfect project for a cozy afternoon, especially with younger bakers in tow. Forget complicated techniques; we're focusing on simple ingredients and satisfying results. It’s a wonderful way to teach children basic baking skills while creating a delicious treat that brings smiles to everyone's faces. Gather your ingredients and prepare for a delightful baking adventure that smells as good as it tastes!
On this page
Step-by-Step Instructions
- 1
Preheat your oven to 375°F (190°C). This consistent temperature is crucial for even baking and achieving that perfect golden edge. While the oven heats, prepare your baking sheets by lining them with parchment paper or silicone baking mats. This not only prevents sticking but also makes cleanup significantly easier, allowing you more time to enjoy your cookies.
- 2
In a large mixing bowl, begin by creaming together the softened butter and creamy peanut butter. Use your electric mixer on medium speed, or a sturdy spoon if mixing by hand, until the mixture is completely smooth, lump-free, and well combined. Ensure the butter is truly softened, not melted, for the best emulsion.
- 3
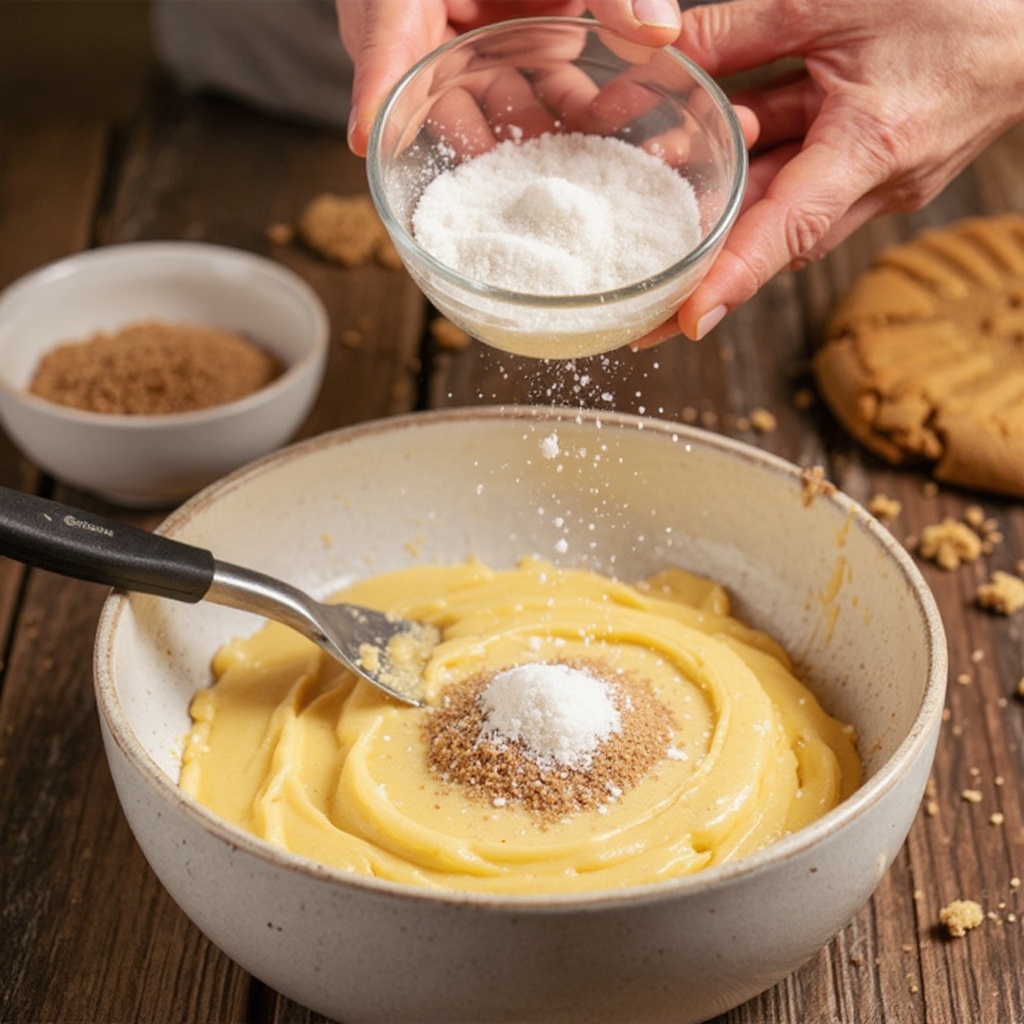
Add the granulated sugar and the packed light brown sugar to the butter and peanut butter mixture. Continue to beat on medium-high speed until the mixture becomes noticeably light, fluffy, and pale in color. This creaming process incorporates air, which is vital for the cookies' texture and rise.
- 4
Now, it's time to incorporate the eggs. Beat in the two large eggs, one at a time, ensuring each egg is fully incorporated into the batter before adding the next. Scrape down the sides of the bowl with a rubber spatula between additions to make sure everything is evenly mixed and no raw egg remains on the bottom or sides.
- 5
Stir in the pure vanilla extract until it is just combined. Vanilla extract enhances the overall flavor profile of the cookies, complementing the nutty notes of the peanut butter beautifully. Be careful not to overmix at this stage.
- 6
In a separate medium bowl, whisk together all the dry ingredients: the all-purpose flour, baking soda, baking powder, and salt. Whisking them together thoroughly before adding them to the wet ingredients ensures that the leavening agents and salt are evenly distributed throughout the dough, preventing pockets of saltiness or uneven rising.
- 7
Gradually add the dry ingredients to the wet ingredients in the large mixing bowl. Mix on low speed with your electric mixer, or gently by hand with a spatula, until the ingredients are just combined and no streaks of flour remain. It is crucial not to overmix the dough at this point, as overmixing can develop the gluten in the flour, resulting in tough cookies.
- 8
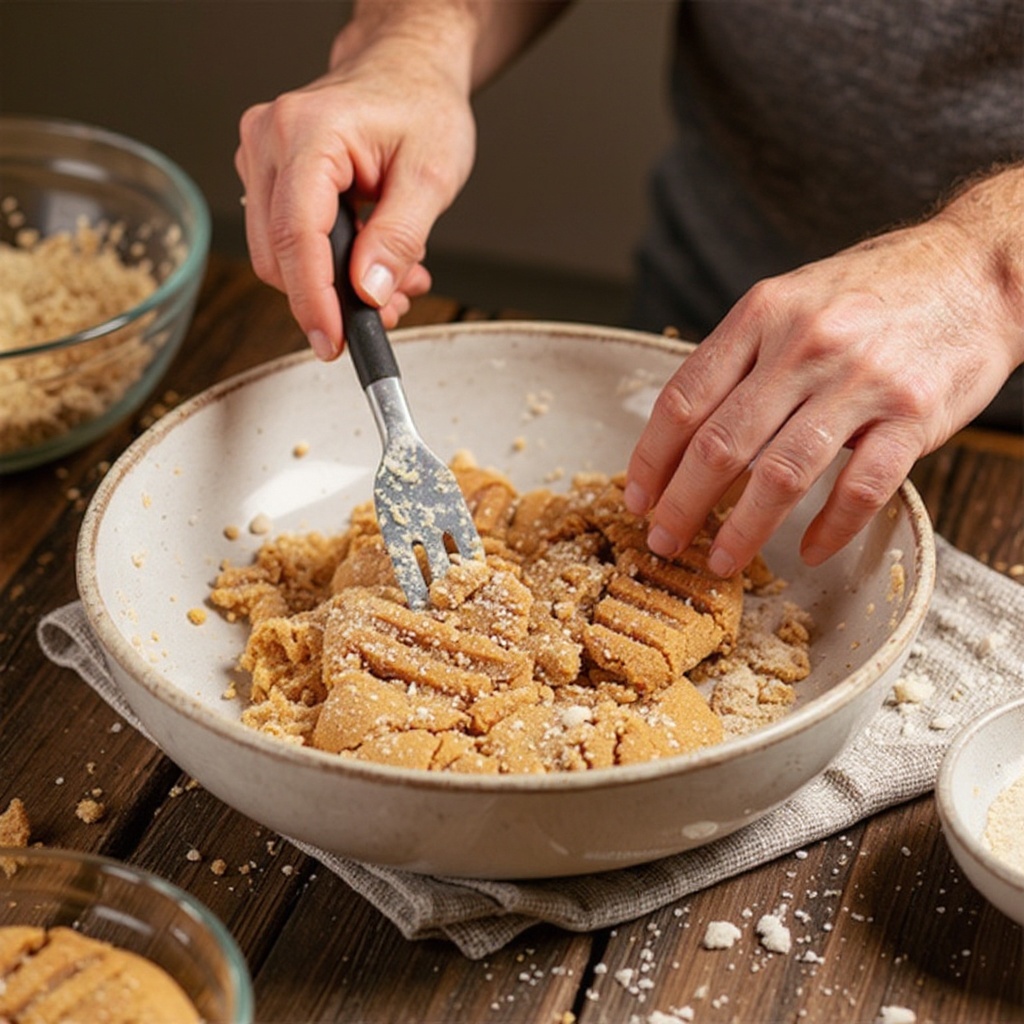
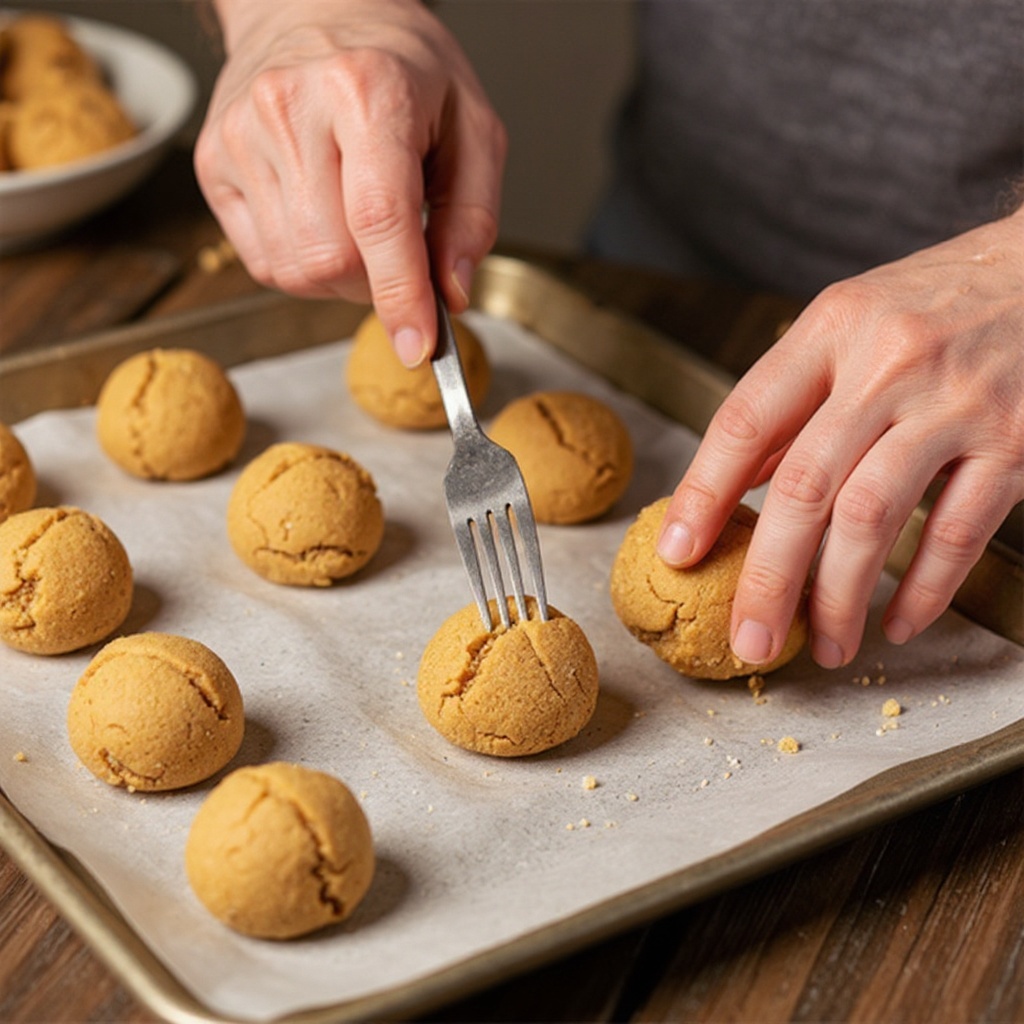
Once the dough is just combined, it's time to form the cookies. Roll the cookie dough into uniform 1-inch balls. Using a cookie scoop can help ensure consistent size, which leads to even baking. Place these dough balls about 2 inches apart on the prepared baking sheets to allow them space to spread as they bake.
- 9
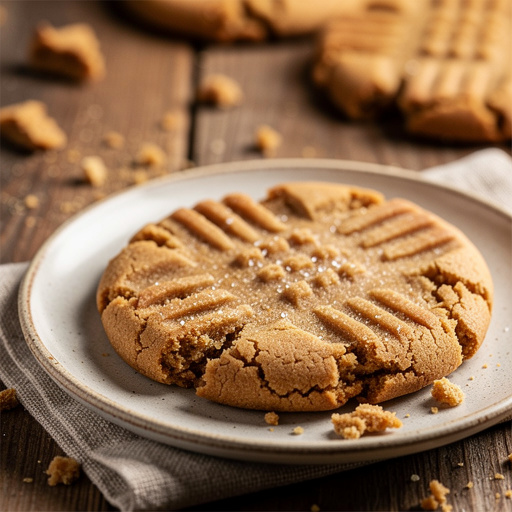
Now for the iconic peanut butter cookie look! Using the tines of a fork, gently press down on the top of each cookie ball. You can press once in one direction, then rotate the fork 90 degrees and press again to create the classic criss-cross pattern. Apply just enough pressure to flatten the cookie slightly without squishing it completely.
- 10
Bake the cookies in the preheated oven for 9-11 minutes. Keep a close eye on them during the last few minutes of baking. The edges should be lightly golden brown, and the centers should still appear slightly soft and underbaked. Remember, they will continue to set and firm up as they cool on the baking sheet.
- 11
Once baked, remove the baking sheets from the oven and let the cookies cool on the sheets for 2-3 minutes. This brief resting period on the hot baking sheet allows the cookies to set up slightly, making them easier to transfer without breaking. After this short rest, carefully transfer the cookies to a wire cooling rack to cool completely.
- 12
While the cookies are cooling, take a moment to clean your mixing bowls and utensils. A quick wash now will save you time later and ensure your kitchen is tidy. You can also use this time to prepare any additional ingredients if you're planning on adding mix-ins like chocolate chips or nuts.
- 13
Once the cookies have cooled on the wire rack for at least 15-20 minutes, they should be completely set. You can then gently stack them or arrange them on a serving platter. Ensure they are fully cooled before storing them in an airtight container to maintain their freshness and texture.
- 14
For those who prefer a slightly softer cookie, you can reduce the baking time by a minute or two. Conversely, if you like a crispier cookie, bake for an additional minute or two, but be very careful not to burn the edges. The difference between perfectly chewy and overbaked can be very small.
- 15
If you find your dough is too soft or sticky to roll into balls, cover the bowl with plastic wrap and refrigerate it for about 30 minutes. This chilling period will firm up the butter and make the dough much easier to handle and shape.
- 16
When pressing the criss-cross pattern with a fork, ensure your fork tines are lightly greased or floured if the dough is sticking. A quick dip in a little flour or a light spray of cooking oil can prevent the fork from pulling the dough and ruining the pattern.
- 17
After baking, if you notice any cookies that have spread too much, you can gently nudge them back into a round shape with a spatula while they are still warm on the baking sheet. This is a quick fix to ensure all your cookies look uniform and appealing.
- 18
Consider adding a sprinkle of flaky sea salt on top of the cookies just before baking. This enhances the sweetness and the peanut butter flavor, creating a delightful sweet and salty contrast that many people adore.
- 19
If you're making these cookies for a special occasion, you can get creative with the fork pattern. Instead of the traditional criss-cross, try making a spiral or even a simple star shape with the fork tines.
- 20
Once the cookies are completely cool, you can store them in an airtight container at room temperature for up to 5 days. For longer storage, you can freeze them in a single layer on a baking sheet until firm, then transfer them to a freezer-safe bag or container for up to 3 months.
Tips & Troubleshooting
- 1For a richer, more intense peanut butter flavor, consider using natural peanut butter. However, it's crucial to ensure it's been thoroughly stirred to reintegrate any separated oil, as this can affect the dough's consistency and lead to flatter cookies if not properly mixed.
- 2If your cookie dough feels too sticky to handle and roll into balls, don't hesitate to chill it in the refrigerator for about 30 minutes. This simple step will firm up the butter in the dough, making it much easier to scoop and shape without sticking to your hands or utensils.
- 3Resist the urge to overbake your peanut butter cookies! The magic of a perfectly chewy cookie lies in slightly underbaking them. They will continue to cook and set on the hot baking sheet after you remove them from the oven, so aim for edges that are just beginning to turn golden brown and centers that still look a little soft.
- 4Elevate your classic peanut butter cookies by adding a handful of your favorite mix-ins to the dough during the final mixing stage. Chocolate chips, chopped roasted peanuts, or even toffee bits can add delightful bursts of flavor and satisfying texture to every bite.
- 5Ensure your butter and eggs are at room temperature before you begin. Softened butter creams better with sugar, creating a lighter, fluffier base, while room temperature eggs emulsify more easily into the batter, preventing a greasy or separated dough.
- 6When measuring your flour, spoon it lightly into the measuring cup and level it off with a straight edge, rather than scooping directly from the bag. This prevents you from packing too much flour into the cup, which can lead to dry, dense cookies.
- 7Don't skip the step of whisking your dry ingredients together. This ensures that the baking soda, baking powder, and salt are evenly distributed throughout the flour, which is essential for consistent rising and flavor in every cookie.
- 8If you don't have parchment paper, you can lightly grease your baking sheets. However, parchment paper or silicone mats are highly recommended as they provide a non-stick surface and make cleanup a breeze, allowing you to focus more on the fun part – eating the cookies!
Related Activities You Might Enjoy
Frequently Asked Questions
Why are my peanut butter cookies flat?
Flat peanut butter cookies can be a disheartening sight, but they're usually fixable with a few adjustments. The most common culprits include overmixing the dough, which develops gluten and causes excessive spreading; using ingredients that are too warm, especially butter that has melted instead of being softened; or an imbalance in the wet-to-dry ingredient ratio, often due to too much butter or peanut butter. Ensure your butter is softened but not melted, and your eggs are at room temperature. Also, be careful not to overmix after adding the flour. Baking at too high a temperature can also cause them to spread too quickly before they set. Double-check your oven temperature with an oven thermometer if you suspect it's inaccurate.
How do I get the classic criss-cross pattern on my peanut butter cookies?
The signature criss-cross pattern on peanut butter cookies is achieved with a simple technique using a fork. After rolling your dough into balls and placing them on the baking sheet, take a standard dinner fork and gently press down on the top of each cookie. The key is to press just enough to flatten the cookie slightly. For the criss-cross, press once in one direction, then rotate the fork 90 degrees and press again. If the dough is sticking to your fork, you can lightly grease the tines with a neutral oil or dip them in a little flour before pressing. This prevents the dough from pulling up and ruining the pattern.
Can I make peanut butter cookies without an electric mixer?
Absolutely! Making peanut butter cookies without an electric mixer is entirely possible and a great way to get a bit of a workout. You'll need to put in some extra elbow grease, especially when creaming the butter and peanut butter with the sugars. Use a sturdy whisk or a strong wooden spoon and a large, deep bowl. Cream the softened butter and peanut butter until smooth, then vigorously beat in the granulated and brown sugars until the mixture is as light and fluffy as you can get it by hand. Incorporating the eggs and then the dry ingredients will also require more manual effort, but the delicious results will be well worth it.
How long do peanut butter cookies last?
Properly stored, classic peanut butter cookies will maintain their delicious texture and flavor at room temperature for about 3 to 5 days. The best way to store them is in an airtight container, which prevents them from drying out and absorbing any unwanted odors from your pantry. If you want them to last even longer, you can freeze them. First, let them cool completely, then place them in a single layer on a baking sheet and freeze until firm. Once frozen, transfer them to a freezer-safe bag or container for up to 3 months. Thaw at room temperature or gently reheat in a low oven.
What kind of peanut butter is best for this recipe?
For this classic recipe, a standard commercial creamy peanut butter (like Jif or Skippy) is generally recommended. These types of peanut butter have added stabilizers and emulsifiers that help maintain a consistent texture and prevent the dough from becoming too oily, which can lead to flatter cookies. If you prefer to use natural peanut butter, which is just peanuts and salt, be sure to stir it extremely well to recombine any separated oil. You might find that natural peanut butter makes the dough a bit softer, so chilling it before rolling might be more important.
My cookie dough is too crumbly. What did I do wrong?
A crumbly cookie dough often indicates that there's too much flour or not enough moisture. This can happen if you've accidentally measured too much flour, or if your butter was too cold when you started creaming. Ensure your butter is properly softened to room temperature, and measure your flour by spooning it into the cup and leveling it off, rather than scooping directly from the bag. If your dough is already crumbly, you can try adding a tablespoon of milk or a little more softened butter, mixing it in gently until it just comes together. Be careful not to overwork it.
Can I make peanut butter cookies ahead of time?
Yes, you can definitely make peanut butter cookies ahead of time! The dough can be made and then chilled in the refrigerator for up to 3 days. This is a great option if you want to bake fresh cookies on demand. When you're ready to bake, simply roll the chilled dough into balls and proceed with the recipe. You can also bake the cookies completely, let them cool, and then store them in an airtight container at room temperature for up to 5 days, or freeze them for longer storage. This makes them perfect for parties or unexpected guests.
What Next?
Once your classic peanut butter cookies have cooled completely, they are ready to be enjoyed or shared. For a delightful twist, consider dipping half of each cookie in melted chocolate or drizzling them with a chocolate ganache. These cookies are also fantastic when sandwiched with a thin layer of buttercream or even more peanut butter. Store any leftovers in an airtight container at room temperature for up to five days, or freeze them for longer enjoyment. Next time, why not try adding some toffee bits or a sprinkle of sea salt on top before baking for an extra layer of flavor and texture?
Free: 10 Paper Crafts Anyone Can Make in 5 Minutes
Get our beginner guide + new craft ideas weekly.
No spam. Unsubscribe anytime.
Did you complete this activity?
Related
You might also like
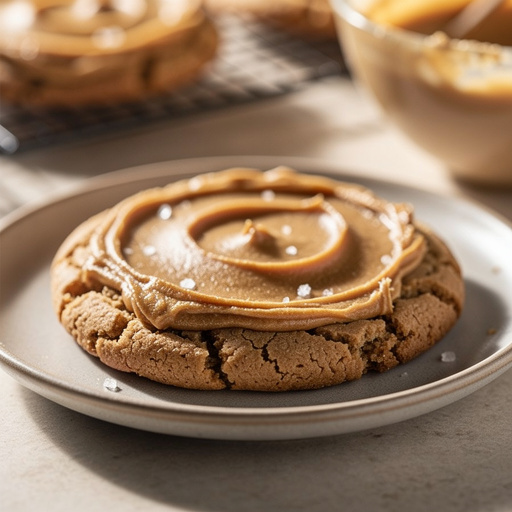
3-Ingredient Peanut Butter Delights
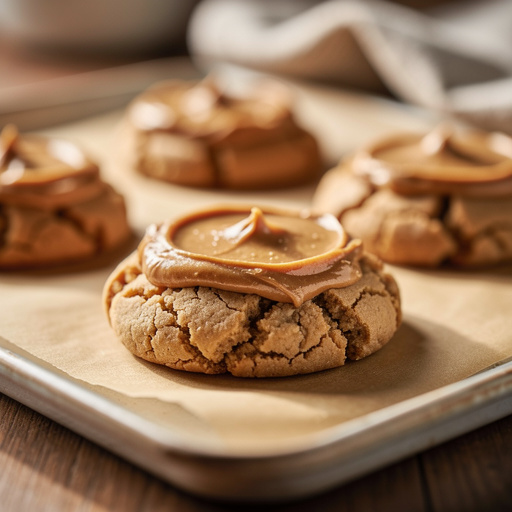
3-Ingredient Peanut Butter Drops
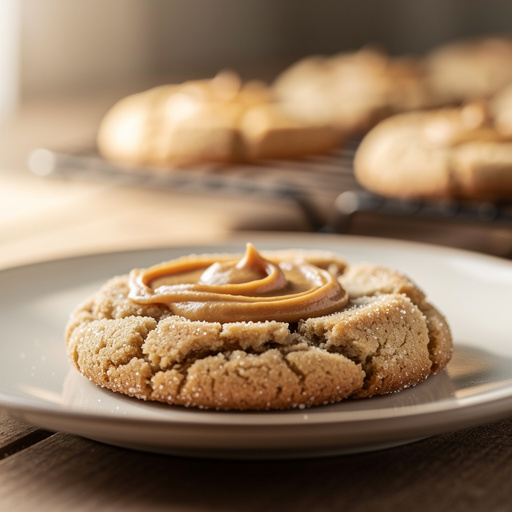
5-Ingredient Peanut Butter Drops
3-Ingredient Peanut Butter Puffs
Speedy 3-Ingredient Cookies