How to Create Permanent Marker Art Stones — Easy Step-by-Step Guide
Transform ordinary stones into vibrant works of art using permanent markers. These durable creations are perfect for decorating gardens, shelves, or as thoughtful gifts. This beginner-friendly activity has 8 steps and is perfect for families and kids aged 8+.

Quick answer
To make permanent marker art stones, you need smooth stones, permanent markers, and rubbing alcohol, taking about 30 minutes. Start by cleaning your stones. This beginner-friendly activity has 8 steps and is perfect for families and kids aged 8+.
What you need
Shop on Amazon · As an Amazon Associate we earn from qualifying purchases. Links above are affiliate links — we may earn a commission at no extra cost to you.
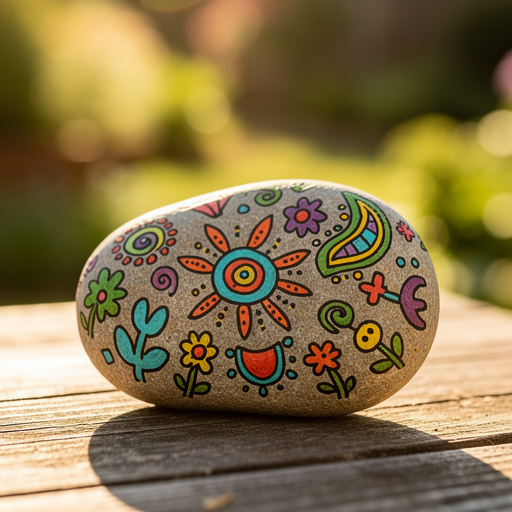
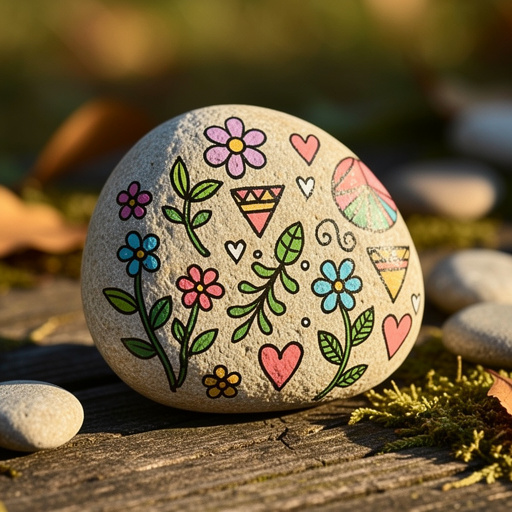
Unleash your inner artist and transform humble stones into captivating works of art with this incredibly simple yet rewarding craft project: Permanent Marker Art Stones. This activity is a fantastic way to add a personal touch to your garden, create unique decorative pieces for your home, or craft heartfelt gifts that are sure to be cherished. It’s a wonderfully accessible project, perfect for all ages, especially families looking for a creative and engaging way to spend time together, fostering imagination and fine motor skills in children as young as eight.
On this page
Step-by-Step Instructions
- 1
Gather your smooth, clean stones. Ensure they are dry and free of dirt or debris. Select stones that have a relatively flat surface for easier drawing; if any stones have rough edges, you can gently smooth them with fine-grit sandpaper for a better drawing surface.
- 2
Wash your stones thoroughly with soap and water to remove any dirt, dust, or loose particles. Rinse them well and allow them to air dry completely, or pat them dry with paper towels to ensure no moisture remains, as this can affect marker adhesion.
- 3
Plan your design. You can draw freehand, use stencils, or create abstract patterns. For beginners, starting with simple shapes, dots, or lines is a great way to get comfortable with the markers and the stone surface.
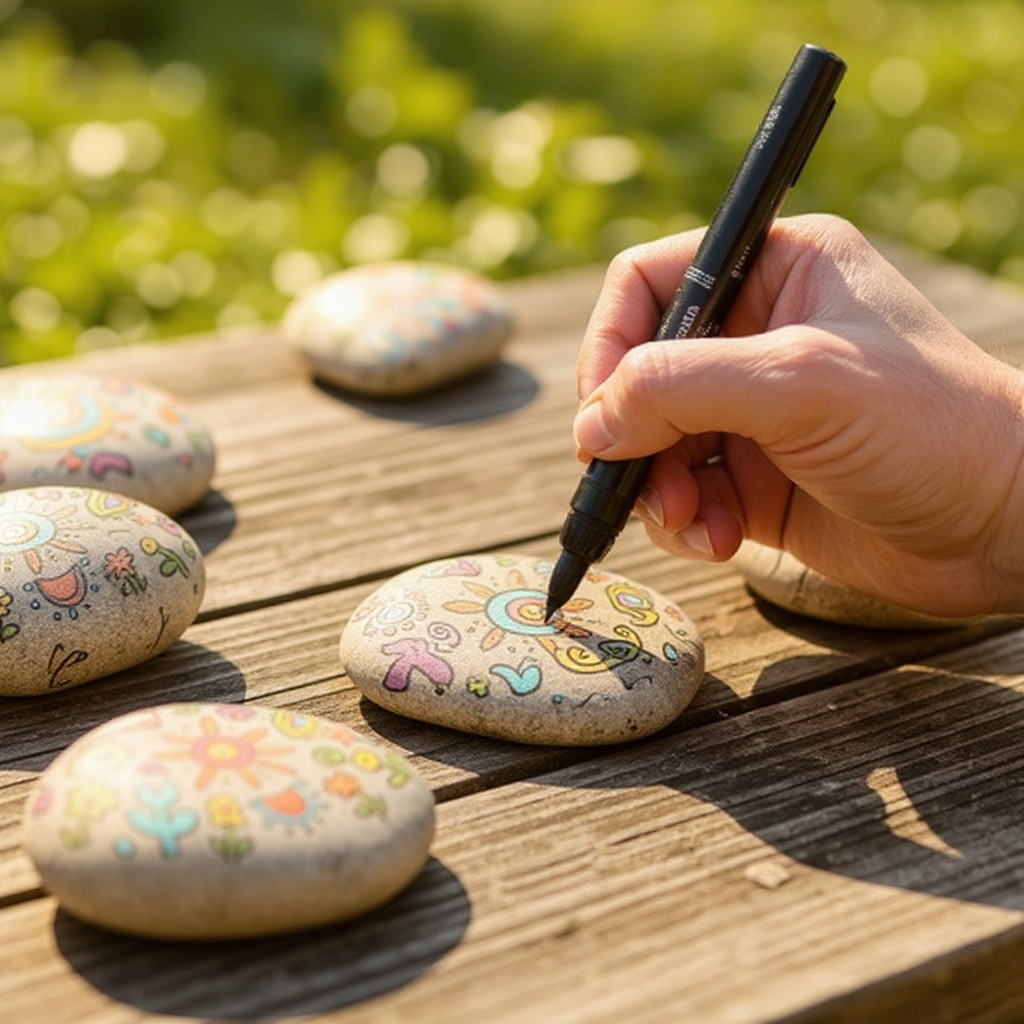
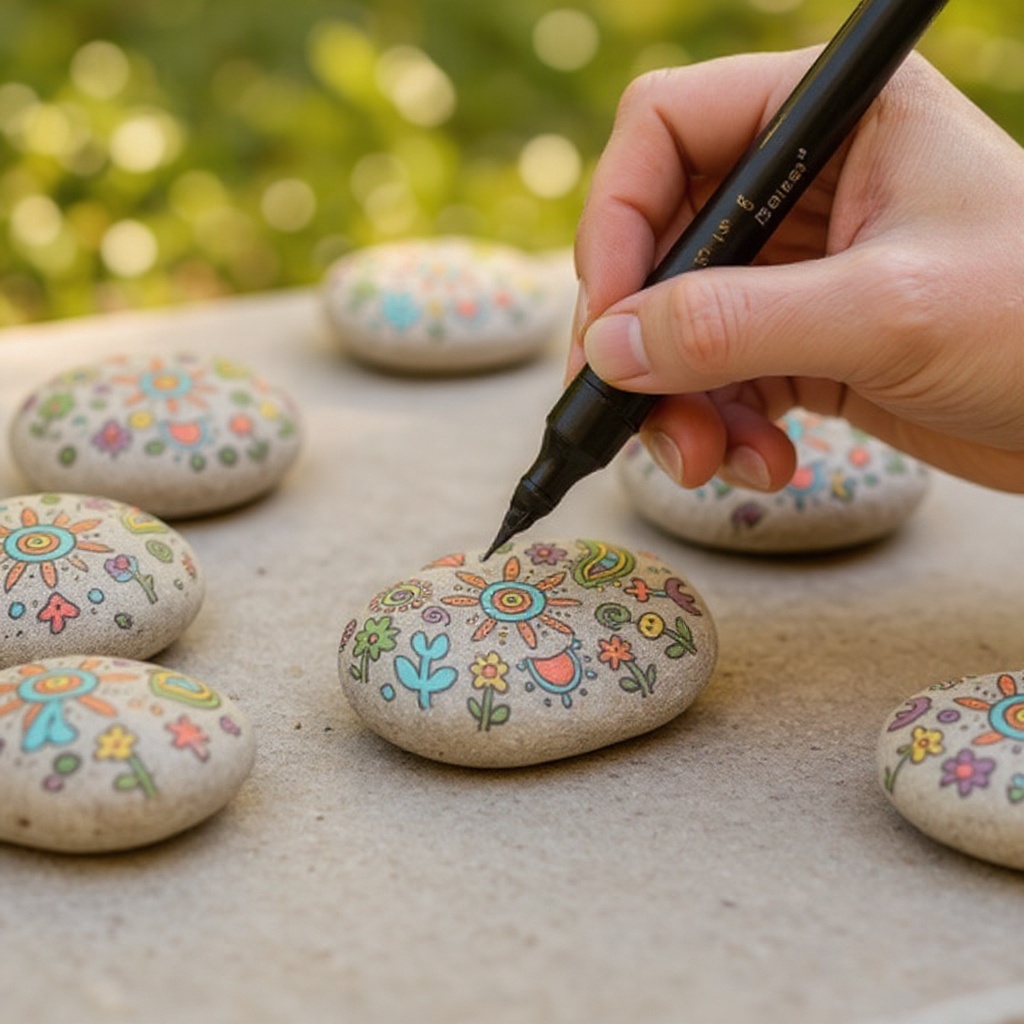
- 4
Begin drawing your design on the stone with permanent markers. Apply steady pressure and allow the ink to flow smoothly onto the stone's surface. If you're layering colors, consider the order in which you apply them for the best visual effect.
- 5
Allow the ink to dry for a minute after completing each section or color. This prevents accidental smudging and ensures that the colors remain distinct before you move on to the next element of your design.
- 6
Once your design is complete, let the ink dry thoroughly for at least 10-15 minutes. Rushing this step can lead to the ink lifting or blending unintentionally when the alcohol is applied, so patience is key here.
- 7
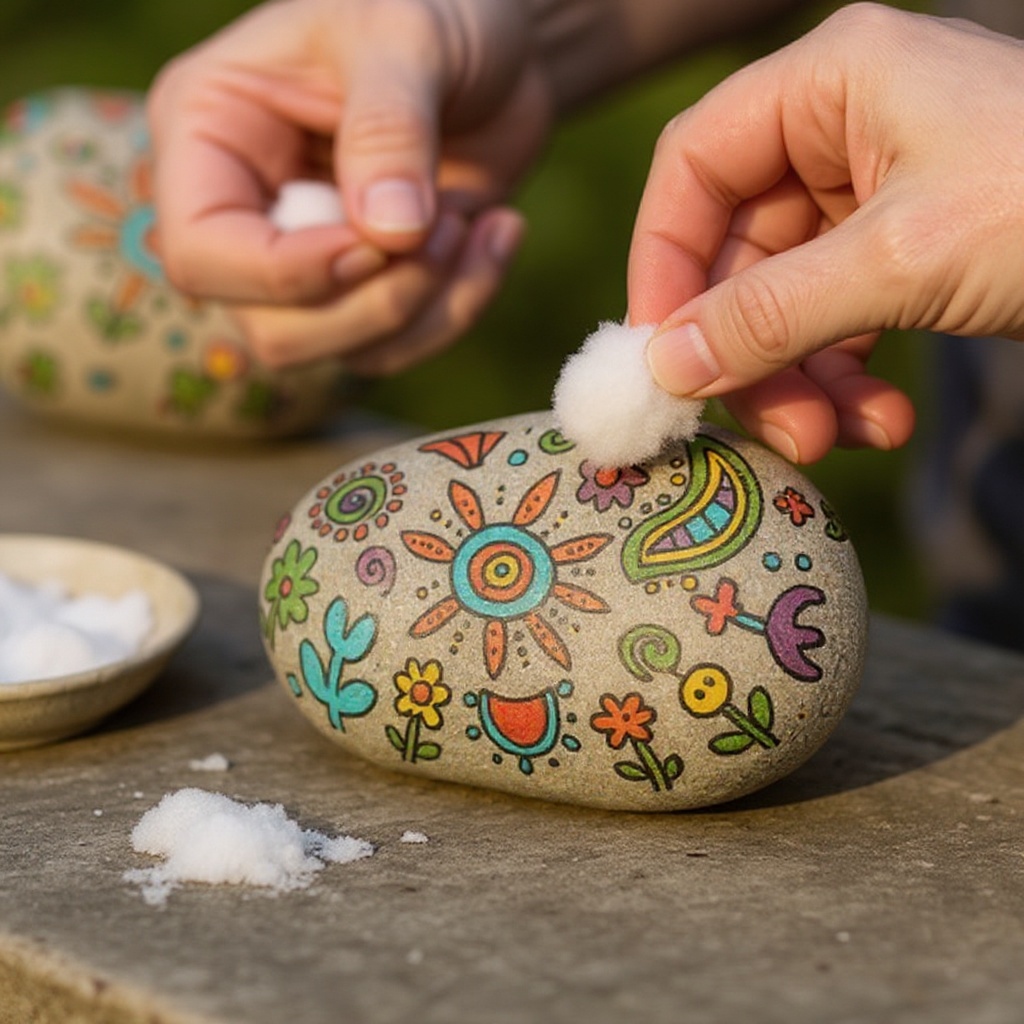
Pour a small amount of rubbing alcohol onto a cotton ball or pad. You don't need to soak the cotton ball; a gentle dampness is sufficient to start the blending process.
- 8
Gently dab the rubbing alcohol over the permanent marker design. The alcohol will help to blend and set the ink, creating a more permanent, watercolor-like effect. Use a light touch and avoid scrubbing, which can remove the ink entirely.
- 9
Continue dabbing with fresh cotton balls as needed until you achieve your desired look. Observe how the colors soften and meld together; you can use this to create gradients or a diffused, ethereal appearance. Avoid over-saturating the stone, as too much alcohol can cause the ink to run excessively.
- 10
If you notice any areas where the ink is too harsh or you want to soften a specific line, you can use a clean cotton swab dipped in a tiny amount of rubbing alcohol for more controlled blending.
- 11
Allow the stones to dry completely for at least an hour after the alcohol application. The alcohol needs time to evaporate fully, and the ink needs to set properly before any further handling or sealing.
- 12
Once the stones are completely dry, inspect your artwork. If you're happy with the result, you can proceed to the optional sealing step for added durability.
- 13
If using, apply a light coat of clear acrylic sealant spray outdoors or in a well-ventilated area, following the product's instructions. Ensure the stones are clean and dry before spraying, and hold the can at the recommended distance to avoid drips or uneven coverage.
- 14
Allow the sealant to cure completely according to the manufacturer's instructions, which usually takes several hours or overnight. This protective layer will shield your artwork from moisture and UV rays, making your art stones suitable for outdoor display.
Tips & Troubleshooting
- 1If you make a mistake with the permanent marker, you can sometimes lift the ink with a little rubbing alcohol on a cotton swab before it fully dries. This requires a delicate touch, but it can save a design from a minor error.
- 2Experiment with different types of stones. Porous stones might absorb the ink differently than smooth, dense ones, leading to unique textures and color saturation. Beach stones or river rocks often have a natural smoothness that works well.
- 3For a more vibrant and blended effect, try layering colors before applying the rubbing alcohol. For instance, draw a red circle and then a yellow circle slightly overlapping it, then apply alcohol to see the orange blend.
- 4If you want your art stones to be weather-resistant for outdoor use, the clear acrylic sealant is highly recommended. It acts as a protective barrier against rain, sun, and general wear and tear, ensuring your artwork lasts longer.
- 5Consider creating themed sets of stones, like kindness rocks to leave for others to find, garden markers to identify your plants, or story stones with images that can be used to create narratives.
- 6Don't be afraid to use multiple colors and techniques. You can create intricate patterns, simple faces, or even abstract splatters. The rubbing alcohol will help to unify the design and give it a professional, artistic finish.
- 7For very detailed designs, consider using fine-tipped permanent markers. These allow for more precision and control, especially when working on smaller stones or intricate elements.
- 8Test the rubbing alcohol on a small, inconspicuous area of your design first if you're unsure about how it will affect the colors. This will give you a preview of the blending effect before committing to the entire stone.
Related Activities You Might Enjoy
Frequently Asked Questions
How do I make permanent marker designs on stones last longer?
To ensure your permanent marker designs on stones have the longest possible lifespan, it's crucial to follow a few key steps. First, always ensure the permanent marker ink is completely dry before you apply any rubbing alcohol; this allows the ink to bond with the stone's surface. The rubbing alcohol itself plays a vital role in setting the ink, creating a more permanent bond. For stones that will be displayed outdoors or in areas with high humidity, applying a clear acrylic sealant spray is highly recommended. This sealant acts as a protective barrier against moisture, UV rays, and abrasion, significantly extending the life and vibrancy of your artwork.
Can I use any kind of marker on stones?
While other markers might initially appear to work on stones, permanent markers are unequivocally the best choice for this craft due to their specialized ink formulation. Permanent markers, particularly those that are alcohol-based, are designed to adhere to a variety of surfaces and resist smudging and fading. When combined with rubbing alcohol, their ink blends beautifully and sets effectively, creating a durable, watercolor-like effect. Using washable markers or other types of ink pens will likely result in designs that smudge easily, fade quickly, or wash away entirely, especially when exposed to moisture or sunlight.
How do I clean the stones before decorating?
Properly cleaning your stones is a fundamental step that ensures your permanent marker art adheres well and lasts longer. Begin by washing your stones thoroughly with mild soap and water. Use a brush if necessary to scrub away any stubborn dirt, mud, or debris. After washing, rinse the stones completely under running water to remove all soap residue. It is absolutely essential that the stones are completely dry before you start drawing on them; any residual moisture can prevent the marker ink from adhering properly, leading to smudging or peeling. You can air dry them or pat them dry with paper towels.
What is the purpose of using rubbing alcohol on permanent marker art?
Rubbing alcohol serves a dual purpose in permanent marker art on stones: it acts as a solvent and a setting agent. When applied to the permanent marker ink, the alcohol breaks down the ink slightly, allowing the colors to blend and soften, creating a beautiful, diffused, watercolor-like effect that is difficult to achieve with markers alone. More importantly, as the alcohol evaporates, it helps to 'set' the ink into the porous surface of the stone, making the design more permanent and significantly more resistant to smudging and fading. It essentially fuses the ink to the stone, enhancing its durability.
Can kids do this project, and what age is recommended?
Absolutely! Permanent marker art stones are a fantastic project for kids, making it an ideal family-friendly activity. Children aged 8 and above can typically handle the permanent markers and the rubbing alcohol application with adult supervision. Younger children might need more direct assistance with the drawing and alcohol application steps, but they can certainly participate in selecting stones, planning designs, and applying colors. The process encourages creativity, fine motor skill development, and provides a tangible, rewarding outcome that children can be proud of. Always ensure adult supervision when using rubbing alcohol, as it should not be ingested.
What kind of stones work best for this craft?
The best stones for permanent marker art are those that are smooth, relatively flat, and have a dense, non-porous surface. River rocks, beach stones, or specially purchased craft stones are excellent choices. These types of stones provide a good canvas for the marker ink to adhere to without excessive absorption. Avoid stones that are very rough, crumbly, or highly porous, as the ink may not adhere well, and the surface might degrade over time. If you find a stone with a slightly rough texture, you can try smoothing it down with fine-grit sandpaper before you begin decorating for a better drawing experience.
What Next?
Once your permanent marker art stones are complete and fully cured, they are ready to be displayed or gifted! Consider arranging them in a decorative bowl, using them as unique paperweights, or placing them amongst your garden plants to add a splash of color and personality. For variations, explore different artistic styles like mandalas, landscapes, or even simple geometric patterns. You could also try using paint pens for a bolder look or experimenting with metallic permanent markers for a touch of shimmer. This project is a gateway to countless other stone art endeavors, so don't be afraid to let your creativity flow!
Free: 10 Paper Crafts Anyone Can Make in 5 Minutes
Get our beginner guide + new craft ideas weekly.
No spam. Unsubscribe anytime.
Did you complete this activity?
Related
You might also like
Permanent Marker Painted Rocks
Sharpie Painted Rocks
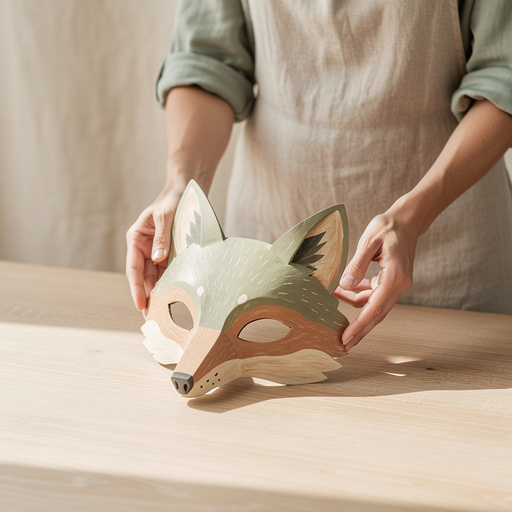
Cardboard Critter Masks
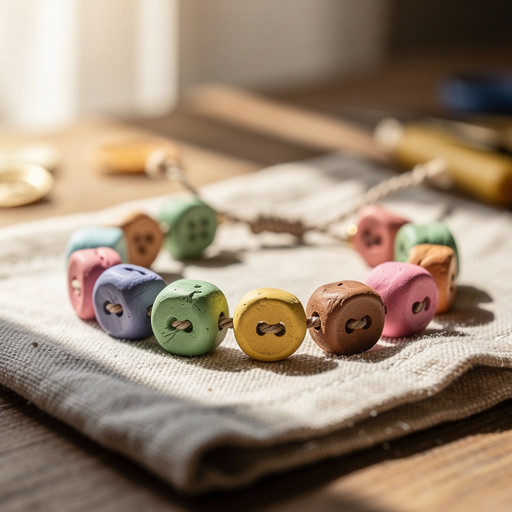
Clay & Button Charm Bracelets
Shrink Plastic Pet Charms