How to Make Quick Cookies in a Mug — Easy Step-by-Step Guide
Craving cookies but short on time? Learn how to make single-serving, delicious cookies right in your mug using the microwave. A super fast and fun treat!
Quick answer
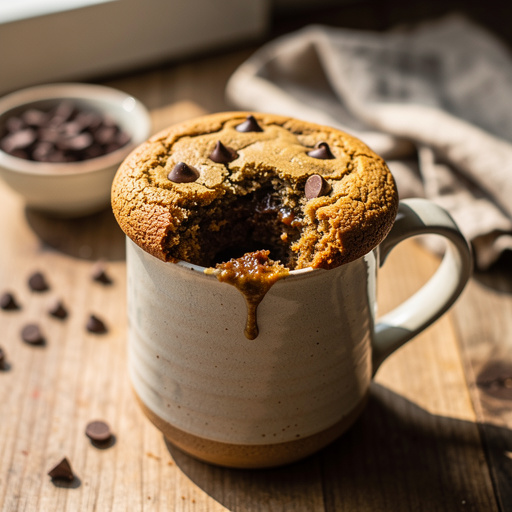
To make quick cookies in a mug, you need basic pantry staples like flour, sugar, butter, and chocolate chips, and about 5 minutes. Start by mixing dry ingredients in a mug, then add wet ingredients and chocolate chips. Microwave for 60-90 seconds. This beginner-friendly activity has 5 steps and is perfect for families with kids aged 6+.
What you need
Shop on Amazon · As an Amazon Associate we earn from qualifying purchases. Links above are affiliate links — we may earn a commission at no extra cost to you.
In the whirlwind of modern life, sometimes a sweet treat is exactly what you need to recharge. But who has the time to preheat an oven and bake a whole batch of cookies? Enter the magic of the microwave mug cookie! This incredibly simple and satisfying recipe transforms basic pantry ingredients into a warm, gooey, single-serving cookie in mere minutes. It's the ultimate solution for instant gratification, a perfect activity to do with kids, or a delightful solo indulgence. Get ready to discover your new favorite quick-fix dessert!
On this page
Step-by-Step Instructions
- 1
In your chosen microwave-safe mug, begin by adding the dry ingredients. Measure out the 1/4 cup of all-purpose flour, 2 tablespoons of granulated sugar, and 1 tablespoon of packed light brown sugar. Ensure your brown sugar is lightly packed to get the correct amount. Next, add the 1/8 teaspoon of baking soda and a pinch of salt. Using a small fork or a mini whisk, thoroughly combine these dry ingredients. It's crucial to ensure everything is evenly distributed to prevent pockets of baking soda or salt in your finished cookie.
- 2
Once the dry ingredients are well mixed, it's time to introduce the wet components. Pour the 2 tablespoons of melted unsalted butter directly into the mug with the dry ingredients. Add the 1 tablespoon of milk and the 1/4 teaspoon of vanilla extract. Now, using your fork, gently stir these ingredients together. The goal here is to combine everything until just incorporated, meaning you no longer see any dry streaks of flour. Be careful not to overmix at this stage, as this can lead to a tougher cookie.
- 3
After the wet and dry ingredients have formed a cohesive dough, it's time to add your delightful mix-ins. Gently fold in the 2 tablespoons of chocolate chips. If you're using other add-ins like chopped nuts or sprinkles, now is the perfect time to incorporate them as well. Stir just enough to distribute them evenly throughout the dough. Over-stirring can cause the chocolate chips to break down too much or create a less appealing texture.
- 4
Prepare your mug for the microwave by placing it on a microwave-safe plate. This is a crucial step to catch any potential overflow that might occur during the cooking process, saving you from a messy microwave. Ensure the plate is large enough to contain any bubbling or rising cookie dough. This also makes it easier and safer to remove the hot mug from the microwave.
- 5
Now, it's time to cook your mug cookie! Place the mug (on its plate) into the center of your microwave. Microwave on high power for 60 to 90 seconds. The exact cooking time will depend significantly on the wattage of your microwave and your personal preference for cookie doneness. Start with 60 seconds and check; you can always add more time in 10-15 second increments if needed.
- 6
Once the microwave cycle is complete, carefully remove the mug from the microwave using oven mitts or a thick kitchen towel. The mug will be very hot, so exercise caution. Allow the cookie to cool in the mug for at least 1-2 minutes before diving in. This brief cooling period allows the cookie to set slightly and prevents you from burning your tongue on the molten chocolate and hot dough. Enjoy your warm, gooey cookie directly from the mug!
- 7
Observe the cookie's appearance after the initial microwave time. If the top still looks very wet and doughy, it likely needs a little more time. If it appears slightly undercooked in the center but the edges look set, that's often the perfect point for a gooey cookie. You're looking for a cookie that is set around the edges but still has a slightly soft, almost underbaked center.
- 8
If your cookie appears too dry or crumbly after the initial cooking time, it's a sign it needs a little more moisture and heat. Carefully return the mug to the microwave and cook for an additional 10-15 seconds. Keep a close eye on it to prevent overcooking, which can make it tough. This short burst of extra time can often rescue a cookie that's leaning towards dryness.
- 9
Conversely, if your cookie seems too wet or gooey after the recommended cooking time, it simply needs a bit longer to cook through. Return the mug to the microwave and continue cooking in 10-second intervals. Be mindful that overcooking can lead to a tough or rubbery texture, so aim for just enough time to achieve your desired level of doneness. The goal is a perfectly cooked, yet still wonderfully soft, cookie.
- 10
As you remove the mug from the microwave, always remember that it will be extremely hot. The ceramic material retains heat effectively, so using oven mitts or a thick dish towel is essential for safe handling. Never touch the mug directly with your bare hands immediately after microwaving. This safety precaution is paramount, especially when children are involved in the baking process.
- 11
Allowing the cookie to cool for a minute or two is not just about preventing burns; it also allows the cookie to finish cooking from residual heat and to set up properly. A cookie that is too hot will be very fragile and may fall apart. This short resting period ensures a better texture and a more enjoyable eating experience.
Tips & Troubleshooting
- 1If your cookie seems too dry, try microwaving for an additional 10-15 seconds. This short burst of extra heat can help to rehydrate the dough and create a more tender texture. Be sure to check it after each interval to avoid overcooking, which can lead to a tough cookie.
- 2Experiment with different add-ins like sprinkles for a fun, colorful cookie, chopped nuts for added crunch, M&Ms for a candy-coated surprise, or even a spoonful of peanut butter swirled in for a rich, nutty flavor. The possibilities are endless and can transform your basic mug cookie into a gourmet treat.
- 3For a richer flavor and a chewier texture, use a mix of granulated and brown sugar. The brown sugar adds moisture due to its molasses content and contributes a delightful caramel note that complements the chocolate chips beautifully. A 1:1 ratio of granulated to brown sugar often works well, but feel free to adjust to your preference.
- 4Be cautious when removing the mug from the microwave as it will be hot. Always use oven mitts or a thick kitchen towel to handle the mug. Allow it to cool slightly for at least 1-2 minutes before digging in to prevent burns and allow the cookie to set up properly.
- 5The size and shape of your mug can influence cooking time. Mugs with straight sides tend to cook more evenly than those with sloped sides. If your mug is wider, the cookie might cook faster, so keep an eye on it. A standard 10-12 ounce mug is ideal for this recipe.
- 6Don't be afraid to adjust the milk quantity slightly. If your dough seems too thick, add a tiny splash more milk (just a teaspoon at a time). If it seems too thin, you can add a tiny bit more flour. The goal is a thick, scoopable dough that holds its shape.
- 7For an extra decadent treat, consider adding a small dollop of whipped cream or a scoop of ice cream on top of your warm mug cookie. This elevates the simple dessert into a truly indulgent experience, perfect for a special occasion or just a treat-yourself moment.
- 8If you don't have brown sugar, you can make a substitute by mixing 1 tablespoon of granulated sugar with 1/2 teaspoon of molasses. This will give you a similar flavor and moisture profile to light brown sugar.
Related Activities You Might Enjoy
Frequently Asked Questions
How long do microwave mug cookies take to cook?
Microwave mug cookies typically cook for 60-90 seconds. The exact time depends on your microwave's wattage and how gooey you prefer your cookie. It's always best to start with the lower end of the time range and add more time in 10-15 second increments if needed. Overcooking can lead to a dry, tough cookie, while undercooking will result in a very gooey, almost raw center. Pay attention to the visual cues: the edges should look set, and the center should still appear slightly soft and moist.
Can I make mug cookies without chocolate chips?
Absolutely! You can customize your mug cookie with a variety of delicious add-ins instead of chocolate chips. Consider adding colorful sprinkles for a festive touch, chopped nuts like walnuts or pecans for added crunch, dried fruit such as raisins or cranberries for a chewy sweetness, or even a swirl of jam for a fruity surprise. You could also try mini M&Ms, toffee bits, or a spoonful of peanut butter for a different flavor profile. The key is to keep the total amount of add-ins around 2 tablespoons to maintain the correct dough consistency.
What kind of mug should I use for microwave cookies?
Use a microwave-safe mug that is at least 10-12 ounces in capacity. This helps prevent the cookie dough from overflowing during cooking, as the dough will rise slightly. Mugs with straight sides tend to cook more evenly than those with heavily sloped sides. Ensure the mug is free of any metallic trim or decorations, as these can cause sparks in the microwave. Always check the bottom of your mug for a microwave-safe symbol.
Are microwave mug cookies healthy?
While a fun treat, microwave mug cookies are not typically considered healthy due to their sugar and butter content. They are made with refined flour, sugar, and butter, which are high in calories and carbohydrates. Enjoy them in moderation as a special indulgence rather than a daily staple. If you're looking for healthier options, you could experiment with using whole wheat flour, reducing the sugar, or incorporating ingredients like oats or fruit, though this may alter the texture and cooking time significantly.
Why is my mug cookie dry or crumbly?
A dry or crumbly mug cookie is usually a result of overcooking or an incorrect ingredient ratio. If you suspect overcooking, try microwaving for shorter intervals next time and checking for doneness sooner. Ensure you are measuring your flour accurately; too much flour can make the cookie dry. Using melted butter that has cooled too much before adding it can also affect texture. If it's already dry, you can try microwaving it for an additional 10-15 seconds to see if it softens up, but be careful not to make it worse.
Can I make mug cookies ahead of time?
Microwave mug cookies are best enjoyed immediately after they are made. The texture and flavor are at their peak when warm and fresh from the microwave. While you can technically mix the dough ahead of time and store it in the refrigerator for a few hours, the cookie will not have the same delightful gooeyness once microwaved after refrigeration. The ingredients can separate, and the texture may become dense. For the best experience, it's recommended to make them one at a time when you're ready to eat.
What's the difference between using granulated sugar and brown sugar?
Granulated sugar provides sweetness and helps with browning, while brown sugar, which contains molasses, adds moisture and a richer, caramel-like flavor. Using a combination of both, as in this recipe, offers the best of both worlds: the structure from granulated sugar and the chewiness and depth of flavor from brown sugar. If you only have granulated sugar, your cookie will still be sweet and delicious, but it might be slightly drier and lack that characteristic caramel note that brown sugar provides.
What Next?
And there you have it – a warm, delicious cookie, made in minutes! Don't stop at chocolate chips; consider adding a swirl of peanut butter, a few sprinkles for a festive touch, or even a spoonful of jam for a fruity surprise. Once you've mastered this basic recipe, you can explore variations like adding a pinch of cinnamon for a spiced cookie or a dash of espresso powder for a mocha kick. These mug cookies are best enjoyed immediately, but if you happen to have leftovers (unlikely!), they can be stored in an airtight container at room temperature for a day, though they lose their perfect gooeyness. For your next sweet craving, consider trying a microwave brownie in a mug or a single-serving cake – the microwave is a dessert-making powerhouse!
Free: 10 Paper Crafts Anyone Can Make in 5 Minutes
Get our beginner guide + new craft ideas weekly.
No spam. Unsubscribe anytime.
Did you complete this activity?
Related
You might also like
Speedy 3-Ingredient Cookies
3-Ingredient Peanut Butter Delights
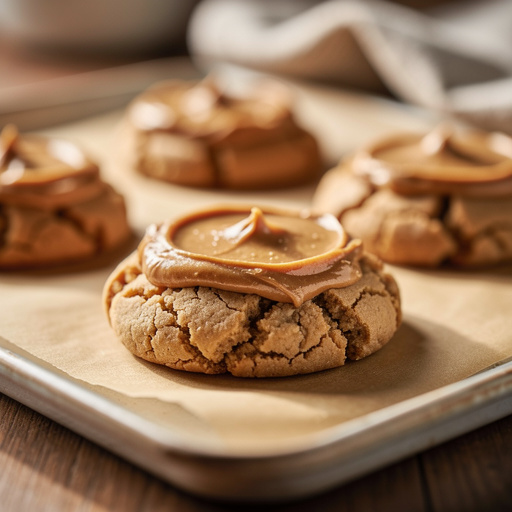
3-Ingredient Peanut Butter Drops
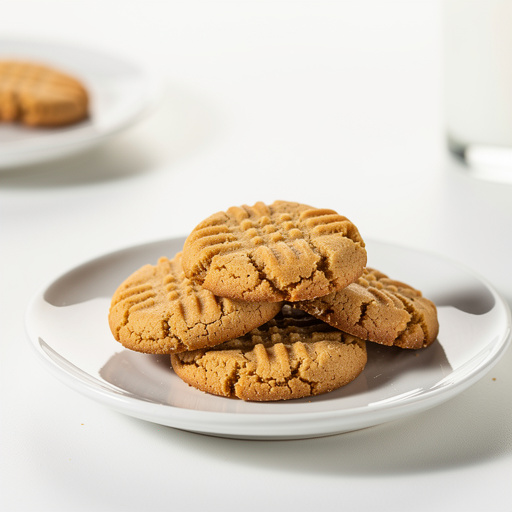
3-Ingredient Peanut Butter Cookies
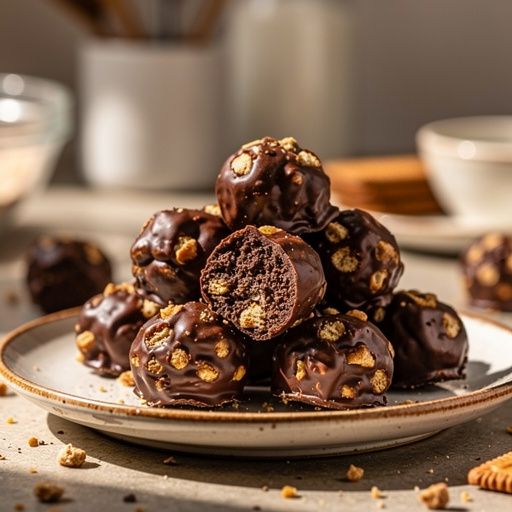
No-Bake Chocolate Biscuit Bites